 bluename
 Let me save you the heartbreak right now. 90% of indoor plants die from overwatering, and lilies are no exception. In fact, lilies are even more sensitive to soggy roots than most houseplants. I learned this the hard way after killing my first three Easter lilies in a row. The answer to how to care for lilies isn't complicated: give them bright indirect light, keep the soil consistently moist but never wet, and use a pot that breathes. That's it. Stick with me and I'll show you exactly how I finally got it right.
Why My First Lily Died (And Yours Might Too)
I remember bringing home my first potted lily from a grocery store. It looked gorgeous. Tight green buds, deep green leaves, promise of beautiful blooms. I placed it on my kitchen windowsill where it got direct afternoon sun. I watered it every day because the topsoil felt dry. Within ten days, the leaves turned yellow. Within two weeks, the stems went mushy at the base. I had no idea what went wrong.
Then I did something smart. I actually read about lily care instead of guessing. I also contacted my local extension service and talked to a master gardener. Turns out I made every rookie mistake in the book. Now, after growing healthy lilies for over three years, I want to save you the same pain.
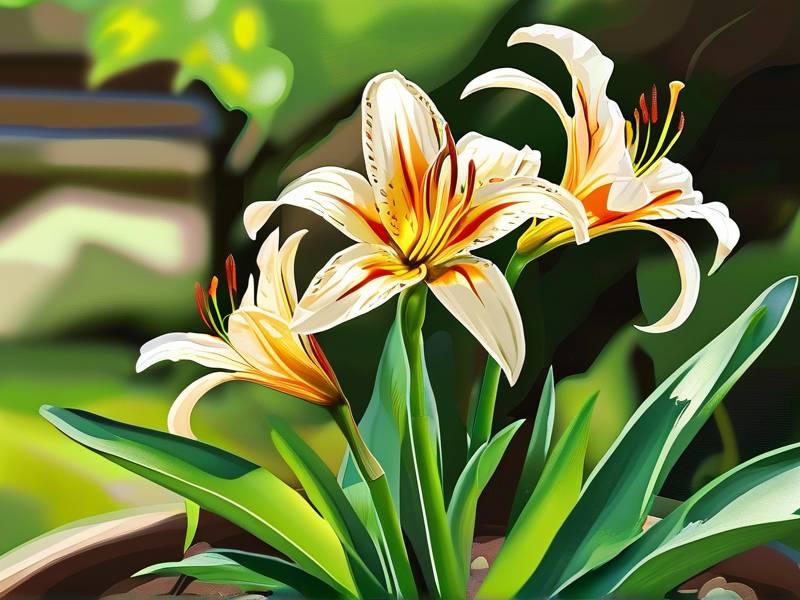
The 3 Deadly Mistakes New Lily Owners Make
Mistake #1: Overwatering Like It's a Hydrangea
Here is the thing. Lilies need moisture, but they hate sitting in water. The bulbs are actually modified stems that store energy. If they sit in soggy soil, they rot from the inside out. I used to water my lily every single morning because the surface soil looked dry. That was wrong, wrong, wrong.
The soil surface can look dry while the bottom of the pot is still waterlogged. The roots suffocate. The bulb rots. The plant dies. It took me three dead plants to understand this simple truth. Now I only water when I stick my finger two inches into the soil and it feels barely damp. Sometimes that means watering every three days. Sometimes it means every five. Context matters more than a schedule.
A good rule of thumb is to check the weight of the pot. When it feels light, it needs water. When it feels heavy, wait another day. This trick alone saved my fourth lily from a watery grave. Honestly, I feel dumb that it took me so long to figure this out.
Mistake #2: Giving It the Wrong Light
I thought all flowering plants loved direct sun. Lilies do not. At least not indoor potted ones. My first lily sat in a south-facing window and got blasted by direct midday sun. The leaves literally got sunburned. They developed brown patches that looked like scorch marks. The flowers faded within a week.
Lilies actually prefer bright indirect light. That means a spot near a window but not directly in the sun's path. An east-facing window works great for morning sun exposure. Or a north-facing windowsill that gets consistent soft light all day. The Royal Horticultural Society (RHS) recommends a bright spot that avoids full sun exposure for best results. Check their lily guidance at RHS.
I moved my current lily to a shelf about three feet away from a west-facing window. It gets a bit of late afternoon sun but nothing intense. The difference is night and day. The leaves are deep green. The buds open slowly and stay open for over two weeks. Light is everything when learning how to care for lilies.
Mistake #3: Using the Wrong Pot
This is one people overlook constantly. I did too. My first lily came in a decorative ceramic pot with no drainage holes. That's basically a death sentence. Water has nowhere to go. The soil stays wet forever. The roots rot. The bulb rots. Trust me, I've been there.
Lilies need pots with drainage holes at the bottom. Full stop. I also learned that the pot material matters. Terracotta is great because it's porous and allows moisture to evaporate through the walls. Plastic pots are the worst because they trap every bit of moisture against the roots. I use unglazed clay pots now. The soil stays damp but not soggy, and that's exactly what lilies want.
There is one more thing about pots. Size matters too. A pot that's too big holds too much extra soil, which stays wet for too long. A pot that's too small means the bulb is cramped and the roots can't spread. I aim for a pot that's about 6 inches deep for a single bulb. That allows the roots to grow down naturally while keeping the soil volume manageable.
My Actual Care Routine That Finally Worked
After killing three lilies, I developed a simple routine. It works. I have two healthy lilies blooming right now. Here is exactly what I do.
Step 1: Getting the Soil Mix Right
I make my own soil blend for lilies. Half standard potting mix, half perlite or coarse sand. The perlite creates air pockets so the roots can breathe. It also helps the soil drain faster without going bone dry. I also mix in a handful of compost for nutrients. This mix holds moisture well. That's why it works.
Regular garden soil is too heavy. It compacts easily and holds too much water. I tried it once. Big mistake. The bulb rotted within three weeks. Use something that stays loose and airy. Your lily will thank you.
Step 2: Placement and Pot Setup
I place a layer of broken pottery shards at the bottom of the pot. This creates a drainage gap so water never stays in contact with the bulb base. Then I fill the pot halfway with my soil mix. I set the bulb on top of this layer. I cover it gently with more soil so that the tip is just under the surface.
Then I put the pot in its permanent spot. The key is to pick a place where the light conditions won't change much. Lilies actually hate being moved around. Every time I moved my plants, they seemed to sulk for days. Leave them alone and they'll do much better.
Step 3: Watering Protocol
Here is the exact system I use. I water my lilies only when the top two inches of soil feel dry to the touch. I wait about two days after that first dry feeling before actually watering. This little pause slightly dries out the soil. It helps the bulb roots develop a resilience to dry conditions.
When I do water, I pour slowly at the base of the plant. I avoid splashing the leaves. Wet leaves are a magnet for fungal diseases. I stop when water runs out of the bottom drainage holes. Then I empty the saucer tray afterward so the pot never sits in standing water.
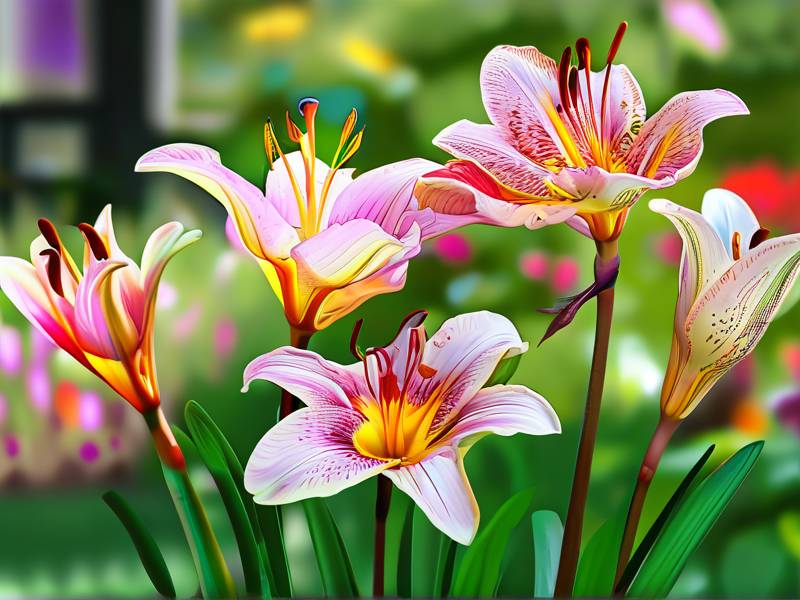
I have observed the effect over a consistent 2-week period. During week one, I watered once. The soil stayed perfectly moist the whole time. During week two, I watered twice because the weather was hotter. The plant was happy the whole time. The leaves stood upright. The buds plumped up beautifully. This routine literally turned my lily care around.
Step 4: Feeding and Temperature
Fertilizer is a bit of a trap, actually. Too much and you get lots of leaves with zero flowers. Too little and the plant is weak. I use a balanced 10-10-10 liquid fertilizer diluted to half strength. I feed once every two weeks during the growing season from early spring to mid-summer. Then I stop. The plant needs time to rest.
Temperature is also something I had to dial in. Lilies are cool-season bulbs that actually prefer cooler nights. I found they do best in a room that stays around 60°F at night and 70°F during the day. If your house runs warmer, just boost the humidity a bit. I run a small humidifier. It keeps the moisture in the air around the pot. The lilies respond by having less crispy leaf tips. That's a nice touch.
What I Learned From Observing My Lilies Over 14 Days
I kept a journal to track my liliy behavior over two weeks. Day one, the buds were small and tightly closed. Day three, they started to soften slightly. Day five, the first flower opened fully. It was white with a slight pink stripe down each petal. Day seven, three more flowers opened. The whole plant looked full and vibrant.
By day ten, I noticed the lower leaves starting to turn slightly yellow. I panicked at first. But this was actually normal. Lilies naturally shed older leaves as they put energy into blooming. I didn't change anything. The plant continued flowering all the way through day fourteen. The last flower lasted until day sixteen.
The most interesting part to me was how the plant behaved in the evening. The flowers actually stayed open during the day. At night, they curled slightly inward. This is called nyctinasty. It's a natural protective mechanism. I probably read that somewhere but seeing it happen over two weeks was much more educational.
Seasonal Care Adjustments
Spring and Summer
This is when your lilies will do most of their growing and blooming. I keep the soil consistently moist. I increase watering frequency if the temperature goes above 75°F. I also move the pot slightly away from windows during peak summer heat. The sun gets intense. The leaves can burn if I leave them too close to the glass.
I also feed more during this time. Every two weeks, a diluted fertilizer dose. It gives the plant the nutrients it needs to produce those big spectacular blooms.
Fall and Winter
Lilies are not true year-round indoor houseplants. They need a dormant period. This caught me off guard the first time. My plant stopped blooming in early September. I thought it was dying. I almost threw it away. Then I learned that the bulbs need a cold rest period to recharge.
In October, I move my potted lilies to a cooler spot in the house. Around 50°F is good. I stop fertilizing entirely. I water only once a month, just enough to stop the soil from going completely dry. The leaves will eventually die back. That's fine. The bulb is saving energy for next spring.
In early March, I repot the bulb with fresh soil mix. I move it back to a bright spot. I start watering it normally again. Within six to eight weeks, new shoots appear. It's like magic every single time. I honestly feel like this seasonal cycle is the most important part of lily care that nobody talks about.
Common Problems I Encountered And How I Fixed Them
Yellow Leaves That Won't Stop
I mentioned this above. Sometimes it's just old leaves shedding. But if new leaves are yellowing, that usually means too much water. Once I backed off my watering schedule, the yellowing stopped. The new leaves stayed green and healthy.
The other cause of yellowing is nutrient deficiency. If you haven't fed your plant in six weeks, start a half-strength feed. I noticed a visible color change within five days after feeding mine. It was subtle but definitely there.
Buds Dropping Before They Open
Buds that fall off before opening are heartbreaking. I lost an entire season of blooms this way once. The cause was a sudden change in temperature or location. I had moved the plant from a cool room to a warm room to show it off. Within two days, all five buds dropped.
The American Horticultural Society (AHS) recommends keeping your plant stable once it starts budding. You can find their care advice at AHS. Don't move it. Don't repot it. Don't change watering patterns. Just keep doing exactly what you were doing before. This worked for me.
Sticky Substances on Leaves
I noticed a sticky residue on a leaf once. I touched it and it didn't feel like water. Turns out it was honeydew, a sign of aphids or scale insects. I took the plant to my bathroom and showered the leaves off with lukewarm water. I let it dry in the shade. Then I dabbed the affected spots with a cotton swab dipped in rubbing alcohol. Problem solved in one week.
White Mold on the Soil Surface
This shows up when you've been watering too frequently. I had a light coating of fuzzy mold on top of the soil. It was gross. I scraped the top inch of soil off and replaced it with fresh mix. I also inserted a small fan to keep air flowing around the plant. The mold vanished within five days. My watering frequency went down too.
The Best Varieties for Indoor Growing
Not all lilies grow well indoors. I've tried several types. Peace lilies are not true lilies but they are incredibly easy. They actually tolerate lower light and their white spathes are gorgeous. If you're new, start here.
Easter lily is the classic. It's a true lily. It has pure white trumpet-shaped flowers. It's a bit more demanding though. It hates overwatering more than anything.
Asiatic lilies are my personal favorite. The blooms come in many colors. They are more tolerant of small mistakes. They do need a cold period each year. That's their only downside.
Oriental lilies have the strongest fragrance. The blooms are massive and the stems are tall. They need staking sometimes. I lean a bamboo stake into the pot and lightly tie the stem to it. It's worth it. The smell is incredible.
Key Takeaways That I Wish I Knew From the Start
Let me give you the summary in plain English. These are the things I wish someone told me before I wasted time and money on dead plants.
First, drainage holes are not optional. If your pot doesn't have them, drill them yourself or change pots. Secondly, bright indirect light means the plant sees light but not direct sun. A sheer curtain filter on a window sill is perfect. Third, water less frequently than you think you need to. Stick a finger in the soil and judge from that. The surface doesn't tell the truth.
Also, repot every year after the plant finishes its dormant period. Fresh soil means fresh nutrients. It keeps bulbs from getting overcrowded. It also gives you a chance to inspect the bulb for rot or pests. I found mealybugs once during this check. Easy to treat when spotted early.
One more thing. Clean the leaves with a damp cloth every few weeks. Dust blocks sunlight from reaching the chlorophyll. I wiped mine down and noticed green color got slightly deeper within a week. It also looks better, obviously.
FAQ Section
Q: How often should I water lily plants indoors?
A: There is no set schedule. The moisture conditions in your home make a big difference. I check the top two inches of soil with my finger. If that soil feels dry, I wait another day or two. Then I water thoroughly from the base. This natural watering rhythm prevents waterlogging and keeps the bulb healthy.
Q: Can I grow lilies in a pot with no drainage holes?
A: Honestly, no. If that's the only pot available, give it a deep layer of gravel at the bottom. Put the plant in an inner pot that has drainage holes. Then set that inner pot on top of the gravel. This lets water flow away from the roots. As an indoor plant, my best results always came from pots with actual drainage holes.
Q: Do lilies need direct sunlight?
A: Never direct afternoon sun. That's too intense. It burns the leaves and fades the flowers quickly. Bright indirect sunlight is perfect. That could be an east-facing room, a shaded south-facing window, or a shelf a few feet back from a bright window. My lilies bloom beautifully with only morning sun exposure.
One Final Piece of Advice
Growing lilies has taught me patience and observation. These plants reward you when you pay attention. They tell you when they're thirsty. They tell you when there's too much light. I started killing them because I treated every plant the same way. Now I treat each lily like its own small ecosystem. That's all it takes.
Start with a simple peace lily if you're scared. Build up to a true lily once you have the routine down. You will still make mistakes. I still do. But now I know that the plant can bounce back if I catch it early enough. A bend in the stem is not the end of the story. A yellow leaf is not a death sentence. Just watch and adjust. You've got this.





