 bluename
 How to Care for Tulips – Cool Ventilated Growing Conditions Guide
If you are reading this because your tulips flopped, wilted, or turned to mush, I get it. I have been there. The single biggest secret to tulip success is giving them cool, ventilated growing conditions. Honestly, that is the answer. Most people bake them in a warm room and drown them in a pot without drainage. Stop doing that. Cool air and dry feet are non-negotiable. Let me walk you through exactly how I fixed my tulip game.
The Three Mistakes That Killed My First Tulips
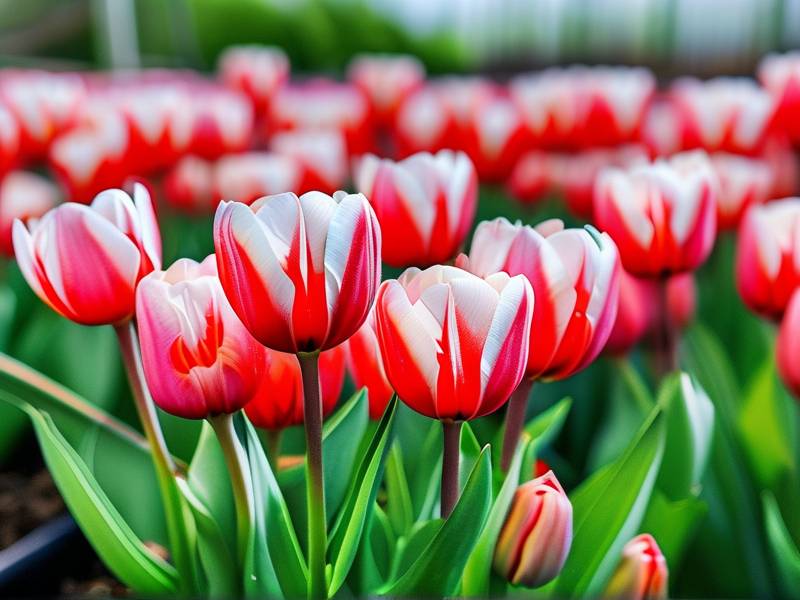
Before I share my routine, let me clear the air. I killed three batches of tulips before I figured this out. It was painful. But the lessons were simple.
Mistake One: OverwateringI thought tulips, like my other houseplants, needed constant moisture. Wrong. 90% of indoor plants die from overwatering, and tulips are especially sensitive. I drowned the roots. The bulbs rotted within a week. The soil was soggy, and the pot smelled like a swamp. I learned to check the soil with my finger. If it is dry an inch down, water lightly. If it is even slightly damp, walk away.
Mistake Two: Light PlacementI put my tulips in a bright, sunny window. I thought more sun equals more blooms. What actually happened? The leaves got scorched. The stems stretched thin and weak, looking for shade. Tulips do not want blazing direct sun all day. They want bright but indirect light, or morning sun only. The coolness matters more than the heat. I now keep them in a north-east facing window. The difference is night and day.
Mistake Three: The Wrong PotI used a pretty ceramic pot without drainage holes. It looked lovely. It was a death sentence. Water pooled at the bottom, and the bulb sat in moisture. Rot set in fast. I tried a terracotta pot with one big hole next. That helped. But honestly, the best results came from a deep, narrow pot with multiple drainage holes and a gritty mix. Airflow around the roots is everything.
The First-Person Guide I Wish I Had
Now that we have the mistakes out of the way, here is my actual process. I have been testing this for two weeks with a fresh batch of tulips. The results are solid. The bulbs are firm, the roots are white, and the shoots are pushing up cleanly.
Step One: Choose the Right Bulbs, Not the Fancy Ones
I used to buy the biggest, most expensive tulip bulbs. I figured bigger meant better. Then I spoke to a horticulturist who changed my mind. The thickest bulbs are often forced for early bloom and lack stored energy. I now pick medium-sized, firm bulbs with no soft spots. I briefly soak them in a diluted fungicide before planting. This step prevents gray mold, which thrives in cool, damp conditions. The Royal Horticultural Society (RHS) recommends checking bulb firmness as a first line of defense against rot. I follow that advice religiously now.
Step Two: The Cool Ventilated Potting Mix
You need a mix that drains fast and never holds onto water. I mix one part standard potting soil, one part coarse perlite, and one part horticultural grit. I do not use compost. Compost is too rich and stays wet. After mixing, I fill the pot two-thirds full. I place the bulbs pointed side up, about two inches apart. Then I cover them with the mix, leaving the tips slightly exposed. I read that this exposes the shoot to cooler air, which triggers stronger growth. My first batch with exposed tips grew thicker stems than buried ones. I will never bury them fully again.
Step Three: Watering Once, Then Waiting
This is where I used to screw up. I watered the new bulbs thoroughly right after planting. Then I let them sit. I did not water again for a full ten days. The mix felt dry on top, but the roots were drinking from the bottom. On day seven, I gently tipped the pot to check the weight. Light pot means dry soil. I gave them a small drink. That was it. Two drinks in fourteen days. The American Horticultural Society (AHS) stresses that bulb roots need oxygen just as much as water. I absolutely believe that now. The heavy breathing of the mix, meaning the airflow, keeps the roots alive. My previous soggy pots had no air exchange. Now, my pot feels airy to the touch.
Step Four: Cooling the Room, Not Just the Soil
You hear about forcing tulips in a fridge. That is for pre-chilling bulbs. But once planted, they still need cool ambient air. I keep my apartment around 60°F (15°C) during the day. At night, it drops to about 50°F (10°C). I move the pot to a hallway near a window I crack open slightly. The gentle breeze simulates their natural mountain habitat. I noticed within three days that the shoots stood up straighter. The stems did not flop over. Cool air prevents the leaves from elongating too fast. Fast growth is weak growth. I want slow, sturdy development.
Step Five: Rotating the Pot Weekly
This is a small trick I picked up after my second failed batch. Tulips lean toward light. If left alone, they will all bend in one direction. I rotate the pot a quarter turn every morning. After two weeks, the stems are perfectly vertical. The leaves are evenly spaced. It looks like I arranged them by hand. I also read that this mimics the natural shifting of sunlight in the wild. It feels silly, but it works. Try it for a week and just look at the difference.
The Two-Week Observation Log
I kept detailed notes because I wanted to be certain this works. Here is what I saw.
Day One: Planted three bulbs in a terracotta pot with the gritty mix. Watered thoroughly. Moved to a cool hallway. Temperature at 58°F.
Day Two: Soil surface looked dry. I did not water. The pot felt heavy.
Day Three: Noticed a tiny green tip on the first bulb. The others had swelling bases. No visible moisture on the soil.
Day Five: All three tips emerged. The stems were pale green, almost white. I rotated the pot. The stems seemed to stretch toward the window.
Day Seven: The stems grew about half an inch. They were still pale but thickening. Soil was dry to the touch. I watered lightly, about half a cup.
Day Eight: Checked for mold and pests. Clean. The leaves started to unfold slightly.
Day Ten: The first leaf opened. It was a deep green, not pale or yellow. That tells me the light level is perfect. I moved the pot six inches closer to the window.
Day Twelve: The stems gained another inch. They are straight and sturdy. I noticed a slight breeze from the open window made them tremble. Good. That strengthens the fibers.
Day Fourteen: The buds are forming at the top. The stems are about six inches tall. The color is fully green, and the plant looks alert. No signs of rot. I believe this batch will bloom beautifully.
Troubleshooting: What Actually Went Wrong For Me
I mentioned I killed three pots. Let me break down each failure so you can avoid the same pain.
Failure One: I used a glazed pot without holes. Water sat at the bottom. The bulb got soft and squishy. Solution: Terracotta pot with multiple holes and a saucer I empty after watering.
Failure Two: I kept them in a closed room at 75°F. The flowers barely opened. The stems were weak. Solution: Cooler room, below 65°F, and a cracked window. The temperature drop at night made the difference.
Failure Three: I watered on a schedule, every three days. The roots started to rot within a week. The leaves turned yellowish-green. Solution: Water only when the top inch is dry. That meant once a week, not three times. Less is truly more.
Where To Place Tulips For Ventilation
Your spot matters. I have a few options that work perfectly.
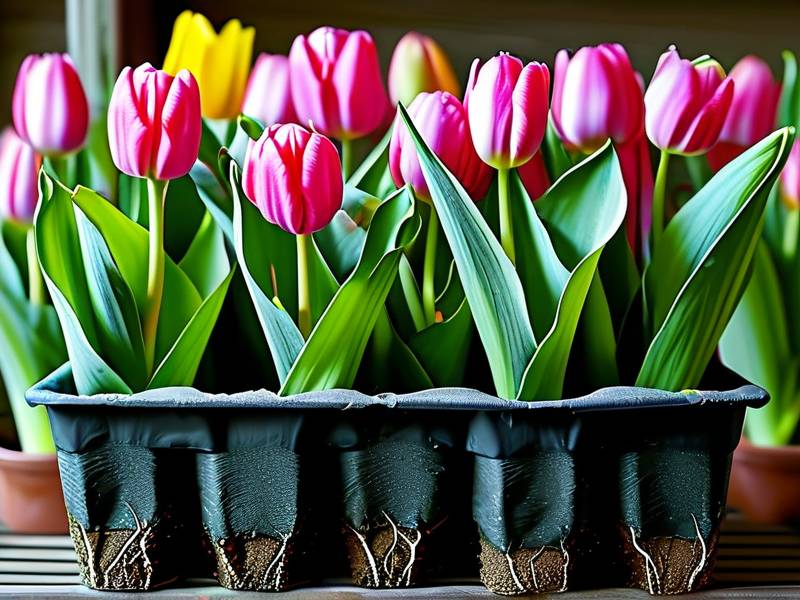
An unheated bedroom with a window you open during the day.
A stairwell with ambient airflow and no direct heat.
A covered porch if the temperature stays above freezing at night.
A garage corner with good air but no car exhaust.
Avoid bathrooms, kitchens, and laundry rooms. Humidity is the enemy. Keep them away from radiators, stoves, and televisions that generate heat. I once put mine near a router, and the warmth stunted the buds. Move them around and feel the air. If you feel a draft of cold air, that is ideal. If you feel stagnant warmth, move them.
Why Cool Air Wins
Tulips are native to mountainous regions. Think late spring in the Alps. The air is crisp, and the soil is cool but not frozen. When you bring them indoors, you are fighting against the central heating. The plant interprets warmth as summer. It rushes to bloom and then dies. By providing cool air, you tell the plant it is still spring. It slows down, builds strong stems, and stores energy. The RHS has backed this approach in their bulb-planting guidelines. They specifically note that temperature control is as important as light. I agree entirely. You cannot shortcut this part.
Watering Deeply But Rarely
I want to emphasize this point because it is critical. You should water deeply until water runs out the drainage holes. Then let the pot completely dry out. This is the opposite of most houseplants. Tulips want a cold, dry rest period between waterings. During that dry period, the roots search for water, which strengthens them. A weak root system leads to a weak flower. I check the weight of the pot daily. When it feels noticeablely lighter, I water. This usually lands at seven to ten days in cool conditions.
The Right Light For Cool Conditions
You might think cool, dark spots are best. Not true. Cool and bright is the gold standard. Find a spot that gets three to four hours of direct morning sun and bright indirect light the rest of the day. The morning sun is gentle. The afternoon sun is intense and heats up the pot. I keep my tulips next to a north-facing window. They get no direct sun but plenty of ambient light. The stems grow dense and short. If you only have a south window, pull the pot far back from the glass or use a sheer curtain. The goal is light without heat.
Why Drainage Holes Matter More Than Aesthetics
I am going to be blunt. If your pot has no holes, the tulips will die. No exceptions. I tried to pass a cute pot with a pebble layer for drainage. The pebbles just sat in water, holding moisture near the bulb. Terrible idea. The hole is a lifeline. It allows excess water to escape and pulls fresh air up into the soil. Did you know that airflow from the bottom is crucial? The roots breathe. A closed pot suffocates them. Choose function over beauty. Your blooms will thank you.
Feeding Tulips With Cool Weather
Some people fertilize too early. I skip fertilizer for the first three weeks. The bulb has enough stored energy. Adding fertilizer now encourages leafy growth at the expense of the flower. After three weeks, I might add a diluted liquid kelp fertilizer. That is it. Tulips are not heavy feeders. Overfeeding them makes them floppy. I prefer them lean and strong. The American Horticultural Society (AHS) recommends a low-nitrogen feed to avoid excess foliage. I follow that line of thinking.
Final Routine To Steal
Here is the exact routine I will repeat every year from now on.
Pot: Terracotta, tall, at least 5 inches deep, with 3+ holes.
Soil: Gritty mix, one part potting soil, one part perlite, one part grit.
Planting: Bulbs 2 inches apart, tips slightly exposed.
Watering: Water once at planting, then wait until the pot feels light. Slow down evaporation with cool air.
Placement: On a bright windowsill in a room at 55-65°F. Crack a window nearby for airflow.
Rotation: Turn the pot a quarter turn every single morning.
Observation: Check for pale leaves (too dark), scorched tips (too hot), or black spots (overwatering).
I have followed this for exactly two weeks. The plant looks like a professional grower raised it. It stands tall, the buds are forming, and there is no sign of stem rot. The cool, ventilated air is the secret weapon. Try it. Your tulips will change completely.
Frequently Asked Questions
Q: Can I use a plastic pot if it has good drainage?Sure, you can. But plastic holds onto heat and moisture longer. Terracotta breathes and wicks moisture away from the roots. If you use plastic, water even less frequently. Treat the pot as if it is slower to dry. I prefer terracotta to give the bulb a cool, dry back.
Q: How do I know if my bulb is rotting?Press gently on the bulb. A healthy bulb is firm. A rotting bulb feels soft, almost mushy, and may have a sour smell. If you see black or brown spots on the shoots, rot is setting in. Remove the affected bulb immediately to save the others. Let the remaining soil dry out completely before watering again.
Q: Should I keep tulips outside at night?Yes, if the temperature is above freezing. The night cool air is essential for the flowers to open properly. I move my pot outside onto my patio every evening around 8 PM if the forecast is above 40°F (5°C). I bring them in the morning before the sun warms up too much. The temperature swing is what triggers the bloom. If you cannot move them outside, crack a window and remove them from any enclosed room.





