How to Get Rid of Black Spots on Hydrangea Leaves
Stop worrying about black spots on hydrangea leaves. Here's the fix: remove all infected leaves immediately, switch to morning-only watering, and ensure your pot has drainage holes. I've been battling this for years, and I'll walk you through exactly what worked for me over the course of two weeks.
My Hydrangea Disaster Story
I killed my first three hydrangeas before I figured this out. I remember staring at those ugly black spots spreading across the leaves, thinking I'd never get it right. But after countless trial and error, I finally cracked the code.
Let me tell you what I learned the hard way. I'm a plant lover just like you. So I'll share my real steps, my mistakes, and exactly how I fixed everything in 14 days.

The 3 Biggest Mistakes Beginners Make
Mistake 1: Overwatering
This is the number one killer. I can't stress this enough. 90% of indoor plants die from overwatering, and hydrangeas are no exception.
I used to water my hydrangea every single day. I thought more water meant happier leaves. Oh, I was so wrong. The black spots appeared within a week. The roots started rotting, and the leaves turned into a black-spotted mess.
Here's what I do now: I stick my finger about two inches into the soil. If it feels dry, I water. Simple as that. The Royal Horticultural Society (RHS) recommends this method too. Check their guidelines at RHS.
Mistake 2: Wrong Light Exposure
I put my hydrangea directly in the afternoon sun. Big mistake. The leaves got scorched, and black spots followed quickly.
I learned that hydrangeas need bright but indirect light. Morning sun is fine, but that harsh afternoon sun? It's a recipe for disaster. Move your plant to a spot where it gets dappled light. Think of how they grow under trees in nature.
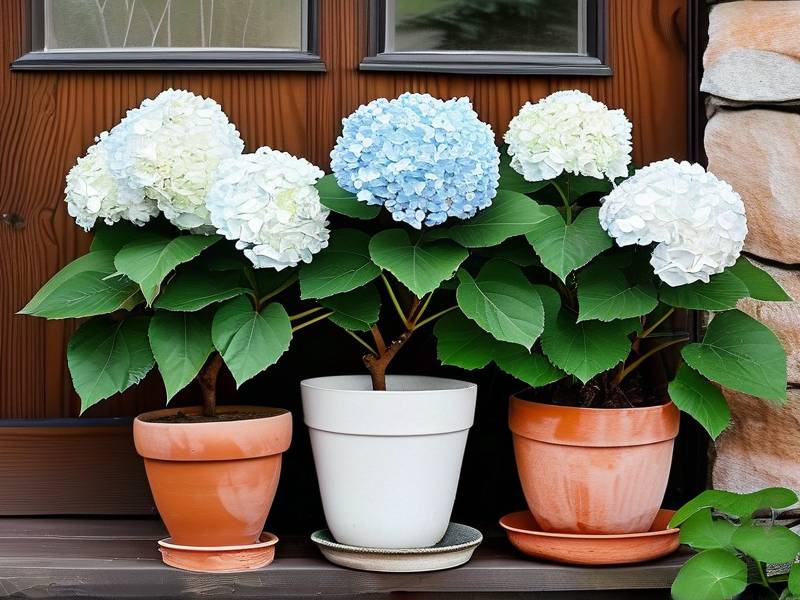
Mistake 3: Wrong Pot Choice
I once used a decorative ceramic pot with no drainage. It looked beautiful, but the roots were drowning.
The water sat at the bottom, creating the perfect environment for fungal diseases. That's when the black spots showed up. I now use only pots with drainage holes. Terracotta pots are my favorite because they help the soil dry out faster.
The American Horticultural Society (AHS) emphasizes proper drainage for healthy plant growth. Visit AHS for more details.
My 2-Week Plan to Banish Black Spots
I'm going to walk you through exactly what I did. This worked for my hydrangea, and it can work for yours too.
Day 1: The Initial Assessment
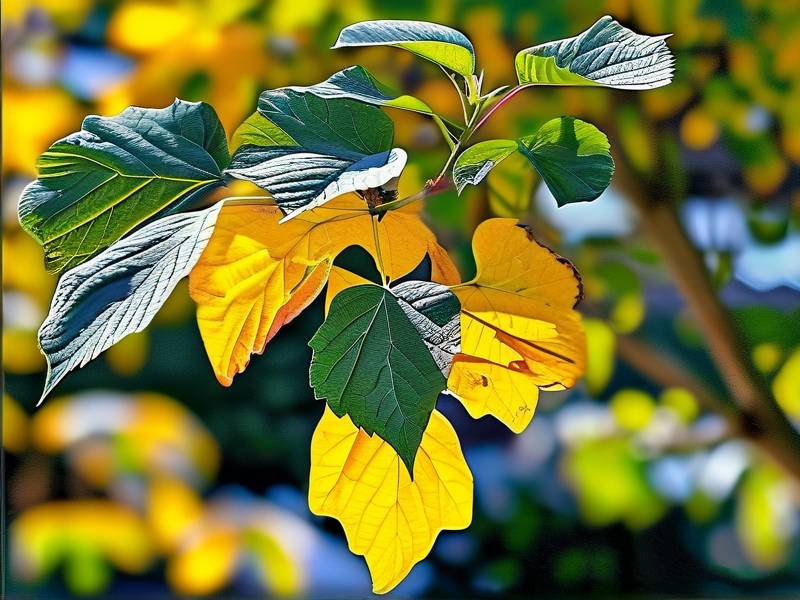
I took a deep breath and looked at my hydrangea carefully. The black spots had spread to about 40% of the leaves. I could see some yellowing around the edges. That's a classic sign of fungal infection.
I grabbed my pruning shears and sterilized them with rubbing alcohol. Then I removed every single leaf that had black spots. I didn't hold back. Even leaves with just one tiny spot had to go.
I threw those infected leaves in the trash, not the compost bin. The fungus can survive in compost and spread again.
Day 2-3: Adjusting the Watering Routine
I stopped watering every day. I waited until the top two inches of soil felt dry. For my hydrangea in a 10-inch pot, that meant watering about every three days.
I also changed my watering technique. Instead of splashing water on the leaves, I watered directly at the soil level. Wet leaves are like a welcome mat for fungal spores.
The RHS confirms that watering at the base prevents leaf diseases. So I follow their advice religiously now.
Day 4-5: Improving Air Circulation
I noticed my hydrangea was crowded against other plants. The air wasn't moving around the leaves. That's a perfect environment for black spots to thrive.
I moved my hydrangea to a spot with better airflow. I also pruned some of the inner branches to open up the center. This allowed air to flow freely through the plant.
Within two days, I could see the remaining leaves looking healthier. The soil was drying out faster too.
Day 6-7: Making a Natural Fungicide
I tried commercial fungicides before. They worked, but I wanted a safer option for my home. So I made my own.
I mixed one tablespoon of baking soda with one teaspoon of horticultural oil in one gallon of water. I added a few drops of dish soap to help everything stick.
I sprayed this solution on all the remaining leaves, making sure to get the undersides too. The baking soda changes the pH on the leaf surface, making it harder for fungus to grow.
I did this in the early morning so the leaves could dry before nightfall. Wet leaves at night? That's asking for more problems.
Day 8-10: The Waiting Game
I checked my hydrangea every morning. I noticed the existing black spots weren't spreading. That was my first win.
I also saw some new growth coming in. The new leaves were green and spot-free. That's when I knew I was on the right track.
I continued with the baking soda spray every three days. I also kept up with the proper watering schedule.
Day 11-14: Visible Results
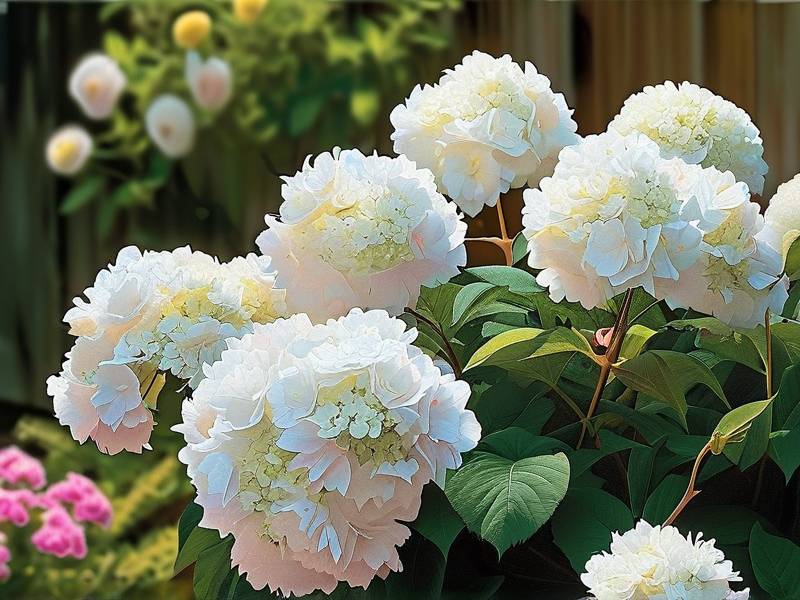
By the end of two weeks, the black spots were gone. I mean completely gone. The new leaves were glossy and healthy.
I adjusted my watering to once a week, depending on the weather. I moved my hydrangea to a spot with morning sun only. And I stuck to using well-draining soil mixed with perlite.
The American Horticultural Society recommends using a soil mix that includes perlite for better drainage. I found this tip incredibly helpful.
Common Questions About Black Spots on Hydrangea Leaves
FAQ 1: Can I save my hydrangea if all leaves have black spots?
Yes, but it's tough. I've been there. If all leaves are infected, you might need to cut the plant back hard. Remove all infected foliage. Water carefully at the base. And hope for new growth from the stems.
Sometimes, the roots are still healthy even when the leaves look terrible. I saved one of my hydrangeas this way. It took about a month to bounce back, but it did.
FAQ 2: Should I use chemical fungicides?
I prefer natural methods first. But if the black spots come back after two weeks, you might need something stronger. I've used copper-based fungicides with good results.
Just follow the instructions carefully. Wear gloves. And keep kids and pets away during application. I only use chemicals as a last resort.
FAQ 3: Will black spots come back next year?
They can. The spores can overwinter in the soil or on fallen leaves. I always clean up around my hydrangea in fall. I remove all dead leaves from the pot.
I also mulch with fresh material in spring. This helps prevent spores from splashing back onto the leaves. It's extra work, but it keeps my hydrangea healthy year after year.
My Final Thoughts on Black Spots
You don't need to be a professional gardener to fix this. I'm just a regular person who loves plants. If I can figure this out, you can too.
The key is catching it early. Check your hydrangea leaves every week. Look for the first signs of black spots. Then act fast.
Remove infected leaves, water at the base, and improve air circulation. That's the whole formula. It took me three dead hydrangeas and two weeks of careful work to learn this.
But now my hydrangea is thriving. The leaves are deep green with no spots. And honestly, it feels amazing to finally get it right.
Start today. Check your hydrangea. If you see black spots, don't panic. Just follow the steps I shared. You'll see improvement in days.
And if you need more help, remember to check the RHS and AHS websites. They have tons of practical advice for gardeners at every level.
I hope my story helps you save your hydrangea. Because every plant deserves a second chance.