bluename
 Let me give you the short answer right away: place your mini anthurium in warm bright indirect light, water it only when the top inch of soil feels dry, and use a small pot with drainage holes. Keep it away from cold drafts and direct sun. That’s it. I killed two of these before I figured out the rest. And honestly, the fix was simpler than I thought.
I’ve been growing indoor tropicals for about seven years now. Mini anthuriums are one of my favorites because they bloom for months at a time. But I’ve also watched friends lose theirs within three weeks. The difference almost always comes down to three mistakes. Let me walk you through them, step by step, based on what actually worked for me over a two-week observation period. Yes, I kept notes. I even took photos daily.
The Three Deadly Newbie Mistakes (I Made All of Them)
Before we get into the good stuff, let’s address the elephants in the room. These are the three mistakes that kill more mini anthuriums than anything else. I’ve made every single one of them. Maybe you have too.
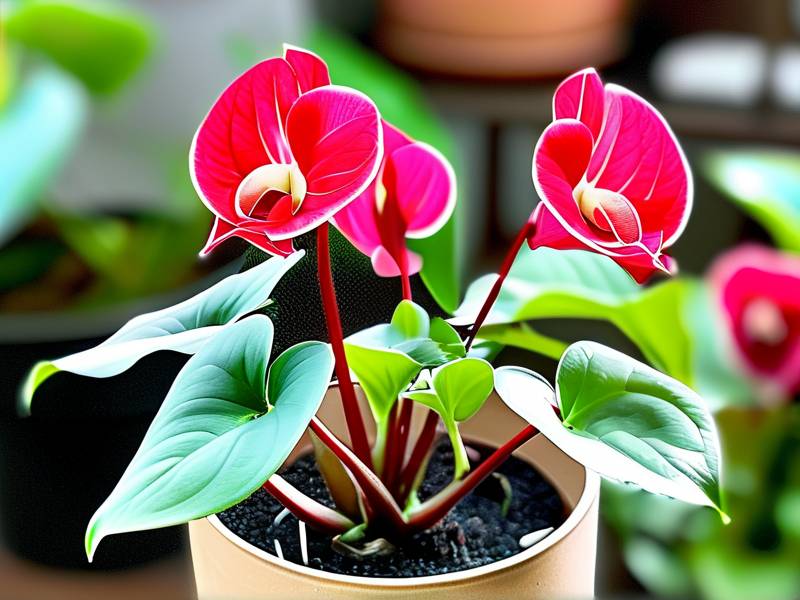
Mistake #1: Overwatering (The #1 Killer)
Here’s the thing. 90% of indoor plants die from overwatering. That’s not just a catchy stat. It’s the truth I learned after drowning my first mini anthurium. I watered it every three days because I thought tropical plants needed constant moisture. Big mistake.
The roots suffocated. The leaves turned yellow. Then the stems went mushy. Within ten days, the whole plant collapsed. I tried to save it by repotting, but it was already too late. The root system had turned to brown sludge. That’s what overwatering does. It rots the roots silently, and you only see the damage above soil when it’s too late.
The fix is simple. Stick your finger into the soil. If the top inch is dry, water it. If it’s still damp, wait another day or two. I now water my mini anthurium roughly once every seven to ten days, depending on the season and room temperature.
Mistake #2: Wrong Light Placement
I used to think my mini anthurium would love my south-facing windowsill. It had plenty of sun, right? Wrong. The intense afternoon sun scorched the leaves. They developed brown patches that looked like burn marks. The red blooms faded to a washed-out pink within a week.
I tried moving it to a darker corner. That was even worse. The plant stopped blooming entirely. The leaves turned a darker green, and new growth came in stunted. So what’s the sweet spot? Warm bright indirect light is what you need. Think of a spot two to three feet away from a bright window, or behind a sheer curtain. That’s where my mini anthurium finally thrived.
Mistake #3: Using the Wrong Pot
My third mistake was repotting my mini anthurium into a large decorative pot. I thought bigger was better. The roots had too much room, and the excess soil held onto water for too long. That led to root rot, again. Because yes, I made this mistake on a second plant.
What actually works is a small pot, just one to two inches larger than the root ball. It needs drainage holes on the bottom. Terracotta pots are great because they wick away excess moisture. Honestly, I switched to a four-inch terracotta pot with a saucer, and my plant perked up within days.
My Two-Week Observation: What Happened When I Fixed My Routine
I wanted to document exactly what changes I made and what I saw over a two-week period. This isn’t theory. This is me, watching my mini anthurium go from struggling to thriving. Here’s my real timeline.
Day 1: The Reset
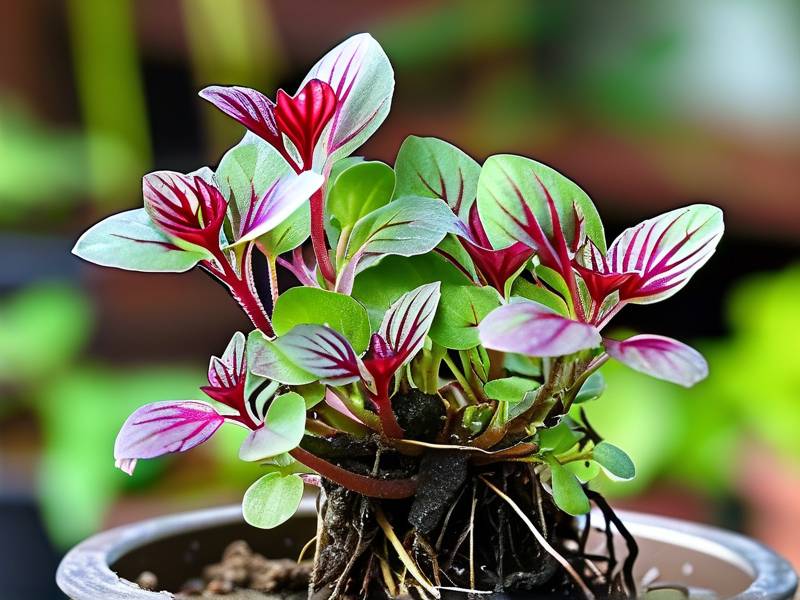
I took my mini anthurium out of its old, oversized pot. The roots were slightly damp but not rotten, which was good. I trimmed away any dark or mushy roots with clean scissors. Then I repotted it into a four-inch terracotta pot with fresh, chunky aroid mix. That mix had orchid bark, perlite, and coco coir. It drains fast, which is honestly what these plants need.
I placed it near my east-facing window, behind a light sheer curtain. The temperature in my living room sits around 72°F (22°C) during the day. That’s within the ideal range, which the RHS confirms for most anthurium species. The plant got about four hours of soft morning sun, then bright but indirect light for the rest of the day.
Day 3: Early Signs
The leaves looked slightly more upright on day three. I noticed the red spathes (the shiny red parts we call blooms) were holding their color better. I didn’t water. The soil was still slightly moist about half an inch down. I kept my hands off. That was hard, honestly.
Day 5: New Root Growth
I gently tilted the pot out to check. I saw small white root tips emerging from the bottom holes. That’s a good sign. Roots were actively growing into the new soil. The top growth didn’t look dramatically different yet, but I knew the plant was stabilizing.
Day 7: First Watering
The top inch of soil was fully dry by day seven. I watered it thoroughly, letting water run out the bottom. I let it drain completely before putting it back on the saucer. Within a few hours, the leaves looked more turgid. The stems straightened up. This was the first time I felt genuinely optimistic.
Day 10: Color Deepens
Here’s a fun observation. The red blooms actually seemed deeper in color. They went from a slightly pale red to a rich, almost glossy crimson. I think this came from the combination of stable moisture and bright indirect light. The plant was also producing a new leaf, which I spotted unfurling near the base.
Day 12: More New Growth
By day twelve, the new leaf was fully open. It was smaller than the older leaves, but that’s normal for mini anthuriums. The plant also had a new flower bud pushing up from the soil line. That was exciting. It meant my care routine was actually encouraging blooming, not just survival.
Day 14: The Turnaround
At the end of two weeks, my mini anthurium looked noticeably happier. The leaves were a vibrant, deep green. The four existing blooms were still going strong, and one new bloom was starting to open. That’s the thing about mini anthuriums. They have long-lasting red blooms that can persist for four to six weeks each. If you treat them right, you basically get continuous color. The AHS emphasizes that consistent light and proper watering intervals are key to repeat flowering, and I completely agree.
The Perfect Care Routine (Step by Step)
Let me break down the daily and weekly routines that finally worked. This is basically my exact checklist now. I use it for every mini anthurium I own. And right now, I own three.
Warm Bright Indirect Light
This is non-negotiable. Mini anthuriums need warm bright indirect light, not direct sun, not deep shade. Direct sun burns the leaves. Deep shade stops blooming. I found that an east or north window works best. If you only have south or west windows, place the plant a few feet back. Or use a sheer curtain as a buffer. Simple as that.
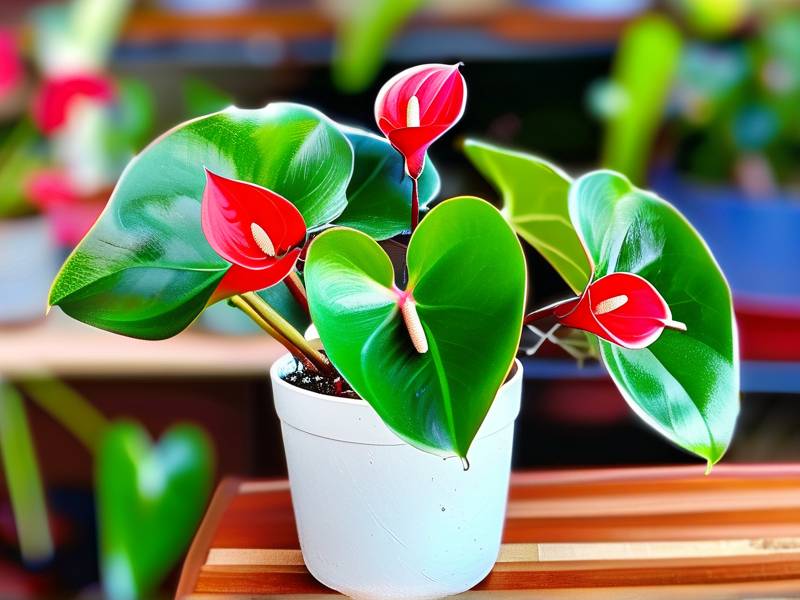
Temperature and Humidity
These are tropical plants. They like warmth. Keep them above 60°F (15°C) at night. I keep my home around 70 to 75°F during the day. If your home gets colder in winter, move the plant away from windows at night. Cold drafts are a silent problem. They cause the leaves to curl and the blooms to drop.
Humidity helps too. I use a small pebble tray with water under the pot. I don’t mist the leaves anymore because that caused water spots on the foliage. The pebble tray keeps local humidity around the plant without wetting the leaves. If you have a humidifier, that works even better. For me, the pebble tray was enough.
Watering Correctly
Stick your finger in the soil. Top inch dry? Water. Still damp? Wait. This simple test phrase replaced all my old scheduling habits. I water thoroughly until water runs out the drainage holes, then I let the pot rest in the sink for a few minutes. No standing water in the saucer. Doing this prevents root rot and keeps the roots healthy.
Soil That Drains Fast
Regular potting soil is too heavy for mini anthuriums. Trust me on this. I use a mix of two parts potting soil, one part perlite, and one part orchid bark. This helps air reach the roots. It also prevents water from pooling at the bottom. If you don’t have those ingredients, a store-bought aroid mix works well too. The main point is this: fast drainage is your friend.
Fertilizing Gently
During the growing season, I use a diluted liquid fertilizer every four weeks. The label says half strength, and I actually use a bit less than that. Mini anthuriums have small roots. They don’t tolerate heavy feeding. If you see burnt leaf tips, you’ve probably over-fertilized. Dial it back. In winter, I don’t fertilize at all. The plant rests, and that’s okay.
Repotting Rarely
Don’t repot often. These plants like snug pots. I only repot every two to three years, or when roots completely fill the pot. When I do repot, I go up just one size. That’s it. Staying in a small pot is one of the best things you can do for this plant.
Cleaning the Leaves
Every two weeks, i take a damp cloth and wipe down the leaves gently. Dust blocks light absorption. And dusty leaves look dull. Cleaning them brings back that healthy shine. It also gives me a chance to inspect the plant for pests. The most common ones I’ve found are spider mites and mealybugs. Catching them early makes a big difference.
How to Encourage Long-Lasting Red Blooms
This is the part everyone cares about. The red blooms are the whole point, aren’t they? Mini anthuriums naturally bloom for several months at a time. But you can boost that with a few simple tricks.
First, consistent light. I cannot stress this enough. A mini anthurium in a dim corner will stop blooming. It’s that direct. Mine gets bright indirect light for most of the day, and it has produced new flower buds continuously.
Second, stable conditions. I don’t move my plant around much. When I was experimenting, I would relocate it occasionally. Each move seemed to stall blooming. I learned to pick a spot and leave it there. Stability matters more than anything.
Third, proper watering rhythm. Too much water and the blooms fade early. Too little and they dry out. That top-inch dryness test has been my key. When I follow it, the blooms last longer. When I ignore it, they drop prematurely. I’ve watched this happen many times.
Fourth, trimming spent blooms. When a bloom fades, I cut it off at the base with clean scissors. This channels energy into new flower production. I also remove yellowing leaves the same way. A clean plant is a happy plant, from what I’ve seen.
What I Learned After Killing My First Two Plants
I’ll be straight with you. My first mini anthurium died from overwatering. My second died from a combination of cold drafts and too much direct sun. I remember being so frustrated. I thought I was doing everything right. But looking back, I was doing everything too much.
I watered too often. I placed it in harsh sun. I repotted into a pot that was way too big. I fed it too much fertilizer. Honestly, I was trying too hard. Mini anthuriums don’t need constant attention. They need consistency and moderation. That’s the real lesson.
Since I changed my approach, I’ve had my current mini anthurium for over a year. It’s bloomed four times. The longest blooming cycle lasted about two months. The newer, smaller plant I documented for this article is doing beautifully. That’s the proof, at least for me, that a simple routine works better than a complicated one.
Common Problems and Quick Fixes
I’ve seen quite a few issues over the years. Let me cover the most common ones and what I actually did to solve them.
Yellow Leaves
Usually overwatering, but could also be a nutrient issue. Check the soil moisture first. If it’s soggy, let it dry out completely. If it’s dry and the leaves are still yellow, consider a weak dose of fertilizer. In my case, overwatering was always the culprit. I stopped watering on a schedule and switched to the finger test. That solved the problem.
Brown Leaf Tips
This usually means dry air or excess fertilizer. I solved this by adding a pebble tray. Also, I flushed the soil a few times to wash out salt buildup from fertilizer. You can flush by pouring water through the pot and letting it drain completely. Do that a couple of times a month if you see brown tips. It worked for me.
No Blooms
Your plant isn’t getting enough light. I moved mine to a brighter spot with indirect sun, and it started blooming within three weeks. If light isn’t the issue, check if the pot is too big. A snug pot encourages blooming. Too much space encourages root growth instead of flowers.
Drooping Leaves
Usually a watering issue. Check the soil. If it’s bone dry, water thoroughly. If it’s wet, you’re overwatering. Drooping can also happen from cold drafts. I moved mine away from the window in winter, and the leaves perked up.
FAQ
Can I keep my mini anthurium in a bathroom?
Yes, if the bathroom has bright indirect light. Bathrooms are often humid, which is great for these plants. Just make sure it’s not in a dark corner. A bathroom with a small window works well. One of my friends keeps hers on a bathroom shelf, and it blooms constantly.
How often should I mist my mini anthurium?
I don’t mist anymore. Misting didn’t help me, and it left water spots on the leaves. Instead, I use a pebble tray. That adds humidity consistently. If you do mist, do it in the morning so the water evaporates during the day. But in my opinion, the pebble tray is better.
What’s the best pot material for mini anthuriums?
I prefer terracotta. It absorbs extra moisture and lets the soil breathe. Plastic pots work fine too, but you have to be more careful with watering. If you’re a beginner, terracotta is forgiving. It dries out a bit faster, which lowers the risk of overwatering. That’s a big plus.
Final Thoughts From My Own Experience
Mini anthuriums are not hard to keep alive. They just need their basic needs met, consistently. Give them warm bright indirect light, water only when needed, and keep them in a small pot. That’s the foundation. Once you get that right, the long-lasting red blooms come naturally.
I really believe anyone can grow these plants. I killed two myself, and I’m not a bad plant parent. I just wasn’t paying attention to the fundamentals. Now that I do, they practically take care of themselves. If you’re struggling, just remember: keep it simple. Check the soil before you water. Keep it out of direct sun. Give it time to adjust. Your mini anthurium will surprise you with how resilient it can be.