bluename
 How to Get Rid of Fungus Gnat Larvae in Asplenium Nidus Fern Soil
If you've noticed tiny black flies hovering around your Asplenium nidus fern, you're probably dealing with fungus gnats. And here's the frustrating truth: those flying adults are only half the problem. The real damage comes from the larvae hiding in your potting mix, chewing on roots and organic matter. I've battled these pests more times than I care to admit, and I can tell you right now that getting rid of fungus gnat larvae in Asplenium nidus fern soil takes patience, the right approach, and about two solid weeks of consistent effort. The good news? It's absolutely doable, and you don't need nasty chemicals to pull it off.
Let me give you the short answer upfront: you need to break the gnat life cycle by drying out the top layer of soil, using biological control like Bacillus thuringiensis israelensis (BTI), and fixing the underlying conditions that attracted them in the first place. That means addressing overwatering, poor drainage, and the wrong potting setup. Simple as that. But the details matter enormously, and skipping steps is exactly how I ended up losing my first bird's nest fern to what I thought was a "minor gnat problem."
Why Fungus Gnats Love Your Asplenium Nidus Soil
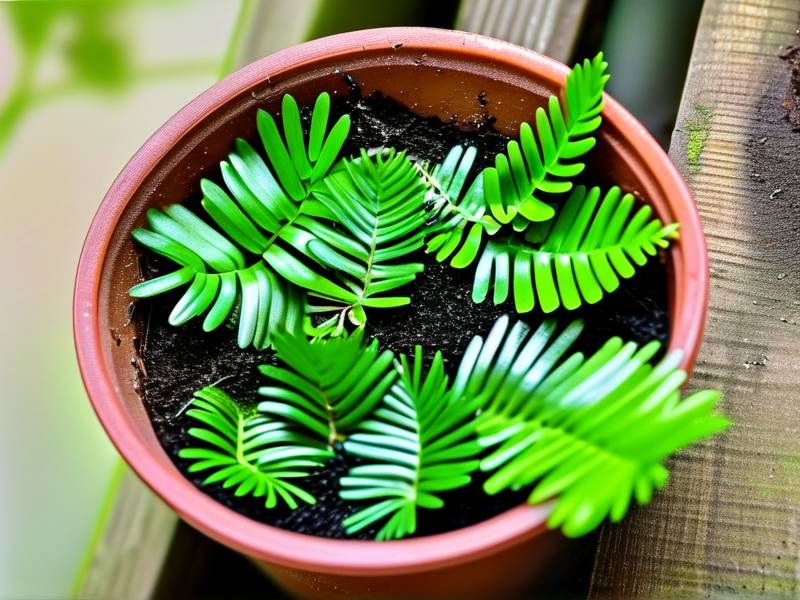
Asplenium nidus, commonly called the bird's nest fern, is a gorgeous tropical epiphyte. In nature, it grows on tree trunks and rock surfaces where its roots get plenty of air and moisture drains away fast. But when we pot them in standard indoor mixes, we create something fungus gnats absolutely adore: consistently moist, rich, organic soil.
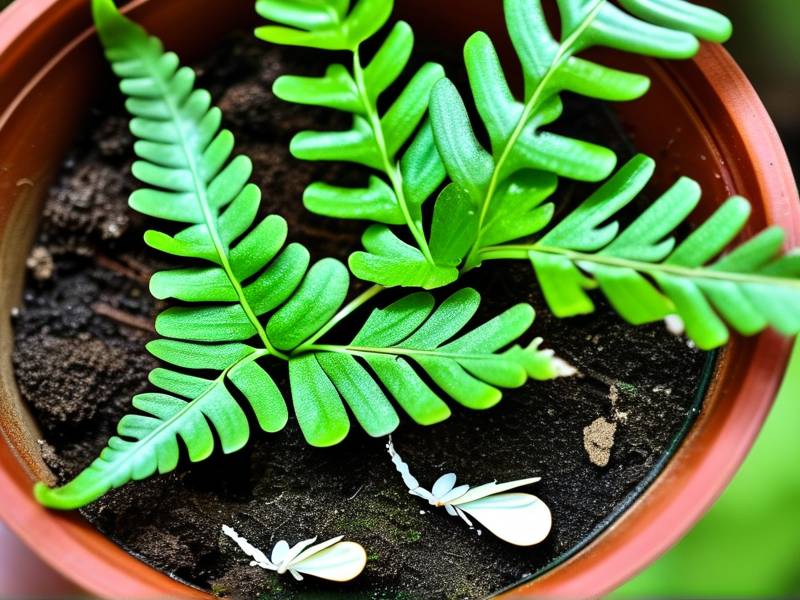
Fungus gnat females lay hundreds of eggs in the top 2 to 3 inches of moist potting soil. Within about 3 days, those eggs hatch into tiny translucent larvae with shiny black heads. These larvae feed on fungi, algae, and decaying organic matter in the soil. They also nibble on fine root hairs, which weakens your fern over time. I've pulled seedlings out of infested pots and literally seen the larvae clinging to roots. Gross, but informative.
The adult gnats themselves are mostly just annoying. They fly into your face, land on your coffee, and multiply like crazy. But the larvae are the real issue. And here's something I wish someone had told me earlier: 90% of indoor plants die from overwatering. Not underwatering. Not pests alone. Overwatering. And overwatering is the number one invitation for fungus gnats to move in and set up shop.
The Three Beginner Mistakes That Create a Gnat Paradise
I've made every single one of these mistakes, so learn from my pain.
Mistake One: Overwatering Your Bird's Nest Fern
I used to water my Asplenium nidus on a strict schedule. Every Sunday, without fail. Big mistake. Bird's nest ferns don't want constantly wet roots. They want consistent moisture with a chance to dry slightly. When I kept the soil soggy, I wasn't just risking root rot. I was rolling out a red carpet for fungus gnats.
The fix is simple but requires you to actually check the soil before watering. Stick your finger about an inch into the mix. If it feels moist, wait. If it feels dry, water thoroughly and let it drain. During winter, you'll water far less often than you think.
Mistake Two: Putting It in the Wrong Light
I once placed my Asplenium nidus in a dark corner because I read somewhere that they're "low light" plants. Technically, they can survive in lower light, but they won't thrive. And here's the gnat connection: when a plant is stressed from insufficient light, it grows weaker, uses less water, and the soil stays wet longer. That prolonged moisture is exactly what fungus gnat larvae need to survive.
According to the Royal Horticultural Society (RHS), most houseplants do best in bright, indirect light. For bird's nest ferns, that means a spot near a window that gets filtered sun. No harsh midday direct sun, which scorches those beautiful fronds. But definitely not a dark hallway either.
Mistake Three: Using the Wrong Pot
I'm guilty of this one too. I once potted a beautiful Asplenium nidus in a decorative ceramic pot with no drainage holes. It looked lovely. It also turned into a swamp every time I watered. The soil stayed waterlogged for days, and within two weeks I had a full-blown fungus gnat infestation.
The American Horticultural Society (AHS) consistently recommends containers with adequate drainage. For bird's nest ferns, I now use a pot with drainage holes and a saucer underneath. I also add extra perlite or orchid bark to the potting mix to improve airflow around the roots. This simple change made a massive difference in how quickly the soil dries and how few gnats I see.
My Two-Week Plan to Eliminate Fungus Gnat Larvae
When I finally got serious about eradicating these pests from my Asplenium nidus, I followed a specific routine and tracked results every few days. Here's exactly what I did.
Day 1: Stop Watering and Let the Top Layer Dry
The first thing I did was skip watering entirely. Fungus gnat larvae need moisture to survive. Drying out the top 2 inches of soil kills many of them and makes the environment less hospitable for egg-laying adults. I let my fern's soil dry for about 4 days before doing anything else.
Day 2: Apply BTI (Bacillus Thuringiensis Israelensis)
This is the game-changer. BTI is a naturally occurring bacterium that kills fungus gnat larvae specifically. It doesn't harm people, pets, or beneficial insects. You mix it with water according to the package instructions and drench the soil. I used mosquito dunks (which contain BTI) by soaking one in a gallon of water overnight and then watering my fern with that solution.
I reapplied this BTI drench every 5 days for two weeks. That timing matters because it targets newly hatched larvae before they can reproduce.
Day 3: Sticky Traps for Adults
While BTI goes after the larvae, yellow sticky traps catch the adult gnats. I placed a couple of small yellow sticky stakes near the soil surface. They look a bit ugly, but they work. Within 48 hours, I counted about 20 adults stuck to the traps. That number dropped steadily over the next week.
Day 4: Top-Dress with Sand or Fine Gravel
Fungus gnat adults like to lay eggs in moist, exposed soil. By adding a half-inch layer of coarse sand or fine gravel on top of the potting mix, I made it much harder for them to reach the soil. This also helps keep the top layer drier. I've used both sand and aquarium gravel, and honestly, gravel looks a bit nicer.
Day 7: Check for Improvement
By day seven, I was still seeing a few adults, but far fewer than before. The sticky traps had maybe 5 new gnats instead of 20. I continued the BTI drenches and held off on regular watering. My fern's fronds looked fine, no wilting.
Day 10: Repot If Necessary
If you're dealing with a severe infestation, repotting might be necessary. I repotted one of my ferns on day 10 because the soil was old and breaking down, which was feeding the larvae. I gently shook off as much old soil as possible, rinsed the roots with room-temperature water, and repotted into fresh, well-draining mix. I added extra perlite and a handful of orchid bark to keep things airy.
Day 14: Near-Elimination
Two weeks in, I saw maybe one or two adult gnats total. The larvae were gone. I knew because I poked around the top layer of soil and found no signs of them. The fern was pushing out a new frond, which is always a good sign. I resumed a normal watering routine but stayed strict about letting the top inch dry out between waterings.
What I Learned About Preventing Future Infestations
Honestly, getting rid of fungus gnats is half the battle. Keeping them from coming back is the other half. Here's what I do now to keep my Asplenium nidus gnat-free.
First, I water from the bottom when possible. I set the pot in a tray of water and let it soak for 20 minutes, then remove it. This keeps the top layer of soil dry, which discourages egg-laying.
Second, I use a moisture meter. I know it sounds a bit techy for a houseplant, but it's saved me from overwatering more times than I can count. The meter tells me exactly when the soil is dry enough to water again.
Third, I refresh the top inch of potting mix every few months. Old, decomposing organic matter is a gnat magnet. Replacing just the top layer reduces that food source without disturbing the roots too much.
Finally, I quarantine new plants. Every new plant that comes into my home spends two weeks in a separate room before joining the others. Fungus gnats spread easily, and a little patience upfront prevents a lot of headaches later.
Why Chemicals Aren't My First Choice
I've tried chemical insecticides before, and I didn't love the results. Some products worked quickly but smelled terrible and left me worried about my cat sniffing around the pot. Others seemed to knock down adults but didn't touch the larvae, so the cycle just started again.
BTI and sticky traps are my go-to because they target the problem without harsh side effects. I also like that BTI is specific to certain fly larvae, so it doesn't wipe out beneficial soil organisms. If you're dealing with a massive infestation and nothing else works, you could look into beneficial nematodes (Steinernema feltiae), which are microscopic worms that hunt fungus gnat larvae in the soil. I haven't needed them yet, but they're a solid option.
One thing I want to mention: don't bother with DIY soap sprays or cinnamon dusting as your primary solution. I tried both. They made zero difference against the larvae. Save your energy for BTI and proper watering habits.
Common Questions I Get About Fungus Gnats and Asplenium Nidus
How long does it take to get rid of fungus gnat larvae completely?
In my experience, about two weeks with consistent BTI applications and careful watering. If you skip a treatment or keep the soil wet, expect it to drag on longer. The key is breaking the life cycle, which takes roughly 2 to 3 weeks from egg to adult.
Can fungus gnats actually kill my Asplenium nidus?
Healthy, established ferns usually survive gnat infestations, though they may look a bit rough. The bigger risk is for seedlings or already-stressed plants. The larvae damage roots, and if root damage combines with overwatering, rot can set in. I lost a small division once because I ignored the gnats for too long.
Do I need to throw out the soil and start fresh?
Not always. If the infestation isn't severe and you catch it early, BTI and drying out the top layer can save the soil. If the soil is old, breaking down, and full of larvae, I'd repot with fresh mix. I've done both, and repotting is honestly the quickest reset when things are bad.
The Bottom Line on Fungus Gnat Larvae in Bird's Nest Fern Soil
Fungus gnats are annoying, but they're not invincible. The larvae hiding in your Asplenium nidus soil can be beaten with a combination of drying out the top layer, applying BTI consistently, trapping adults, and fixing the root causes like overwatering and poor drainage. I know it feels overwhelming when you see those little flies scattering every time you water, but hang in there. Two weeks of focused effort made a world of difference for my ferns, and it will for yours too. Just remember: 90% of indoor plants die from overwatering. Get that right, and you're already ahead of the game.