 bluename
 I’ve killed more fiddle-leaf figs than I’d like to admit. The brown spots with yellow halos? That’s bacterial leaf spot, and it spreads fast. Here’s the short answer: isolate the plant, cut off every infected leaf with sterilized scissors, stop misting entirely, and let the soil dry out completely before watering again. I did this for two weeks straight, and the spread stopped by day four. But honestly, the fix only works if you also fix the three habits that caused it in the first place. Keep reading, because I’ll walk you through exactly what I did, what I got wrong, and how to keep your Ficus lyrata alive this time.
I’m not a botanist. I’m just someone who has ruined five of these trees before learning the hard way. So trust me when I say this guide is practical, not textbook. I’ll share my real timeline, real mistakes, and the exact steps that finally worked.
What Bacterial Leaf Spot Looks Like on a Fiddle-Leaf Fig
Before you treat anything, you need to be sure it’s bacterial leaf spot and not something else. I’ve confused it with sunburn and even spider mites. Here’s how I learned to tell the difference.
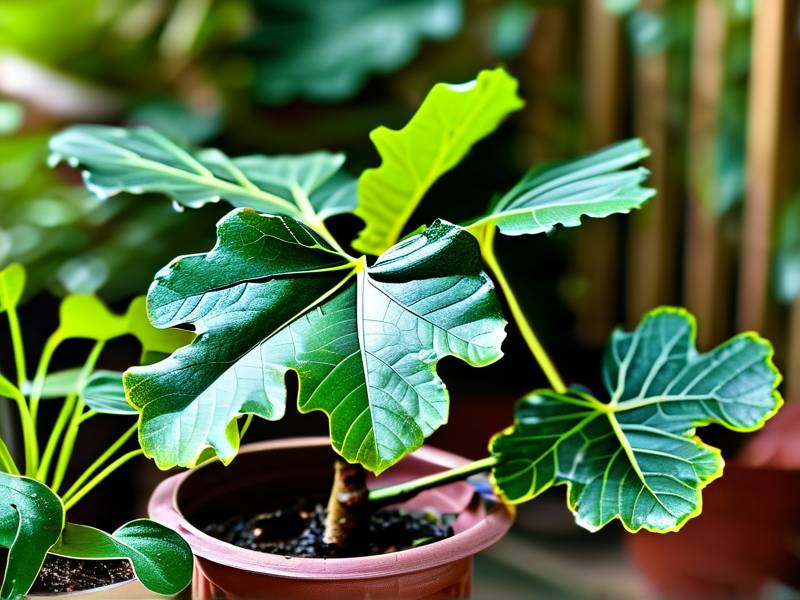
Bacterial leaf spot shows up as small, water-soaked lesions. They start tiny, maybe the size of a pinhead. Then they expand into irregular brown or black spots. The key clue? A yellow halo surrounds each spot. That yellow ring is the plant’s immune response trying to contain the bacteria.
The spots usually appear on lower leaves first. Then they move upward. If you hold a leaf up to light, the spot looks translucent at the edges. That’s a dead giveaway.
Compare that to sunburn. Sunburn causes large, dry, crispy patches that aren’t water-soaked. And spider mites leave tiny yellow speckles, not big brown lesions. If you see webbing under the leaves, it’s mites, not bacteria.
Another clue: bacterial spots feel slightly raised or bumpy on the underside. Run your finger over the leaf. If it feels textured at the spot, that’s likely bacteria.
I made the mistake of ignoring the yellow halo once. I thought my leaf was just getting old. It wasn’t. Within two weeks, five more leaves were infected. Don’t wait.
The Three Newbie Mistakes That Cause Bacterial Leaf Spot
I’m going to be blunt here. Almost every case of bacterial leaf spot on a fiddle-leaf fig comes down to one of three mistakes. I’ve made all three. You probably are making at least one right now.
Mistake #1: Overwatering (This Kills More Plants Than Anything Else)
Here’s a stat that shocked me when I first heard it: 90% of indoor plants die from overwatering. I believe it, because I’ve personally drowned two fiddle-leaf figs.
Bacterial leaf spot thrives in wet conditions. The bacteria (usually Xanthomonas or Pseudomonas) need moisture to multiply. When you water too often, the soil stays soggy. The roots suffocate. And the leaves, especially the lower ones, sit in a humid microclimate that bacteria love.
I used to water my fig every three days. I thought I was being attentive. In reality, I was creating a bacterial paradise. The roots were rotting, and the bacteria were partying on the leaves.
The fix is simple but hard for newbies to accept: wait until the top two inches of soil are bone dry. Stick your finger in there. Not a quick touch – actually push down to your second knuckle. If you feel any moisture at all, don’t water.
During my successful two-week treatment, I watered exactly once. That’s it. The plant didn’t die from thirst. It recovered because I stopped drowning it.
Mistake #2: Wrong Light Placement
People think fiddle-leaf figs want direct sun. They don’t. They want bright, indirect light. I learned this after burning a plant so badly it looked fried.
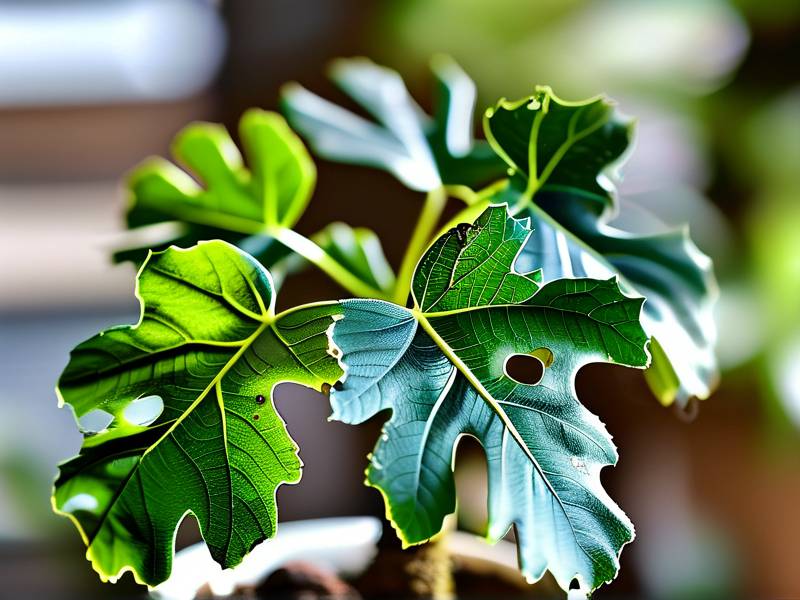
But here’s the connection to bacterial leaf spot that most people miss: a stressed plant gets sick easier. When you put a fig in direct afternoon sun, the leaves get stressed. The leaf cells weaken. That makes it way easier for bacteria to invade. Plus, if you combine harsh light with wet leaves (from misting, which I’ll get to), you get tiny burns. Burns are entry points for bacteria.
The right spot is near an east-facing window or a few feet away from a south-facing one. The light should be bright enough to read a book, but you shouldn’t see harsh shadows on the leaves.
I moved my fig to a north-east corner with sheer curtains. The leaves stopped crisping, and oddly, the bacterial spots spread slower. Light stress was wearing the plant down.
Mistake #3: Using the Wrong Pot
This one is sneaky. A pot without drainage holes is a death sentence. But so is a pot that’s too big. Both cause water retention. And water retention causes bacteria.
When I started, I put my fig in a giant decorative pot without holes. I’d water, and the water would just sit at the bottom. The roots were literally soaking in a pool of bacteria soup. Every leaf on the bottom half got infected within three weeks.
The fix is a pot with at least one large drainage hole. And the pot should only be one to two inches larger in diameter than the root ball. A too-big pot holds too much soil, and that soil stays wet forever.
I switched to a terracotta pot with a large hole. Terracotta is porous, so it wicks moisture away from the roots. That alone made a massive difference. The soil dried out twice as fast.
If your current pot doesn’t have drainage, repot immediately. Even during treatment. I repotted mine on day one, and I think that’s why the treatment worked.
How I Treated Bacterial Leaf Spot: My Exact Two-Week Timeline
Alright, here’s the meat. This is the step-by-step process I followed. It’s not fancy. It’s just consistent and boring. And boring works.
Before I start, a note on the experts. The RHS and the AHS both emphasize that bacterial leaf spot has no chemical cure. Copper fungicides can slow it down, but they won’t fix the underlying issue. The real cure is sanitation and environmental change.
My Treating Supplies
- Sterilized pruning shears (I wipes them with rubbing alcohol)
- Fresh, well-draining potting mix
- Terracotta pot with drainage holes
- Copper fungicide spray (optional, for stubborn cases)
- A small fan for air circulation
- Rubbing alcohol for cleaning tools between cuts
Day 1: Isolate and Remove
The first thing I did was move the infected fig away from all my other plants. Bacteria spread through water splashes. If I watered the healthy plants near the sick one, I’d risk splashing bacteria onto them.
Then I started cutting. I looked at every single leaf. Any leaf with even one brown spot got removed. I didn’t try to save partially clean leaves. Once that bacteria is in the tissue, it’s there. Leaving a spotted leaf just gives the bacteria a home base to regrow.
I cut the leaf at the base of the petiole, as close to the main stem as possible. And I sterilized my shears between every single cut. Every cut. Dip in alcohol, wipe, cut. It’s tedious but non-negotiable. I once skipped a wipe and ended up spreading bacteria from a bad leaf to a clean one. Don’t repeat my mistake.
After cutting, I bagged all the infected leaves and threw them in the outdoor trash. Not compost. Compost is a bacterial breeding ground.
Day 2: Repotting (My True Lifesaver)
On the second day, I repotted. I took the plant out of its old pot and examined the roots. Several were brown and mushy. Rotten. I cut those off with my sterilized shears. If my roots had been entirely black, I would have had to propagate healthy cuttings. But I lucked out – enough white roots remained.
I used a fresh bag of potting mix that I hadn’t opened before. Old soil from my yard? A potential bacterial source, so I avoided it. The mix was coco coir, perlite, and a bit of compost. Very airy. Very fast-draining.
I placed the fig in the new terracotta pot and filled in the sides. I didn’t water immediately. I let the roots settle for 24 hours. The soil was slightly moist from the bag anyway.
Day 3–5: No Water, Just Air
Here’s where I had to fight my instincts. I wanted to water. The leaves were drooping. But I remembered that water is fuel for bacteria. The soil was still a bit damp. So I didn’t water.
Instead, I set up a small clip-on fan pointing at the fig on low speed. The air circulation helped dry out the soil and, more importantly, kept the leaf surfaces dry. Bacteria need a film of water to move. Before treatment, dew and condensation would collect on the leaves. The fan stopped that.
I also stopped misting. If you mist your fiddle-leaf fig, stop. Misting raises humidity around the leaves, which encourages bacterial growth. The myth that figs need daily misting has killed an absurd number of houseplants. I bought it once and paid for it with a full-blown bacterial infection.
By day four, the spots stopped spreading. Every cut leaf had a clean, dry edge. The remaining leaves were spotless.
Day 6: First Watering
On day six, I checked the soil with my finger. It was dry to the second knuckle. So I watered. But I watered from the bottom, not the top. I placed the pot in a shallow dish of water for 20 minutes. This way, the soil pulled up moisture without wetting the leaves. Top watering splashes bacteria around and wets the stem. Bottom watering keeps everything dry up top.
I only added one cup of water to the tray. I didn’t want to saturate. Just enough to give the roots a drink.
Day 7–10: Monitoring with Fresh Eyes
Every morning, I checked the undersides of the remaining leaves with a magnifying glass. I looked for any new translucent spots. I found one tiny spot on day eight. I removed that leaf immediately. It was a single leaf, near the bottom. I caught it early, and it never spread.
I also wiped down the healthy leaves with a dry microfiber cloth. This removed dust, which can trap moisture. And it let me inspect each leaf closely. The plant had maybe 18 leaves left after my initial cutting. I checked all 18 every morning.
Day 11–14: The Turnaround
By day eleven, I could see new growth at the top of the plant. A tiny, bright green leaf was unfurling. That was my signal that the plant wasn’t just surviving – it was recovering. New growth means the roots are healthy and the bacteria is under control.
On day fourteen, I watered again (bottom method, after checking soil). The soil was dry. The plant looked alert. The remaining leaves were a deep, consistent green with zero new spots.
I kept the fan running at low speed for another week, just to be safe. Then I moved it to a spot with slightly better air circulation. My bathroom or kitchen would have been wrong. Kitchens are hot and steamy. I kept it in the living room near a window.
What I Should Have Done From the Beginning
I didn’t treat this problem right away. Honestly, I spent two weeks hoping the spots would vanish on their own. They didn’t. That cost me more leaves and made the treatment longer. If you see a yellow-haloed spot today, act today. Don’t wait.
Also, I should have quarantined this plant the day I brought it home from the nursery. Many bacterial infections start at the store. The stock plants are often watered heavily and kept too close together. A new plant might already be carrying the bacteria. A two-week quarantine away from your other plants is not paranoia – it’s basic prevention. The RHS actually recommends this for any new acquisition. I ignored that advice once. Never again.
And one more thing about the AHS’s stance on watering – I actually read through their houseplant care guides after my disaster. They stress that light and air circulation are just as important as water. You can’t fix bacteria with water alone. You have to fix the whole microclimate.
Preventing Bacterial Leaf Spot in the Long Run
Once I got the infection under control, I changed my whole routine. Here’s what I do now, and I haven’t seen a single spot on any fig in over a year.
Water deeply but rarely. I water my fig roughly every two weeks. The top three inches of soil must be bone dry. In winter, it’s closer to three weeks. I always bottom-water now. No exceptions.
No misting. Ever. My fig gets humidity from a room humidifier in winter, but it’s set to 50% and two meters away from the plant. Direct misting stopped completely.
Clean leaves monthly. I wipe each leaf with a slightly damp (not wet) cloth every month. Then I dry it with a dry cloth. That takes 10 minutes. It prevents dust buildup and lets me catch any early spots.
Well-draining soil always. My mix is 50% potting soil, 30% perlite, 20% bark. It drains like a sieve. If I ever see water pooling on the surface for more than 5 seconds, I repot with more perlite.
Proper spacing. I don’t cram plants together. Each plant has at least 12 inches of clearance. This lets air flow freely and prevents any splash transfer of bacteria.
FAQ: Answers I Wish I Had When I Started
Can I use a copper fungicide on bacterial leaf spot?
Yes, but it’s not a silver bullet. I used a copper spray on day three. It may have helped slow the spread, but it didn’t stop it. The real fix was removing infected leaves and drying out the environment. If you use copper, apply it only to the remaining clean leaves. And avoid spraying the soil. Fungicide in the soil can harm beneficial microbes.
Will my fiddle-leaf fig grow back the leaves I cut off?
Yes, but not in the same spot. A fig won’t push out new leaves from where you cut a leaf. New leaves only grow from the top of the stem or at side branches. So if you cut off all lower leaves, the lower stem stays bare. That’s okay. My fig looks a bit leggy now, but new top growth is filling in. If you want a bushier plant, you’ll need to prune the stem tip after recovery. That encourages branching.
Is it safe to compost the infected leaves?
No. Absolutely not. Compost piles are humid and warm – perfect for bacterial survival. The bacteria can live in leaf debris for months. If you use that compost later, you’ll re-infect your plants. Bag the leaves and throw them in the trash. That’s what I do now.
The last thing I’ll say is this: don’t get discouraged. A bacterial leaf spot is scary, but it’s manageable. I ruined several figs before I got this right. The fact that you’re reading this means you’re already ahead of where I was. You caught it. You have a plan. Now go cut those leaves, let the soil dry out, and give your fig the tough love it actually wants. You’ll see new growth before you know it.





