 bluename
 That sinking feeling when you notice your beloved ceropegia sandersonii looking more like a sad, wrinkled balloon than the quirky, lantern-shaped beauty it once was. Root rot is almost certainly the culprit. Honestly, the fix isn't as complicated as you'd think. You need to act fast, cut away the mush, and repot it in something that drains like a sieve.
I’ve killed more houseplants than I care to admit. And believe me, 90% of indoor plants die from overwatering. My first ceropegia didn't stand a chance. I treated it like a tropical fern, drenching it every few days. It was a soggy disaster within a month. The leaves turned yellow, the base went soft, and the smell... well, let's just say it wasn't pleasant.
This guide is everything I learned the hard way. I’m sharing my exact rescue steps, the two-week recovery timeline, and the mistakes that almost cost me my third plant. If you're staring at a pot of mush right now, take a breath. We can fix this.
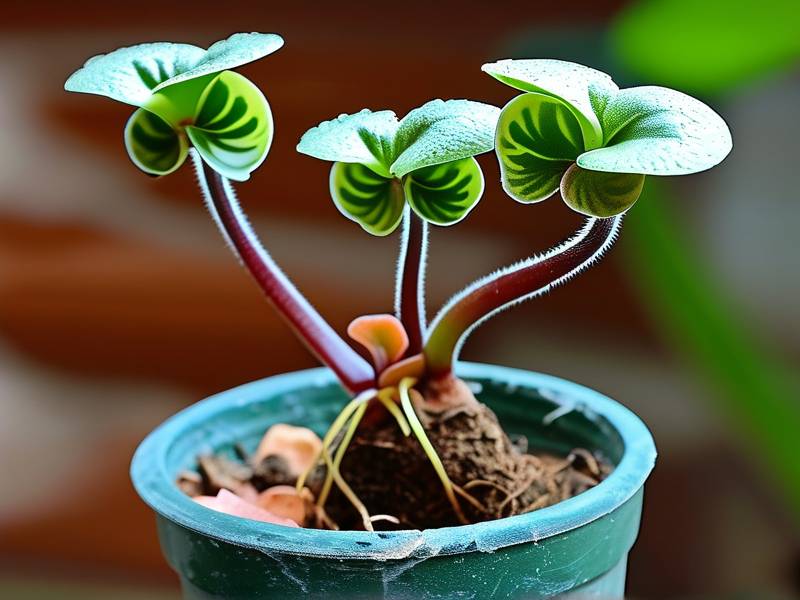
My Quick-Fire Rescue Plan (What to Do Right Now)
- Unpot and Assess: Gently slide the plant out of its pot. Knock off all the old soil. You’ll see the damage immediately.
- Cut Everything Soft: Use sterilized scissors. Trim every dark, mushy, or hollow root. Be aggressive. Also cut away any wilted or yellowed stems. You’re aiming for firm, white or light-green tissue only.
- Let It Dry: Place the cleaned root system on a paper towel for 24-48 hours. This callus step is non-negotiable. It prevents bacteria from re-entering the fresh cuts.
- Repot Dry: Use a small terracotta pot with a drainage hole. Fill it with a gritty, cactus-specific mix. Plant your ceropegia shallowly. Do not water it.
- Wait a Week: Keep it in bright, indirect light. After 7 days, give it a tiny sip of water—just enough to moisten the top inch of the soil. Then wait another week before watering normally.
The 3 Fatal Mistakes That Kill Ceropegia Sandersonii (Every Single Time)
I see these three mistakes destroy more plants than any disease. Avoid them at all costs.
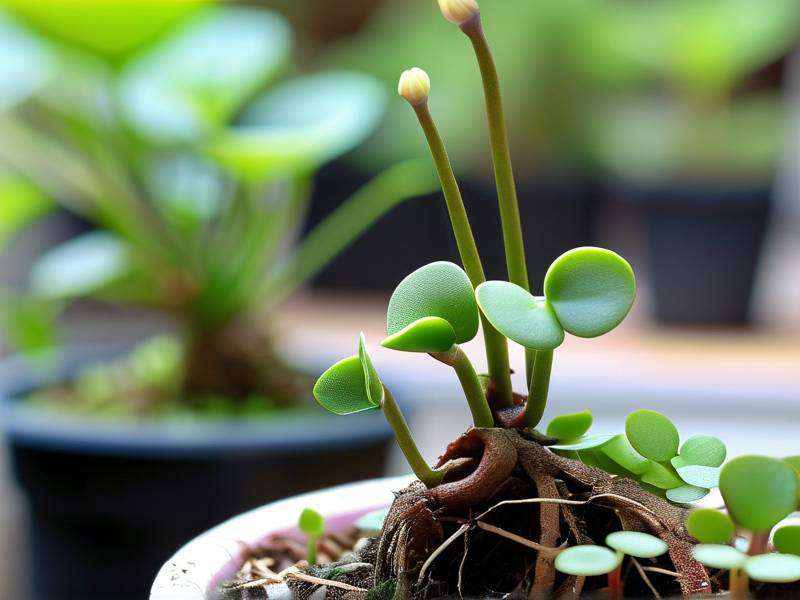
Mistake #1: Watering on a Schedule (The Overwatering Trap)
This is the big one. I used to water my plants every Sunday, no questions asked. It felt productive. It was actually a death sentence. Ceropegia sandersonii stores water in its thick, succulent roots and stems. It’s built for drought.
The "top inch dry" rule is useless for this plant. I learned that so many beginners, including myself, check if the top of the soil is dry, then water. But the bottom of the pot is still swimming in moisture.
The Failed Sunday Schedule: When I stuck to my weekly watering, the roots never had a chance to breathe. They sat in damp soil, which is a breeding ground for fungus and bacteria. The result? Root rot.
What Actually Works: Wait for the leaves to show a slight softness. I don't mean mushy or wrinkled. I mean they feel less firm than usual. That’s the plant asking for a drink. A good squeeze test on a stem tells you more than a moisture meter ever will. I wait until the bottom two or three leaves are slightly less plump. Then, and only then, do I water thoroughly.
Mistake #2: Light Placement (It’s Not a Full Sun Or Low Light Plant)
I assumed that because it was a succulent, it wanted maximum sun. I was wrong. I put my second plant on a south-facing windowsill with no shade. The leaves got sunburnt—they turned a reddish-purple and went crispy.
On the flip side, I also tried keeping one in a dim bathroom because I thought it would like the humidity. That plant grew thin, leggy, and pale. Its roots were weak and prone to rot because it wasn't photosynthesizing enough to use any water I gave it.
What Actually Works: They crave bright, indirect light. Think of a spot right next to an east-facing window or a few feet away from a bright south or west window. A sheer curtain is your best friend. I found my plant thrives on a shelf that gets morning sun for 2-3 hours and bright, filtered light for the rest of the day.
Mistake #3: Using the Wrong Pot (Oversized Pots & No Drainage)
I fell in love with a beautiful, glazed ceramic pot with no hole. It looked perfect on my coffee table. I knew it needed drainage, but I convinced myself that a layer of pebbles at the bottom would do the trick. That's a total myth. Water pools at the bottom, and the roots sit in it. Disaster.
The pot size matters too. I tried potting a small cutting into a large pot, thinking it would have room to grow. All that extra soil holds moisture for ages. The tiny root system couldn't drink it all, so it just sat there rotting.
What Actually Works: Terracotta. It breathes. The porous clay wicks moisture away from the roots and lets the soil dry out evenly. And the pot must be snug. The roots of a ceropegia sandersonii actually like being a little crowded. It encourages them to fill the space and form those cute, fat storage tubers. A pot one or two sizes larger than the root ball is perfect. The drainage hole isn't a suggestion—it's life or death.
My Two-Week Recovery Log: Tracking the Comeback
Here’s a real look into how I saved my third ceropegia. I documented the process day by day, and this is exactly what happened over two weeks.
Day 1: The Surgery
I un-potted the plant. The soil was dark and looked like coffee grounds. It smelled like a swamp. The roots were completely brown and squishy. I had to cut away about 70% of the entire root system. The center of the root ball was practically mush. I was almost sure it was a goner.
I used a clean pair of scissors to cut back to healthy tissue. The core stem near the base was a bit soft too, so I sliced that off until it was firm and the inside was a pale green-white. I then laid the whole root system on a paper towel in a cool, dry spot away from direct sunlight. No water, no soil.
Day 2-3: The Callus
There wasn’t much to do on these days. The cut areas started to dry out and form a whitish callus. I kept checking the spot where I cut the stem. It was firm and not weeping any sap. This was a good sign. The ambient humidity in my home is around 40%, which is fine for this process. Higher humidity would have made it harder.
Day 4: The Repot
I mixed a batch of soil: about 2 parts standard cactus mix, 1 part horticultural pumice, and a few extra handfuls of perlite. I wanted it to look like a gravel pit, not dirt. I used a 4-inch terracotta pot with a huge drainage hole. I placed a piece of broken pot over the hole to prevent soil from washing out.
I held the plant gently in its new, dry soil. I didn't water. I just tucked it in and let it sit. I put it on my east-facing kitchen windowsill, which gives it bright morning light for a few hours but no harsh afternoon sun.
Day 5-7: The Waiting Game
The plant looked exactly the same as I left it. No worse, no better. The stems were a little light green and firm. I resisted the urge to water when I saw the top of the soil was dry. That was just the new, airy mix drying out. The deeper soil was still bone dry. I was patient.
On Day 7, I did the unthinkable for the first time. I watered it. A slow, gentle dribble of water around the base. The pot was small and the mix was airy; I watched the water trickle out the bottom within five seconds. That was it. One glass of water, no more than 50ml.
Day 8-10: The Silent Movements
On Day 9, I noticed the base of a couple of stems looked a little plumper. Nothing drastic. The texture was different from the rot I had witnessed. It felt hydrated, not swollen with excess water. I was cautiously optimistic. I pinched a leaf between my fingers. It felt slightly more resilient than it did a week ago.
Day 11-13: Encouraging Signs
I saw a tiny, pale green nub pushing out from the soil near the center of the plant. It was either a new leaf bud or a small storage tuber. Seeing that tiny, awkward growth gave me so much relief. It meant the roots were adjusting and the plant was no longer fighting for survival. The slight wrinkles on the older stems started to smooth out.
Day 14: The First Checkup
I gave the pot a gentle tip to check the bottom drainage hole. I saw thin, white roots peeking out. Fresh, healthy roots! I watered it again with a similar, small amount. The plant wasn’t bouncing back to full size, but it was stable. The stems were firm, the color was consistent, and that new growth was still there. The rescue was a success. The plant was officially in "recovery" mode.
The Root-Rot Greasy Spot Factor
A few experts, including those cited by the RHS, point out that allowing water to sit on the leaves can lead to other fungal issues like botrytis or leaf spots. With ceropegia, you get a specific issue called bacterial soft rot. The stems can turn into a greasy-looking mess.
When I cut my plant back, I made sure to avoid getting any water on the cut stems for the first several weeks. The AHS guidelines often recommend improving air circulation for these types of problems. I placed a small, oscillating fan across the room, not pointed directly at the plant, to keep the air moving. This helps the soil dry out quicker and discourages any lingering fungal spores from settling on the wounds.
I tried a few other tricks along the way. I sprinkled cinnamon powder on the fresh cuts before repotting. It's a natural fungicide, and it seemed to help form a dry scab over the wound. Another tip involves watering from the bottom. I'll often place the terracotta pot in a shallow tray of water for 15 minutes after the initial recovery phase. This encourages the roots to grow downwards instead of sitting in a wet top layer.
Frequently Asked Questions (FAQ)
Question: My ceropegia stem is mush at the soil line, but the top leaves look fine. Can I save it?
Yes. You can often take a stem cutting from the healthy top part. Cut the stem several inches above the mushy area where you see healthy, firm tissue. Let the cutting callus for a few days, then stick it in a pot of damp perlite or a cactus mix. It will root and start a new plant. Removing the cutting saves the genetics, even if the parent root system is a write-off. Pot that new cutting in the correct, gritty mix and you're back in business.
Question: How often should I actually water my ceropegia sandersonii to prevent this from happening again?
There’s no set schedule. It depends on your home's temperature, light, and humidity. In my experience, it's roughly every 10-14 days in the summer growing season. In winter, I might go a full month. The key is to check the pot's weight. Pick it up after watering. It’s heavy. When it feels light, significantly lighter, then it’s time. You can also squeeze a stem. If it feels pliable and slightly soft, it needs a drink. Don't water on a schedule; water on demand.
Question: Is it better to use a moisture meter to check for dryness?
I bought one, and honestly, I stopped using it. The sensors are often inconsistent, and the reading can be skewed by the soil salts or the root mass. Nothing beats the "finger test" combined with checking the pot's weight. Stick your finger a full two inches into the soil. If it feels completely dry and the pot feels feather-light, then you're good to go. I also started using clear pots for my fiddle leaf figs, but with ceropegia, the dark, gritty mix makes that less useful. Just learn to read the plant. The plant will tell you when it’s thirsty.
My Final Thoughts on a Water-Ready Ceropegia
Dealing with root rot is a right of passage for any houseplant lover. I honestly think I learned more from my failures than my successes. It’s not about meticulously measuring every drop of water. It’s about understanding this specific plant’s wants. It wants to be ignored a little. It wants to dry out completely. It wants a pot that breathes.
The frustration is real, but so is the reward. Watching that little nub of new growth appear two weeks after I’d basically written the plant off for dead was incredibly satisfying. This isn't a disappearing act. It’s a survival story.
My sincere advice? Don’t get too attached to your watering can. The quickest way to a happy plant collection is a closed drawer for the watering can. Good luck with your rescue, and remember to give that beautiful, quirky plant a chance to show you how tough it really is.





