How to Care for Chamaedorea Elegans - No Root Rot Cute Shape Care Tips
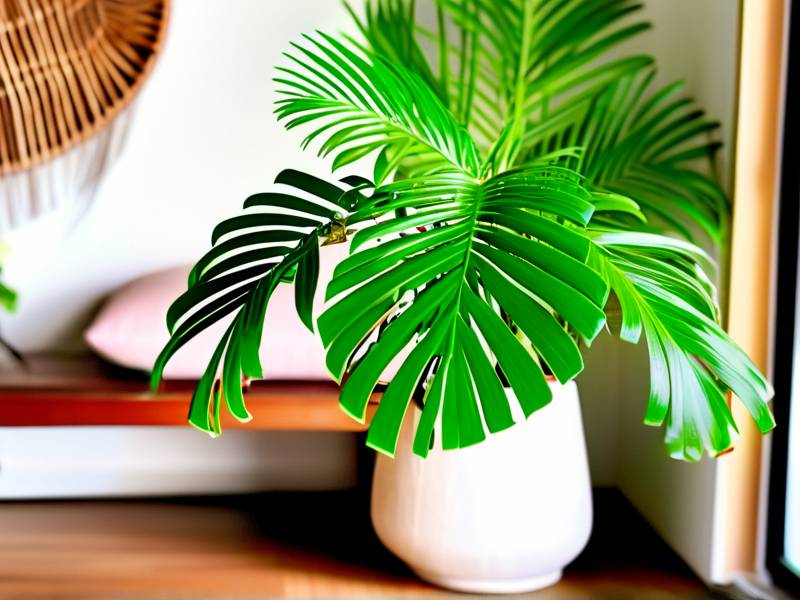
You brought home that beautiful, lush Parlor Palm, or Chamaedorea elegans, dreaming of a cute, compact green companion. But now, you’re staring at yellowing fronds, worrying about soggy soil, and fearing the dreaded root rot. I’ve been there. That initial excitement can quickly turn into panic when your plant seems unhappy. For two weeks, I dedicated myself to transforming a struggling, overwatered Chamaedorea elegans back to health and maintaining its adorable, bushy shape. I’ll walk you through my exact steps, the mistakes I made along the way, and how we can keep this elegant palm thriving without a single root rot scare.
Understanding Your Parlor Palm: More Than Just a Pretty Face

Before diving into care, it’s crucial to know what makes this plant tick. Native to the rainforests of Southern Mexico and Guatemala, Chamaedorea elegans is an understory plant. This means it naturally grows in dappled sunlight beneath the canopy of larger trees. It’s not a desert cactus nor a sun-loving succulent. This origin story is the key to everything: it craves bright, indirect light, appreciates humidity, and absolutely despises sitting in water. The Royal Horticultural Society (RHS) notes its exceptional tolerance for low light conditions, but emphasizes that good drainage is non-negotiable for long-term health. My first mistake was treating it like my other houseplants. I assumed "low light" meant "dark corner," and "regular watering" meant "keep it moist." I was wrong on both counts.
The Two-Week Rescue & Reshape Protocol: My Hands-On Journey
I started with a palm that was looking a bit sad. The lower fronds had yellow tips, the soil felt perpetually damp, and it had lost its perky, rounded shape, becoming slightly leggy. Here was my action plan.
Week 1: The Foundation - Soil, Pot, and Watering Reset
My immediate goal was to address the root rot risk and set a new foundation. This is the most critical step for Chamaedorea elegans root rot prevention.
Step 1: The Soil Intervention. I gently removed the plant from its nursery pot. The roots were still healthy—white and firm—but the soil was dense and retained too much moisture. This was my "aha" moment. I prepared a new, well-draining potting mix. I used a standard indoor potting soil but amended it heavily. My recipe was two parts potting soil, one part perlite, and one part orchid bark. The perlite creates air pockets, and the bark chunks mimic the forest floor, improving aeration and drainage dramatically. According to the American Horticultural Society (AHS), a well-aerated substrate is vital for preventing anaerobic conditions that cause root rot.
Step 2: The Right Home. I chose a new pot. The golden rule: it must have drainage holes. I selected a ceramic pot that was only about 1-2 inches larger in diameter than the root ball. A pot that’s too large holds excess soil, which stays wet longer, encircling the roots in moisture. This is a classic beginner's error I’ve made before.
Step 3: The Watering Wisdom. After repotting, I gave it a thorough soak until water ran freely from the bottom. Then, I began the "finger test" ritual. I didn’t water on a schedule. Instead, I inserted my finger about 2 inches into the soil. I only watered when the top two inches felt completely dry. Sometimes, this meant waiting 10-14 days, especially in cooler weather. This simple method is the cornerstone of maintaining a healthy parlor palm.
Week 2: Observation, Light, and The Shape-Up
With the foundation solid, week two was about fine-tuning for growth and that cute, compact shape.
Step 4: Finding the Sweet Spot for Light. I moved my palm to a north-facing window where it receives bright, indirect light all day. No direct sun rays hit its leaves, which can cause scorching. I observed that within days, the newer, central fronds seemed to have a deeper green color and were standing more upright. The plant was finally getting the energy it needed without the stress.
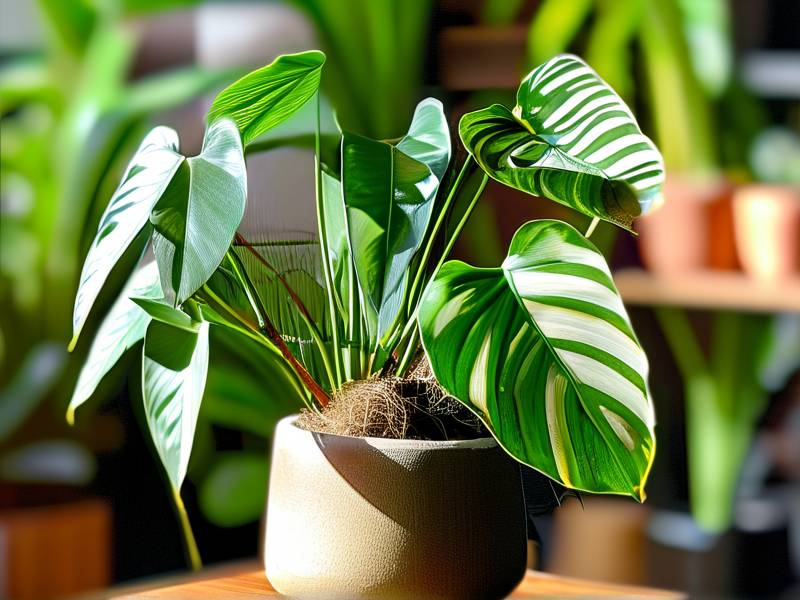
Step 5: Encouraging the Cute, Bushy Form. My palm was a bit sparse at the base. To encourage a fuller look, I practiced patience. Chamaedorea elegans grows from a central crown; it won’t sprout new stems from the soil like a shrub. However, it will produce offshoots, or "pups," from the base over time. To help it along, I ensured consistent care and used a diluted, balanced liquid fertilizer once at the beginning of this week. A mild feed during the growing season supports the energy needed for this new growth. I also gently cleaned the leaves with a damp cloth. Dust blocks light, and clean leaves photosynthesize more efficiently, making for a healthier, more vigorous plant overall.
The Pitfalls I Encountered (And How I Fixed Them)
My journey wasn’t flawless. Here’s where I stumbled:
- The Overzealous Mist: I read about humidity and started misting the fronds twice daily. By day three, I noticed water pooling in the crown (where the leaves meet the stem). This is a fast track to crown rot. I stopped misting immediately. Instead, I placed the pot on a pebble tray filled with water (ensuring the pot sits on the pebbles, not in the water). As the water evaporates, it increases humidity gently around the plant without wetting the foliage.
- The Drafty Location: Initially, I had it on a side table near a frequently opened door. I saw no improvement and even some slight browning on leaf tips. I realized it was suffering from temperature fluctuations and drafts. I moved it to a more stable, warm spot away from air vents and doors, and the browning stopped progressing.
- Ignoring the Old Fronds: I was tempted to snip off every slightly yellowing leaf. I learned that it’s natural for the oldest, bottom-most fronds to yellow and die off as the plant grows. I only pruned fronds that were more than 50% yellow or brown, cutting them cleanly at the base with sterilized scissors. This directs the plant’s energy to new growth.
Sustaining the Beauty: Your Long-Term Care Checklist
After my intensive two weeks, the plant was visibly happier. The yellowing halted, the soil dried out appropriately between waterings, and it just looked… perky. Maintenance is now simple:
- Light: Bright, indirect light is king.
- Water: Always the finger test. Dry knuckles? Time to water.
- Feed: A half-strength balanced fertilizer monthly during spring and summer, nothing in fall and winter.
- Clean: Wipe leaves monthly for better light absorption and pest inspection.
- Rotate: Give the pot a quarter turn every time you water to ensure even growth and prevent leaning.
Your Questions, Answered
Can my Chamaedorea elegans survive in a low-light bathroom? It can survive, but "survive" isn't the goal. While it tolerates low light, it truly thrives in bright, indirect light. A bathroom with a frosted window can work well due to the humidity, but if the light is very dim, growth will be extremely slow and the plant may become stretched. For the cutest, densest shape, prioritize light.
The tips of my palm's leaves are turning brown. What does this mean? Brown tips are the plant’s distress signal, usually related to moisture in the air or soil. The most common causes are low humidity, using tap water with high fluoride or chlorine (use filtered or rainwater if possible), or inconsistent watering (either drought or a slow, chronic overwatering that damages roots). Check your humidity and review your watering technique first.
How do I know if it’s actually root rot? If you’re consistently following the "dry knuckle" watering rule and the plant is still declining—widespread yellowing, mushy stems at the base, a foul smell from the soil—it’s time to investigate. Gently remove the plant. Healthy roots are firm and white or tan. Rotten roots are dark brown/black, mushy, and may slough off. If you find rot, cut away all affected roots with sterile tools, repot in fresh, dry, well-draining mix, and water very sparingly as it recovers.
Caring for a Chamaedorea elegans is a lesson in gentle consistency. It doesn’t demand constant attention, but it does ask for the right conditions: a cozy spot away from harsh sun, a drink only when truly thirsty, and a home that lets its roots breathe. By focusing on prevention—perfecting your potting mix and mastering the finger test—you build a strong defense against root rot. With a little patience, your palm will reward you with enduring, elegant beauty and that charming, lush shape that made you fall in love with it in the first place. The journey from worry to confidence with this plant is deeply satisfying, and now, you have the map.