How to Care for Tillandsia: Year-Round Flowers & Attractive Appearance Care Tips
You've brought home a stunning Tillandsia, or air plant, captivated by its sculptural form and the promise of unique, vibrant blooms. But now, it sits on your shelf, and you're wondering: "Am I doing this right?" Why are the leaf tips turning brown? Will it ever flower again? You're not alone. The most common pain points for air plant owners stem from misunderstood care routines—specifically improper watering, insufficient light, and a lack of post-bloom guidance. This leads to plants that merely survive rather than thrive, losing their attractive appearance and failing to reward you with their spectacular year-round flowers.
Fear not. With insights from horticultural authorities like the Royal Horticultural Society (RHS) and the American Horticultural Society (AHS), this guide will transform your approach. We'll demystify Tillandsia care, providing clear, actionable steps to ensure your plant not only lives but flourishes, showcasing its full beauty through every season.

Understanding Your Tillandsia: More Than Just an Air Plant
Contrary to popular belief, Tillandsias are not parasites and they do not live on air alone. They are epiphytes, meaning in their natural habitat—often tropical forests and arid climates—they anchor themselves to trees, rocks, and cliffs. They gather moisture and nutrients through their leaves from rain, dew, and airborne particles. This unique biology is the key to their care. Different species have different needs; silver-leaved varieties (like Tillandsia xerographica) are often from drier regions, while greener species (like Tillandsia bulbosa) prefer more humidity. Recognizing this diversity is your first step toward effective Tillandsia care.
The Golden Rule of Watering: Soak, Don't Spritz
Forget daily misting. While an occasional spritz can boost humidity, it is rarely sufficient for thorough hydration. The RHS recommends immersion as the most effective method for maintaining plant health and promoting an attractive appearance.
- The Soaking Method: Submerge your entire air plant in lukewroom water for 20-60 minutes once a week. Use rainwater, pond water, or tap water that has been left to stand for several hours to dissipate chlorine.
- The Critical Aftercare: This is non-negotiable. After soaking, gently shake the plant upside down to dislodge water from its base and between tight leaves. Place it in a spot with good air circulation to dry completely within 4 hours. Trapped water in the crown (the center of the plant) is the primary cause of rot, which quickly ruins the plant's form.
- Adjusting for Environment: In a hot, dry room or during summer, you may need to soak twice a week. In a cool, humid environment, every 10 days might be ample. A dehydrated Tillandsia will have curled, wrinkled leaves, while a rotting one will have a brown, mushy base.
Providing the Perfect Light for Growth and Flowers
Light is the engine for growth and the trigger for blooming, which is essential for achieving those desired year-round flowers. Tillandsias need bright, indirect light.
- Ideal Placement: An east or west-facing window is perfect. A south-facing window is suitable if filtered by a sheer curtain. North-facing light is often too dim.
- Signs of Stress: If your plant's leaves are fading to a dull green or yellow, it likely needs more light. Conversely, if you see brown, scorched patches, it is getting too much direct, harsh sun. Proper lighting maintains the plant's vibrant color and compact, attractive appearance.
- Artificial Light: If natural light is limited, a broad-spectrum fluorescent or LED grow light placed 6-12 inches away for 10-12 hours a day is an excellent alternative, as noted in many AHS resources on indoor gardening.
Feeding for Vibrance and Blooming
While they get some nutrients from the air, feeding encourages robust growth, richer color, and increases the chance of flowering. Use a fertilizer designed specifically for bromeliads or air plants, as these are non-urea-based and safe for foliar absorption.
- Application: Dilute the fertilizer to 1/4 strength and add it to your soaking water once a month during the spring and summer growing season. Avoid feeding in fall and winter when growth slows. Over-fertilizing can burn the leaves, detracting from the plant's natural beauty.
Encouraging Year-Round Flowers and Managing the Bloom Cycle
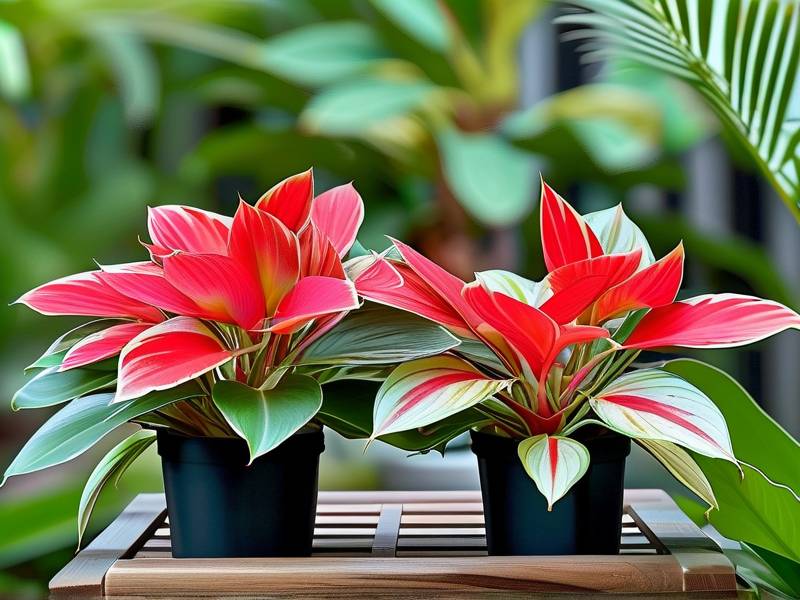
The Tillandsia bloom is a magnificent event, often featuring brilliant pinks, purples, or reds, and exotic flower structures. Here’s how to encourage and manage it.
- Triggering Blooms: Maturity and good care are the main triggers. Some growers use a diluted blossom-booster fertilizer. The bloom can last from days to months, depending on the species.
- Post-Bloom Care – The Key to Continuity: After the flower fades, the plant will focus its energy on producing 2 to 8 "pups" or offsets. This is how your Tillandsia multiplies! Continue caring for the mother plant as usual. The pups will draw nutrients from her, but they also benefit from your regular watering routine.
- Propagation for an Endless Display: Once the pups are about one-third to one-half the size of the mother plant, you can gently twist them off. Allow the separation point to dry for a day before placing the new plant on its own. This cycle of bloom, pup formation, and propagation is how you cultivate a collection that can truly provide interest and year-round flowers.
Creative Display and Seasonal Considerations
Your display choices impact care. Mounting on driftwood, placing in geometric holders, or arranging in terrariums all work, but remember the core needs: air flow and dryability.
- Avoid Moisture Traps: Fully enclosed glass globes or terrariums without ventilation often lead to rot. Choose open vessels.
- Seasonal Adjustments: In winter, with heating systems drying the air, you may need to soak slightly more often. However, with lower light levels, growth slows, so reduce or eliminate fertilizing. The goal is to maintain the plant's health and attractive appearance through dormancy.
Why is the tip of my Tillandsia turning brown? Brown leaf tips are most commonly a sign of underwatering or low humidity. It can also be caused by water with high mineral content (hard water). Increase the duration or frequency of your soaking routine using purer water, and trim the dry brown tips with sterile scissors at an angle to maintain the plant's shape.
My air plant bloomed once and now seems stagnant. What now? This is perfectly normal. The mother plant's primary growth phase is complete after blooming. Your focus should now shift to nurturing the pups she produces. With proper care, these pups will mature and bloom in 1-3 years, continuing the cycle.
Can I just mist my Tillandsia instead of soaking it? While misting is beneficial for increasing local humidity, especially for green, forest-dwelling species, it is generally insufficient as the sole water source. RHS guidance consistently emphasizes that thorough soaking mimics the natural downpours these plants experience, ensuring the leaves are fully saturated. Misting should be considered a supplemental activity between soakings in dry climates.
Caring for Tillandsia is a rewarding practice that blends art with science. By mastering the soak-and-dry watering method, providing bright, filtered light, feeding modestly, and understanding the natural bloom-and-pup cycle, you unlock the secret to a resilient and stunning plant. Your Tillandsia will reward this attentive care by maintaining its striking architectural form, displaying vibrant health, and, in time, gifting you with spectacular, memorable blooms. Embrace the process, and you'll cultivate not just a plant, but a captivating, ever-evolving piece of natural art.