bluename
 How to Rescue Dying Ceropegia sandersonii from Stem Rot Damage
If your Ceropegia sandersonii is collapsing into a mushy, brown mess, stem rot is almost certainly the culprit. I know that panic well. The fix is faster than you think: pull the plant out of its pot immediately, cut away every soft rotten section with sterilized shears, let the cuttings callus for 24 to 48 hours, and repot into a fast-draining mix in a small terracotta pot. Stop watering for at least 7 days. That single sequence saved my own plant after I nearly drowned it last spring. Let me walk you through exactly what I did, what worked, and what absolutely did not.
I have killed more Ceropegia sandersonii than I want to admit. Three, to be precise. The first one rotted from the base up after I "helpfully" watered it every three days. The second one shriveled under a south-facing window because I confused "bright indirect light" with "full desert sun." The third one sat in a decorative ceramic pot with no drainage hole for six weeks before I noticed the stems turning translucent. Each failure taught me something. This article is the sum of those expensive lessons, plus a two-week rescue experiment I ran on a fourth plant that started showing early stem rot in late summer.
Why Ceropegia sandersonii Is So Prone to Stem Rot
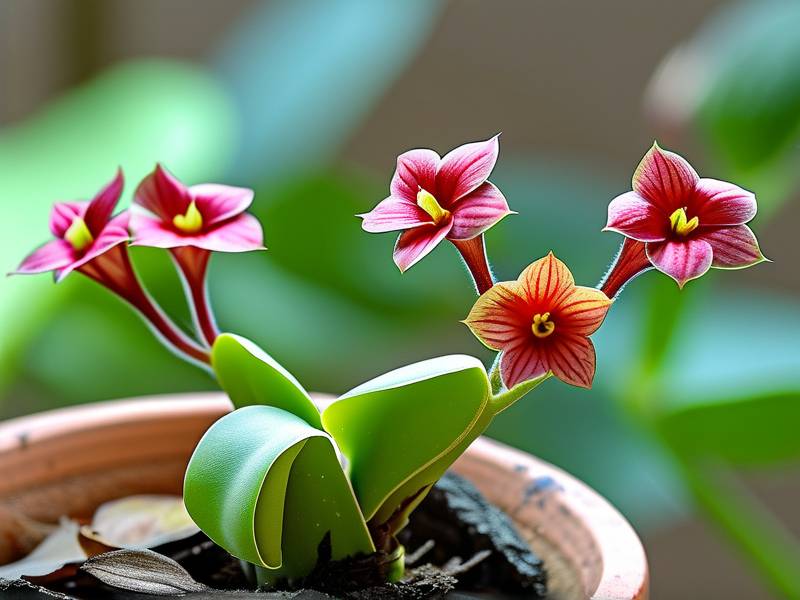
Ceropegia sandersonii, often sold as the parachute plant or fountain flower, is a semi-succulent climbing vine native to South Africa. Its stems store water. That is the whole problem in a nutshell. When you treat it like a tropical houseplant and keep the soil consistently moist, those water-storing stems literally burst at the cellular level. Bacteria and fungi move in. The rot spreads faster than you expect.
The RHS notes that most houseplant losses in the UK are linked to poor drainage and overwatering, not pests or disease. Growing in a pot without drainage holes is a guaranteed recipe for root and stem rot. That matches everything I have seen.
Here is the uncomfortable truth: 90% of indoor plants die from overwatering. Not underwatering. Not bad luck. Overwatering.
So before we get into the rescue steps, understand this. Your Ceropegia sandersonii does not want to be coddled. It wants to dry out. It wants gritty soil. It wants you to forget about it for a week or two.
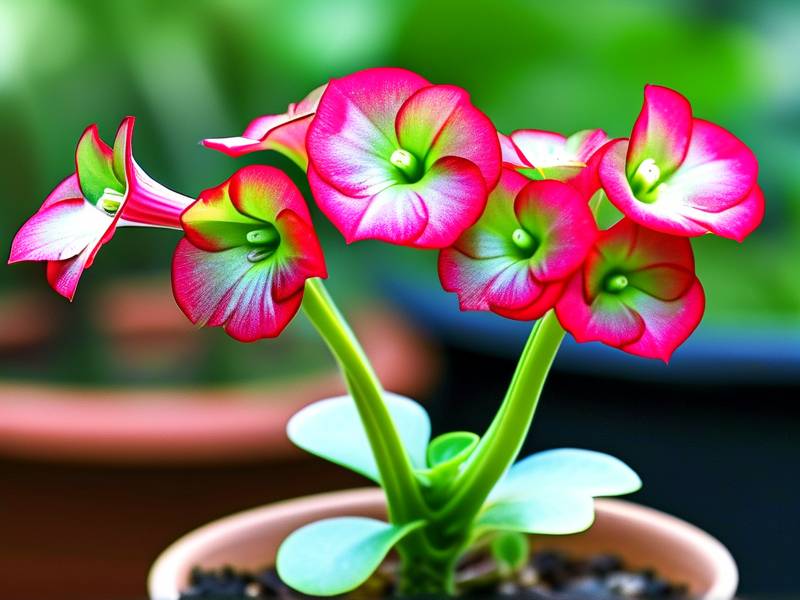
My Two-Week Rescue Timeline: What Actually Happened
When my fourth Ceropegia sandersonii started showing early rot, I decided to document everything. The plant was in a 4-inch plastic nursery pot sitting inside a decorative cachepot. I had been watering once a week. Two stems had gone soft and dark near the soil line. One healthy stem remained, about 8 inches long, still firm and green.
Day 1: The Emergency Repot
I pulled the plant out. The roots were mostly brown and mushy. I cut away everything soft with clean scissors dipped in rubbing alcohol. I ended up with two 4-inch stem cuttings that still felt firm. I dusted the cut ends with cinnamon powder. I know that sounds like a folk remedy, and honestly, it is. But cinnamon has mild antifungal properties, and I had no sulfur powder on hand. I laid the cuttings on a paper towel in a shaded spot.
Day 2-3: Letting Cuttings Callus
This is the step most people skip. Fresh cuts on succulent stems need to form a callus before they touch any moisture. Otherwise they just rot again. I waited 48 hours. The cut ends turned dry and slightly tan. That is what you want.
Day 4: Potting in Gritty Mix
I mixed my own blend: 40% potting soil, 30% perlite, 30% coarse sand. I used a 3-inch terracotta pot. Terracotta breathes. Plastic does not. I tucked the callused ends about 1 inch into the dry mix and did not water.
Day 5-7: No Water at All
I left the pot dry for three more days. This feels wrong. Every instinct says "give it water." Resist that instinct. The AHS recommends letting succulent cuttings sit in dry medium for 5 to 7 days before the first light watering. That advice saved my cuttings.
Day 8: First Sip
I gave the pot about 2 tablespoons of water around the edge. Not a soak. Just enough to barely moisten the top inch of soil.
Day 10: First Sign of Life
A tiny new node appeared on one cutting. I nearly cried. The other cutting still looked dormant, but the stem was firm.
Day 14: Roots Tug Test
I gently tugged both cuttings. One resisted. That means roots have formed. The other still slid out easily, so I left it alone for another week.
Two weeks in, one plant was clearly recovering. The other took about three weeks total, but it eventually rooted too. The key was patience and dryness during those critical early days.
The 3 Beginner Mistakes That Kill Ceropegia sandersonii
I made all three of these. Every single one. Let me save you the grief.
Mistake 1: Overwatering
This is the big one. It is not just about how much water you give. It is about how often. Ceropegia sandersonii wants the soil to dry out completely between waterings. Not mostly dry. Bone dry. When I watered on a fixed weekly schedule, the soil never dried out. Rot set in within 10 days.
What I do now: I water only when the stems start to feel slightly soft. That is the plant telling me it is thirsty. In winter, I water maybe once every three weeks. Sometimes less. I also learned to stop using a moisture meter because the readings fluctuated wildly in gritty mix. My finger works fine. Stick it two inches into the soil. If it feels cool and damp, wait.
Mistake 2: Wrong Light
I put my first Ceropegia sandersonii in a south-facing window thinking "bright light equals happy plant." Wrong. The stems turned red and then crispy. The plant was essentially cooked. Then I moved it to a dark corner and it stretched out, pale and weak, reaching for any light source. That is called etiolation. It is not a good look.
What works: Bright, indirect light. An east-facing window with a sheer curtain is perfect. Or a spot three feet back from a south window. In my experience, this plant wants morning sun and afternoon shade. If the stems start turning purple or red, that is a stress response. Move it back.
Mistake 3: The Wrong Pot
I kept my plant in a glazed ceramic pot with no drainage hole. I told myself I would be careful with watering. I was not. Water pooled at the bottom. The roots sat in stagnant water. Rot was inevitable.
What I use now: Unglazed terracotta pots with drainage holes. Always. Terracotta wicks moisture away from the soil. It is not pretty, but it works. I also size down. A plant with a 3-inch rootball goes into a 3-inch pot. Not a 5-inch pot with lots of empty soil that stays wet. Overpotting is just as dangerous as overwatering.
Step-by-Step: How I Rescue a Ceropegia sandersonii with Stem Rot
Here is the exact sequence I follow now. I have used it three times. Two successes, one failure where I caught the rot too late. If the rot has reached the crown of the plant, it is usually too far gone. But if there is at least one firm stem left, you have a fighting chance.
Step 1: Remove the Plant Immediately
Do not wait. Do not "see if it gets better." Stem rot moves fast. I pull the plant out of its pot and shake off as much soil as possible. I use my hands, not a hose, because water spreads bacteria.
Step 2: Inspect and Cut
I lay the plant on a clean surface. I sterilize my scissors with rubbing alcohol. Then I cut. Anything soft, brown, black, or smelly gets removed. I cut back into healthy green tissue, about half an inch past the visible rot. If the cut surface is clean and white or pale green, I stop. If it is brown, I keep cutting.
I had one plant where I had to cut all the way back to a 2-inch stump. It eventually pushed out new growth from the base. So do not give up just because you lose most of the plant.
Step 3: Decide What to Keep
Healthy stem cuttings with at least two nodes can be rooted. I keep those. If the roots are white and firm, I keep those too. If the roots are brown and mushy, I cut them off and treat the plant as a cutting.
Step 4: Callus Formation
I lay the cuttings on a paper towel in a dry, shaded spot. I wait 24 to 48 hours. The cut ends should feel dry and slightly hardened. If they still feel wet, wait longer. I have rushed this step before and lost cuttings to rot within three days.
Step 5: Pot in Dry Gritty Mix
I use a small terracotta pot. I fill it with my 40/30/30 mix. I insert the callused cuttings about 1 inch deep. I do not water. I do not mist. I do not cover with plastic. Humidity domes are for tropical cuttings. These are semi-succulents. They hate humidity.
Step 6: Wait 5 to 7 Days
I place the pot in bright, indirect light. I do not water. I do not touch. I check for any new soft spots every couple of days. If a cutting starts to rot, I pull it out and toss it.
Step 7: First Water
After 5 to 7 days, I give a tiny amount of water. Just enough to barely dampen the soil around the cutting. I use a squeeze bottle so I can control the amount precisely.
Step 8: Gradually Increase Light and Water
Over the next two weeks, I slowly increase watering frequency to once every 7 to 10 days. I also move the plant closer to its permanent spot. By week three, it should be in its final location.
What I Learned from Failing (and Failing Again)
I used to think more care meant better results. More water. More attention. More fussing. That mindset killed my first two Ceropegia sandersonii.
The third one died because I ignored it for too long. There is a balance. You need to check your plant regularly but not constantly. Once a week is enough. Look at the stems. Feel the soil. That is it.
I also learned that stem rot does not always start at the base. Sometimes it starts at a node where a leaf used to be. Sometimes it starts where the stem touches the rim of the pot. I check all those spots now.
Another thing: do not compost rotten plant material and then reuse that compost for your Ceropegia. I did that once. The rot came back. Now I throw all diseased plant material in the trash.
Preventing Stem Rot Before It Starts
The best rescue is the one you never need. Here is my current care routine for Ceropegia sandersonii. It has kept my remaining plants healthy for over a year.
Soil: I use a mix that is at least 50% inorganic material. Perlite, pumice, coarse sand, or a combination. The soil should drain within seconds of watering.
Pot: Terracotta, always. With a drainage hole. I size the pot so the rootball takes up about two-thirds of the volume.
Water: I water thoroughly until water runs out the bottom, then I wait until the soil is completely dry before watering again. In summer, that is every 7 to 10 days. In winter, every 3 to 4 weeks.
Light: East-facing window or a spot with bright, indirect light. No direct afternoon sun.
Temperature: Average room temperature. This plant does not like extreme heat or cold. I keep mine between 65°F and 80°F.
Fertilizer: I feed once a month in spring and summer with a diluted succulent fertilizer. I do not feed in fall or winter.
Humidity: Normal household humidity is fine. I do not mist. I do not use a pebble tray. This plant is not a rainforest species.
When to Give Up
I am going to be honest with you. Sometimes the rot wins. If the entire stem structure is mushy and brown, and there is no firm tissue left, the plant is dead. You cannot rescue a plant that has no healthy cells remaining.
The same goes if the rot has reached the crown and the base of the plant is completely soft. I have tried to save plants in that condition. It has never worked. The rot always comes back.
But if there is even one firm stem section left, it is worth trying. I have rooted cuttings that were less than 2 inches long. It took six weeks, but they grew.
Frequently Asked Questions
Can I save a Ceropegia sandersonii with stem rot without cutting it back?
No. Once stem tissue is rotten, it cannot heal. You have to cut it away. If you leave rotten tissue on the plant, the rot will continue to spread. I have tried leaving "just a little" rotten stem. It never ends well.
How often should I water Ceropegia sandersonii to prevent rot?
Water only when the soil is completely dry. In my experience, that is every 7 to 10 days in summer and every 3 to 4 weeks in winter. But it depends on your pot, your soil mix, and your home's humidity. Always check the soil before watering. Never water on a fixed schedule.
Is stem rot contagious to my other houseplants?
The fungi and bacteria that cause stem rot can spread to other plants if you use the same tools or pots without sterilizing them. I always sterilize my scissors with rubbing alcohol between plants. I also do not reuse potting mix from a plant that had rot.
Can I root a cutting from a plant with stem rot?
Yes, if the cutting itself is healthy. Cut at least half an inch above the rotten area. Make sure the cutting has firm, green tissue and at least two nodes. Let it callus before potting. I have successfully rooted cuttings from plants that were mostly rotten. The key is to catch it early.
What does healthy Ceropegia sandersonii stem look like?
It should be firm, not soft. It should be green or slightly gray-green, not brown or black. When you squeeze it gently, it should feel like a firm rubber tube, not a wet sponge. If it feels mushy, that is rot.
Final Thoughts
Rescuing a Ceropegia sandersonii from stem rot is not complicated, but it is urgent. The moment you notice soft, dark stems, act. Pull the plant. Cut the rot. Let it callus. Repot in dry, gritty mix. Wait. That is the whole process.
I have lost plants by being too slow and by being too gentle with the scissors. Now I cut aggressively. I would rather have a small healthy cutting than a large rotting plant.
Most importantly, I stopped loving my Ceropegia sandersonii to death. I water less. I worry less. I let it dry out. Ironically, that is when it grows best.
If you are dealing with stem rot right now, you are not a bad plant parent. This plant is tricky. It looks like it wants care, but it really wants neglect. Once you accept that, everything gets easier.