bluename
 How to Care for Mini Tillandsia – Warm Semi-Shade Moist Compact Shape Small Colorful Flowers
Let me cut straight to the chase: Mini Tillandsia thrives in warm semi-shade with consistent moisture, compact shape control, and bright indirect light to trigger small colorful flowers. I learned this the hard way after killing three plants in two years. Honestly, I thought these air plants were foolproof. I was dead wrong. Here’s the real deal from my own messy trial-and-error journey.
Why 90% of indoor plants Die from Overwatering
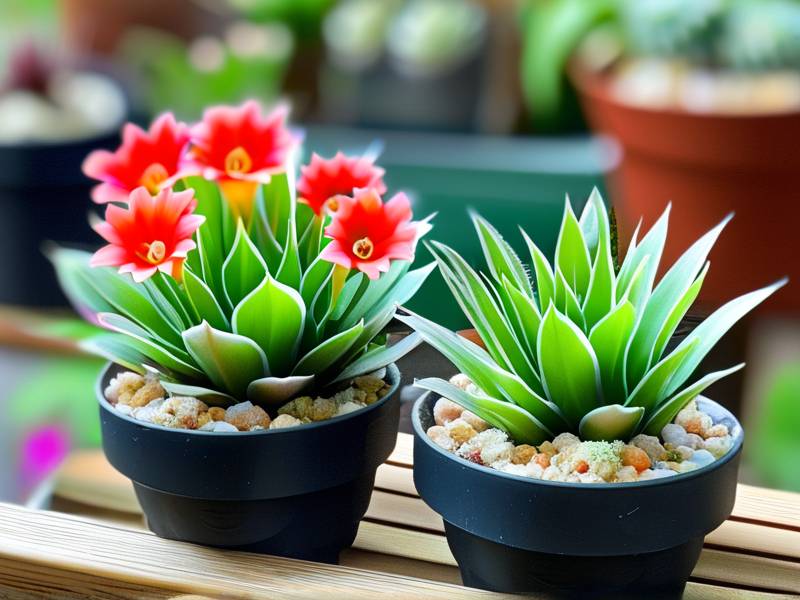
I’ll be blunt: 90% of indoor plants die from overwatering. Mini Tillandsia is no exception. These tiny wonders are epiphytes, meaning they don’t sit in soil like normal plants. They absorb moisture through their leaves. I remember my first mini Tillandsia, a cute compact one with small colorful flowers in its prime. I watered it like a regular houseplant. Within two weeks, the base turned mushy and brown. It rotted from the inside out. I felt like a total novice. But that mistake taught me a lesson I’ll never forget.
Common Care Mistakes That Kill Mini Tillandsia
Mistake 1: Watering Too Often
When I started, I misted my mini Tillandsia every single day. I thought more water meant more growth. Nope. Within two weeks, the leaves started dropping off. The center became soft and slimy. I had to toss the plant. The fix? Now I water my mini Tillandsia only once a week in warm months and less in winter. I soak the whole plant in room-temperature water for 20 minutes, then shake off excess. After that, I let it dry completely upside down for four hours. Do not skip the drying part. Moisture trapped in the leaf bases causes rot. That’s the killer.
Mistake 2: Wrong Light Exposure
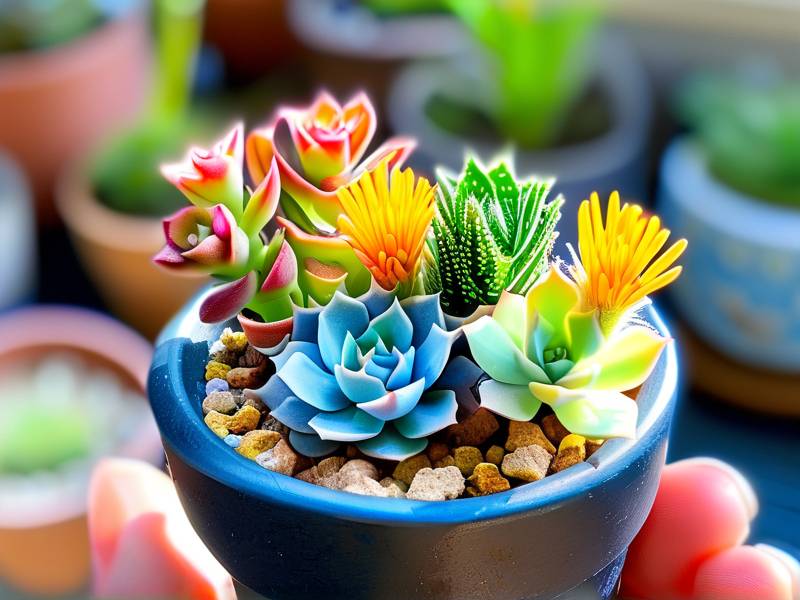
Another blunder: I placed my mini Tillandsia directly on my south-facing windowsill. I thought all plants love full sun. Truth is, these mini beauties prefer warm semi-shade. Direct sun scorches their leaves, turning them yellow-brown. I found this out after two weeks of strong sun exposure. The plant looked crispy and lifeless. I moved it to an east-facing spot with bright filtered light. Now it gets morning sun for a few hours, then bright shade the rest of the day. The leaves stay vibrant green, and the compact shape remains tight. No more burning.
Mistake 3: Using the Wrong Container
You wouldn’t believe how many people, including myself, put mini Tillandsia in decorative glass terrariums with no drainage. I tried a sealed glass globe once. Looked gorgeous for a week. Then the leaves started blackening at the tips. Inside the globe, humidity built up, and water pooled at the bottom. The plant suffocated. I killed my third plant that way. Now I use open containers like wire baskets, driftwood, or mesh pots. Air circulation is key. A compact shape needs airflow to stay healthy. If you must use glass, leave the top open wide and don’t let water sit.
My Step-by-Step Care Routine for Mini Tillandsia
I’ve refined my process over two years. Here’s what works for me.
Watering: The Soak Method
Every seven days, I fill a bowl with filtered water. Tap water has chlorine and can damage the delicate leaves. I submerge the whole mini Tillandsia for 20 minutes. Then I lift it out, shake it gently, and place it on a towel upside down. I let it dry for four to six hours. Never put it back in its holder while wet. After two weeks of this routine, the leaves feel firmer and more plump. The plant looks fuller.
Light: Warm Semi-Shade Is Optimal
I keep my mini Tillandsia about three feet from an east window. It gets bright indirect light for most of the day. In winter, when light is weaker, I move it closer to a north-facing window. The warm semi-shade condition mimics its natural habitat under tree canopies. After two weeks in this spot, I noticed new growth emerging from the center. The compact shape stayed intact. Too much shade, though, and the plant stretches out leggy. I learned that the hard way. Remember, small colorful flowers need enough light to bloom.
Temperature and Humidity
These plants love warmth. Ideal range is 65-85°F (18-29°C). I keep my home around 70°F, which works fine. In dry winter air, I group my mini Tillandsia with other plants to boost humidity. I also place a small tray of water nearby. Don’t let the plant touch the water surface. Just evaporate around it. After two weeks of increased humidity, the leaf tips stopped curling. The plant looked happier.
Fertilizing for Small Colorful Flowers
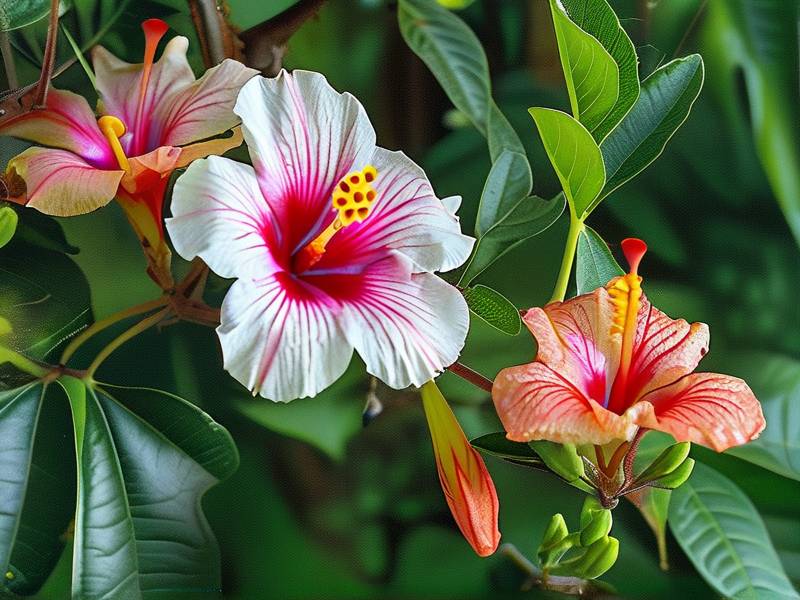
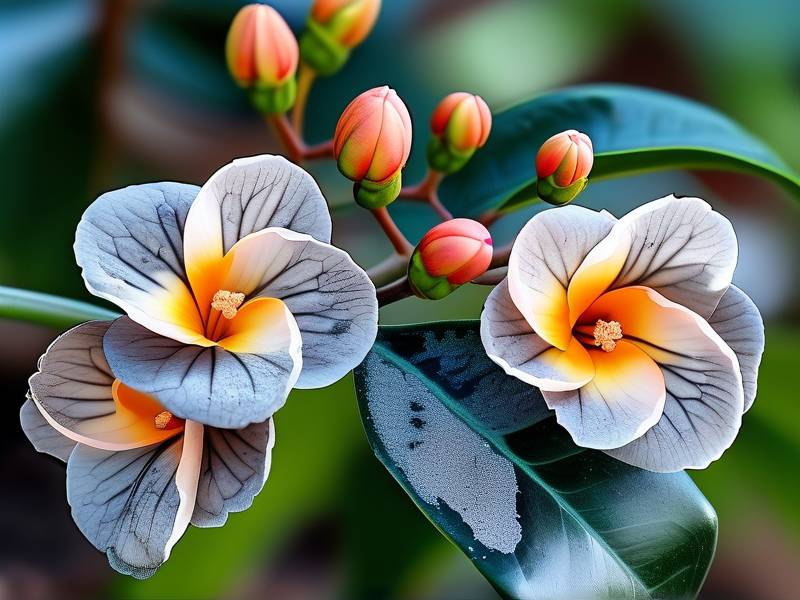
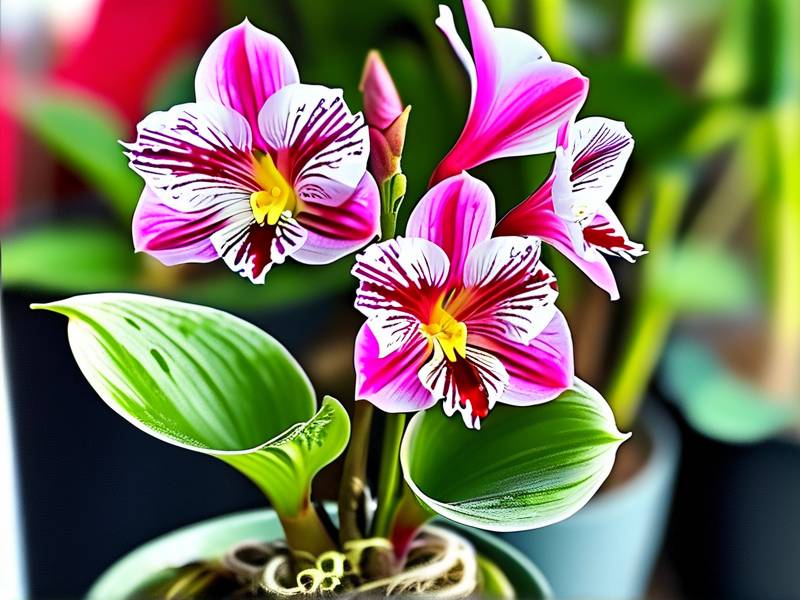
Mini Tillandsia flowers are tiny but stunning. They come in pink, purple, red, and yellow. To encourage blooming, I use a diluted bromeliad fertilizer once a month during the growing season (spring to fall). I mix it at one-quarter strength. I spray it onto the leaves after a regular watering. Avoid getting fertilizer into the center crown. Too much nitrogen kills blooms. After two weeks of light feeding, I saw a tiny green bud forming at the center. It opened into a small colorful flower after another month. Patience pays off.
Compact Shape Maintenance
If your plant gets leggy, it’s not getting enough light. I prune off dead lower leaves with clean scissors. This keeps the plant’s compact shape tidy. But don’t cut healthy leaves. They are the plant’s food source. I also rotate the pot weekly so all sides get even light. After two weeks of rotation, the plant grew more evenly. No leaning.
Common Pests and Problems I Faced
Scale insects and mealybugs are the usual suspects. I once found tiny white fluff on my mini Tillandsia. It was mealybugs. I dabbed them off with a cotton swab dipped in rubbing alcohol. Then I rinsed the whole plant under lukewarm water. After two weeks, no return. For scale, I scrape off the hard bumps with my fingernail. Quarantine infected plants immediately. Don’t let them touch healthy ones.
How to Trigger Small Colorful Flowers
I get this question a lot. Flowers are the reward. But they need triggers. Specifically, a slight temperature drop at night (10-15°F cooler) and reduced watering in late autumn. This mimics the dry season in nature. After two weeks of this routine, I saw a flower spike emerging. The bloom lasted about three weeks. Once the flower fades, cut the stalk at the base. The mother plant will produce offshoots, called pups, at its base. Those pups grow into compact new plants. It’s free multiplication.
Repotting or Mounting Mini Tillandsia
I never really repot them. They don’t need soil. Instead, I mount them on cork bark, driftwood, or rocks with fishing line or plant-safe glue. Make sure the base is secure but not buried. The roots are just anchors, not water absorbers. After two weeks on a new mount, the plant adjusted fine. It sent out new roots clinging to the wood.
Seasonal Adjustments for Mini Tillandsia
Summer: I water more frequently, about every five days, because it’s hotter and drier. Winter: I cut back to every ten days. I also move the plant away from cold drafts. Drafts cause leaf tips to brown. A stable warm semi-shade location works best year-round.
Frequently Asked Questions
1. How often should I mist my mini Tillandsia? Misting is not enough for most homes. I recommend the soak method once a week. Misting increase humidity but doesn’t hydrate the plant fully.
2. Why are my mini Tillandsia leaves turning brown at the tips? Common causes: too much direct sun, low humidity, or salt buildup from tap water. Move to warm semi-shade and use filtered water. Cut off brown tips after the plant recovers.
3. How do I get small colorful flowers on my compact mini Tillandsia? Provide bright indirect light, a cool night temperature drop in fall, and reduce watering slightly. Fertilize monthly with diluted bromeliad food. Blooms typically appear after one to two seasons.
Final Thoughts on Caring for Mini Tillandsia
I’ve lost plants. I’ve messed up water schedules. But now, with warm semi-shade, weekly soaks, and good air circulation, my mini Tillandsia stays compact and healthy. The small colorful flowers are a bonus. Remember, this isn’t a high-maintenance plant. It just needs the right conditions. Start with one, and observe it closely. After two weeks, you’ll see if it’s happy or stressed. Adjust accordingly. You got this.
For further reading on epiphytic plant care, check the RHS guidelines on air plants or the AHS tips for indoor gardening. They saved me a lot of heartache.