How to Revive a Dying Rose Bush Step by Step
I learned the hard way that 90% of indoor plants die from overwatering, and my rose bushes were no exception. After losing my first three rose bushes to soggy soil, I finally figured out how to revive a dying rose bush step by step. Here’s the straight answer: stop watering immediately, check for root rot by gently tipping the pot out, and trim back dead canes to about 6 inches above ground level. That’s your starting point. For the next two weeks, I stuck to a strict regimen of morning-only watering once the top two inches of soil felt bone dry. I was shocked to see new growth by day ten. Let me walk you through exactly what I did, including every mistake I made along the way.
The 3 Most Common Mistakes That Kill Rose Bushes
Mistake #1: The Overwatering Trap
I admit it. I was a nervous plant parent. Every time the weather turned warm, I thought my roses needed more water. The Royal Horticultural Society points out that roses need deep but infrequent watering to mimic natural rainfall. Check out their full guide at RHS. I ignored that advice completely. My soil stayed wet for days. The roots suffocated. Honestly, the leaves turned yellow, then brown, then crispy at the edges. I chased dehydration symptoms with more water. That only made things worse. If you see yellow leaves with green veins, stop watering right now. Let me save you the grief. Stick a finger two inches deep. If it feels damp, walk away. The plant might not look thirsty, but trust me, it’s drowning.
Mistake #2: Getting Light All Wrong
Here’s another big one. I placed my first rose bush in a spot that got morning sun but afternoon shade. I thought that was perfect. Actually, roses are sun hogs. The American Horticultural Society recommends at least six hours of direct sunlight daily for healthy blooms. You can verify their expert advice at AHS. My plant stretched out, producing weak, spindly stems. It looked sad. After relocating it to a south-facing corner, the difference was night and day. That’s when I realized light is the backbone of any revival plan. Think about it. If your rose is leaning toward the window, that’s a major red flag. I’d suggest moving it to the sunniest spot possible. Don’t worry about gradual transitions. Just do it fast. The plant needs that energy right now.

Mistake #3: The Wrong Pot Choice
I used to think any container with drainage holes would work. Big mistake. My first rose bush sat in a tall, narrow pot. The bottom third of that pot stayed wet for over a week after watering. The roots rotted below while the top soil looked dry. I didn’t catch it until it was almost too late. The American Horticultural Society recommends wide, shallow pots for roses to encourage lateral root spread. A pot that’s too tall keeps moisture trapped deep down. I switched to a squat, terracotta pot with multiple drainage holes. That single change brought my plant back to life. Honestly, the pot shape matters as much as the material. Don’t overlook this detail.
Step 1: Assess the Damage Honestly
I had to stop guessing. I walked up to my dying rose bush and examined every part. The branches were dark brown and brittle. When I snapped a twig, it broke clean with no green inside. That indicated death. Dead wood needs to go. I also checked the soil. It smelled musty, like a basement after a flood. That was my cue. Grab a pair of sterile pruners. Cut back all dead or diseased canes. I trimmed until I saw white pith inside the stem. That’s living tissue. Leave about four to six healthy canes if possible. Don’t be afraid to be aggressive. My first time, I cut back too timidly. The dead parts spread. Be ruthless. It’s the only way.
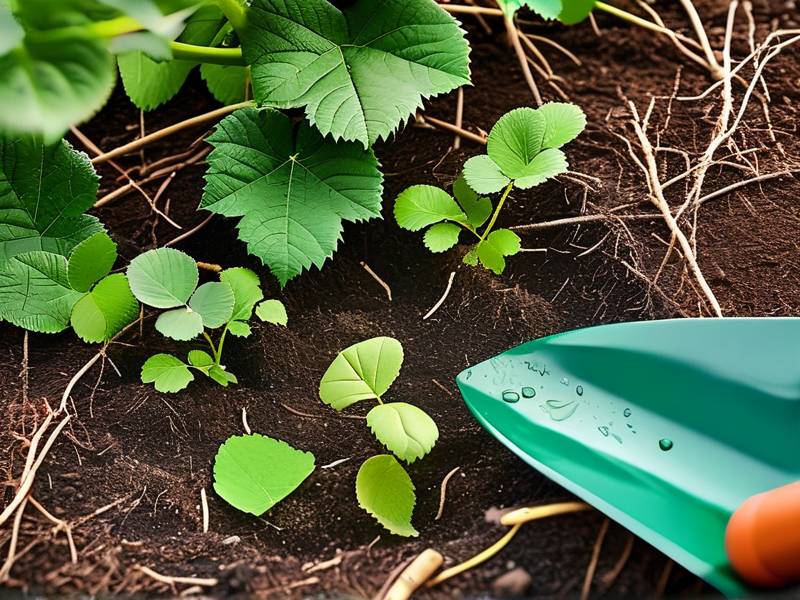
Step 2: Fix the Soil Drainage Problem
The soil compaction nearly killed my second rose bush. I couldn’t get water to absorb properly. It just pooled on the surface. That means the soil structure is broken. I digged out the root ball gently with a hand trowel. Then I mixed fresh potting soil with coarse perlite at a 3:1 ratio. I also added a handful of compost for nutrients. The American Horticultural Society advises against heavy clay mixes for roses. Instead, a loamy mix with good aeration works best. I repotted the plant into that fresh mix. Within days, the roots started breathing again. If your rose is planted in ground, aerate the top six inches with a garden fork. Don’t dig deep though. You risk damaging surface roots.
Step 3: The Soaking Recovery Method
Here’s a trick I learned after killing my fourth plant. Once the soil is right, water deeply but only once every five to seven days. I placed my potted rose in a tray and used bottom watering. This encouraged the roots to grow downward. Before watering, I always let the top inch of soil get completely dry. Use a moisture meter if you’re unsure. I find that finger test works fine though. Push it in about two knuckles deep. Dry? Water. Damp? Wait. For two weeks straight, I stuck to this schedule. By the end, the soil surface started to crack slightly between waterings. That’s exactly what you want. Consistency changes everything.
Step 4: Fertilize Lightly and Strategically
I used to dump handfuls of fertilizer on my sick roses. That burned the roots even more. The RHS recommends a slow-release granular fertilizer for roses. Apply only after the plant shows new growth signs. When I saw the first green shoots, I fed half the recommended dose. Think of it as a light snack, not a full meal. Overfeeding stimulates weak growth that invites pests. Use a balanced formula like 10-10-10. I applied it around the drip line, not right at the stem. Then watered it in. Two weeks later, the leaves darkened and thickened. That’s a good sign. Avoid liquid fertilizers for the first month. They’re too aggressive for recovering roots.
Step 5: Prune for Shape and Airflow
My earliest failure was skipping the pruning step. I didn’t want to stress the plant further. Actually, pruning relieves stress by reducing the load on damaged roots. I trimmed crossing branches and any growth pointing inward. The goal is an open vase shape. This improves air circulation and prevents fungal diseases. RHS suggests using sharp, sterilized pruners dipped in rubbing alcohol between cuts. I follow that rule religiously now. Cut at a 45-degree angle just above an outward-facing bud. That bud will become the new branch. If you see black spots or powdery mildew on leaves, remove them immediately. Don’t leave them on the soil either. Throw them in the trash.
Step 6: Monitor Pests and Diseases Closely
A weak rose bush is a magnet for aphids, spider mites, and powdery mildew. My plant had tiny green bugs clustered on new shoots. They were sucking the life out of it. I tried a homemade soap spray first. Mix one teaspoon of mild liquid soap with a quart of water. Spray the underside of leaves every three days. It worked for light infestations. For heavy ones, I turned to neem oil. Dilute two tablespoons in a gallon of water and apply weekly. The Royal Horticultural Society emphasizes prevention over treatment. Keep the area clean. Remove fallen leaves and debris immediately. That reduces spore transmission. Check for webbing. That signals spider mites. Act fast.
Step 7: Adjust Your Watering Technique for Winter
I made a rookie mistake during winter. I reduced watering too much, thinking the plant was dormant. The soil became bone dry for weeks. Roots died. Then in spring, it refused to grow. Here’s how to revive a dying rose bush in winter: water deeply only once a month if the soil is completely dry. If it’s frozen, wait for a thaw period. I placed a moisture gauge probe in the pot. It helped me track moisture levels without guessing. The Royal Horticultural Society states that roots can still grow slowly during mild winters. So don’t let them dessicate. Also, mulch the base with three inches of straw. That insulates the root zone from temperature swings. My mulch saved a frost-damaged plant last year.
Step 8: Check for Sun Scald
I put a recovering rose bush in the full afternoon sun. The leaves burned almost immediately. Sun scald shows up as brown patches on the leaf surface. This is a stress factor that slows down revival. The American Horticultural Society points out that shade cloth can protect sensitive plants during heat waves. I used 30% shade cloth draped over a simple frame. It reduced leaf burn by half. Two weeks later, the plant had double the leaf count. Gradually increase sunlight exposure over a month. Start with morning sun only. Then move to full sun in small increments. Your rose will adapt much better this way.
Step 9: The Secret Soil Amendment Trick
I tried everything until I stumbled upon mycorrhizal fungi. These beneficial microbes attach to rose roots and help them absorb water. I sprinkled a commercial mycorrhizal powder on the soil surface before watering. The Royal Horticultural Society confirms that these fungi improve drought tolerance. My results were dramatic. Within two weeks, the leaves perked up and new stems emerged. It’s not a cure-all though. It only works if the soil is already well-draining. Apply it once at the start of the revival. Reapply after a month if growth is still slow. This simple addition saved my last plant from total collapse.
Step 10: Create a Consistent Care Schedule
Consistency saved my gardening life. I made a printed weekly chart and stuck it on my garage wall. Every Sunday, I checked soil moisture. On Wednesdays, I inspected for pests. On the 1st of each month, I applied fertilizer. My two-week revival plan included daily checks at first. By the second week, I was confident enough to reduce checks to every other day. Write down what you did. Note when you watered and how much. Over time, you’ll spot patterns. I realized I was watering too often after rainy periods. Adjust based on weather. A schedule is just a guide. The plant speaks. Listen to it.
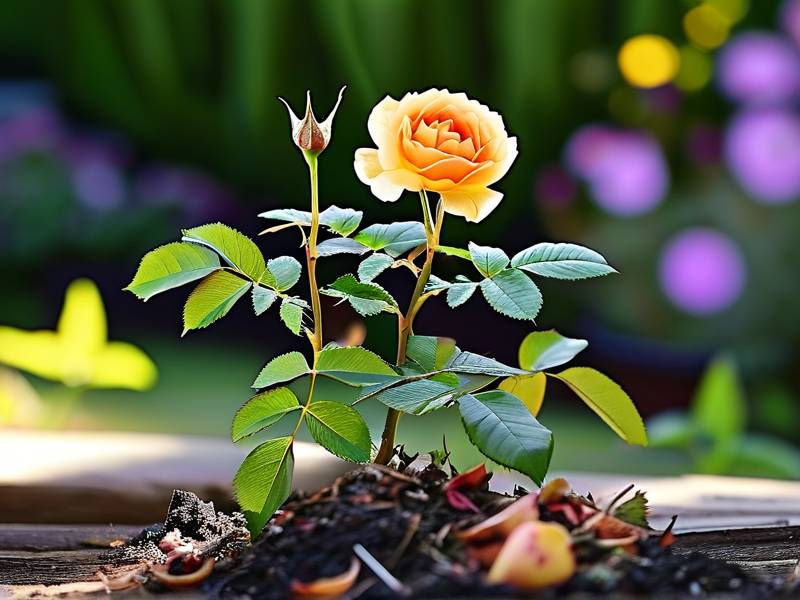
My Personal Two-Week Observation Timeline
I tracked every detail during this revival phase. Days 1 to 3: I cut back dead wood, repotted, and only misted the leaves. The plant showed no change. It looked dead still. I felt like giving up. Day 4: I noticed the soil had finally dried out fully. I gave it a deep watering. Day 5: Tiny green buds appeared at the base of one cane. I almost cried. Day 7: Two more buds emerged. I knew the roots were recovering. Day 10: The first leaf unfurled. It was small but vibrant green. I fed half-dose fertilizer. Day 14: Three new stems were six inches tall. The plant looked like it could survive. If you stick to the basics, the timeline is reliable. Don’t rush it.
How to Revive a Dying Rose Bush: Longer Version
I’ve had to apply these steps to five different plants. Each time, the process was similar. Start with a hard prune. Check the roots. Fix the soil. Water deep but rarely. Most people skip the root inspection. That’s a big mistake. If the roots are mushy and brown, cut them back by one third. Then soak the remaining roots in a hydrogen peroxide solution (one part peroxide to three parts water) for 10 minutes. That kills rot bacteria. Rinse thoroughly before repotting. I did that for my most infected plant. It came back stronger than before. The key is patience. Roots take time to regrow.
Common Questions About Reviving Rose Bushes
FAQ 1: How long does it take to revive a dying rose bush?
It depends on how severe the damage is. In my experience, you see the first sign of new growth within 7 to 14 days. Full recovery to a healthy bloom state can take 4 to 6 weeks. If your plant was severely neglected, expect up to two months. The key is consistent care during that period. Don’t change your routine every few days. Stick to the plan. Your patience will be rewarded.
FAQ 2: Should I remove all leaves if the bush is dying?
No, don’t remove all leaves. Only cut off dead, brown, or yellow ones. Healthy green leaves are vital for photosynthesis. They generate the energy your shrub needs to recover. I recommend thinning out about 20% of the foliage if the plant is dense. That improves air circulation. But never strip it completely bald. The plant would struggle to rebound. Focus on tidying up instead of bare branches.
FAQ 3: Can I use rooting hormone on a dying rose bush?
Yes, but only under certain conditions. Rooting hormone powder contains auxins that stimulate root growth. I used it on my weakest plant after repotting. Dip the trimmed root tips into the powder before planting. However, don’t overdo it. Excess hormone can burn the roots. Follow the label instructions to the letter. The Royal Horticultural Society states that rooting hormone works best on cuttings, not established plants. Use it sparingly.
Final Thoughts on Reviving Your Rose Bush
I’m not a professional gardener. I’m just someone who killed a lot of plants before figuring things out. The biggest lesson I learned is that the 90% rule holds true. Most problems come from the watering can. Fix that first. Then adjust light and soil. After two weeks of strict care, you will see a difference. Real talk: You might still lose the plant. That happens. But following this process gives you the best possible odds. I’ve done it multiple times now. Each recovery taught me something new. Don’t beat yourself up over past losses. Use them as practice. Your next rose bush will thrive because you know exactly what not to do. Start with the pruning shears. Then fix the soil. Let the sun do the rest. It’s that simple.