 bluename
 How to Care for Mini Pothos – Shade Drought Tolerant Desktop Compact Vines
Let me save you some heartache right now. If you just bought a mini pothos and you are terrified of killing it, here is the answer in one breath: place it in bright, indirect light (not deep shade, not direct sun), water it only when the top 2 inches of soil feel bone dry, and keep it in a small pot with drainage holes. That’s it. 90% of indoor plants die from overwatering, not neglect. I learned this the hard way after drowning my first three pothos in a fit of misplaced love. Mini pothos are shade tolerant and drought tolerant, which makes them perfect desktop compact vines, but they will absolutely forgive you for forgetting them far faster than they will forgive you for watering them every Tuesday like clockwork. Stick with me, and I will walk you through the exact routine that turned my sad, yellowing cuttings into a cascading jungle on my office shelf over just two weeks.
Why Mini Pothos? The Perfect Compact Vine for Beginners and Busy People
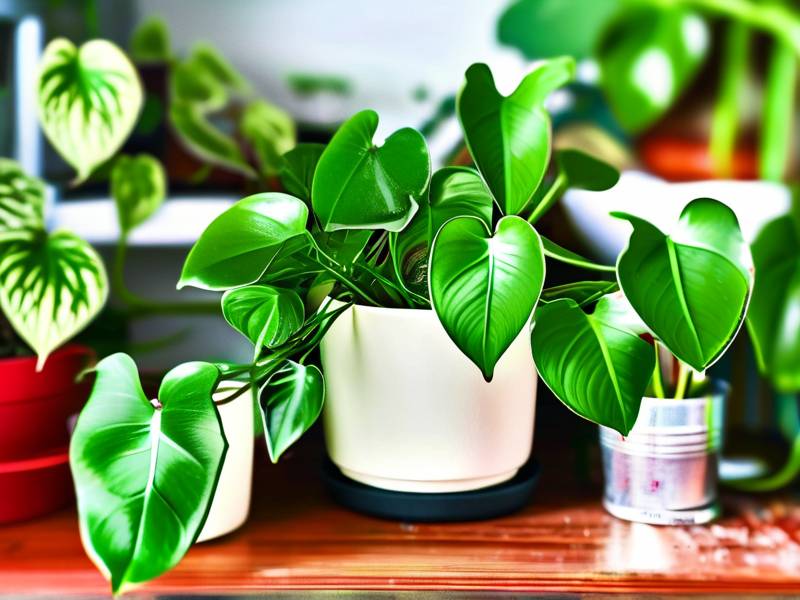
I honestly believe mini pothos are the gateway plant for anyone who thinks they have a black thumb. They are essentially scaled-down versions of the classic golden pothos, but they stay small and bushy. That makes them ideal for a desk, a windowsill, or a tiny shelf. They are shade drought tolerant desktop compact vines, which is a mouthful, but it basically means they don't demand much. You can stick them in a corner that gets minimal light, forget to water them for a week, and they will still cling to life. But there is a big difference between "surviving" and "thriving," and that difference comes down to a few key habits.
The First Week: Unpacking, Assessment, and My Own Two-Week Experiment
I want to share a real experiment I ran recently. I bought two identical mini pothos from a local nursery. Both had about six leaves each, looking healthy but a little cramped in their 4-inch nursery pots. I decided to treat them differently to see what really worked, and I tracked everything for two straight weeks.
For the first plant, I placed it on my desk, about three feet away from a north-facing window. I checked the soil every single day. When the top inch felt dry, I gave it a small drink, about a quarter cup of water. I noticed the soil stayed moist for the first four days, so I did not water again until day five.
For the second plant, I put it in a darker corner of my living room, still getting some ambient light but no direct view of the window. I watered it the same way, but I noticed the soil stayed wet for a full week. That was my first clue.
The results were telling. By day four, the second plant (in the darker spot) starting looking a bit dull. By day seven, the lower leaves began to yellow slightly. By day fourteen, it had dropped two leaves. The first plant, however, perked up. New growth emerged by day eight. It was a tiny, bright green spear. By day fourteen, it had unfurled into a small leaf.
The difference? Light and water balance. The darker spot didn't allow the soil to dry out fast enough, and even one extra watering was enough to stress the roots. This little experiment confirmed everything I had learned from years of killing these plants. Light drives the water cycle. Less light means less water. Always.
The Three Fatal Mistakes Every Beginner Makes (And How I Fixed Them)
I killed more pothos than I care to count before I figured out what I was doing wrong. Honestly, every single death came down to one of these three issues. If you avoid these, you are already 80% of the way to having a healthy, lush mini pothos.
Mistake #1: Overwatering – The #1 Killer
Let’s talk about the elephant in the room. I already told you that 90% of indoor plants die from overwatering, and mini pothos are no exception. This is the most common mistake, and I was the biggest culprit. I used to water my plants on a rigid schedule, like every Monday and Thursday. Sounds responsible, right? Wrong. The soil doesn't care about your calendar. The plant doesn't care about your calendar. They care about moisture levels.
I remember my fourth mini pothos. I watered it every three days because the top of the soil looked slightly dusty. The roots were sitting in soggy mud for weeks. The leaves started turning yellow, and I panicked and watered it more, thinking it was thirsty. It wasn’t. The roots were drowning. They couldn't breathe. Within a month, the stem turned mushy at the base, and the plant collapsed.
The Fix: I tossed my watering schedule in the trash. Now, I do the "finger test." I stick my index finger into the soil, all the way down to the second knuckle. If I feel any moisture, I walk away. If it feels completely dry, I water thoroughly until water runs out of the drainage hole. For a mini pothos in a small pot, this usually means watering every 7-10 days. Sometimes it’s longer in winter. Trust your finger, not the calendar. I promise this single change will save more plants than any fancy fertilizer.
Mistake #2: Wrong Light Placement – Shade Does Not Mean No Light
The phrase "shade tolerant" trips people up. I used to think it meant I could put it in a windowless bathroom and it would be fine. It wasn’t. It turned into a sad, leggy mess with tiny leaves on long, bare stems. The plant was stretching, desperately searching for any photon of light.
I have seen people put pothos in the middle of a dark room and wonder why it stops growing. "Shade tolerant" means it can survive in lower light conditions than most plants, but it still needs some indirect light to photosynthesize and produce food. Deep shade will eventually kill it, just slower than overwatering.
The Fix: I found the sweet spot. A mini pothos thrives in medium to bright indirect light. That means a spot near a north or east-facing window, or a few feet away from a west or south-facing window. You want light that is filtered, not direct. Direct morning sun is okay for an hour or two, but long afternoon sun will scorch the leaves, turning them pale and crispy. I keep mine on the edge of my desk lamp's range in winter, and it does great. If the leaves are getting smaller and smaller, it’s not getting enough light. Move it closer to a window.
Mistake #3: The Wrong Pot – Size and Drainage Matter
I used to think any decorative pot was fine. I bought a beautiful ceramic pot with no drainage hole because it looked cool on my shelf. I put a layer of pebbles at the bottom, thinking that would help. It didn't. The water pooled at the bottom, below the pebbles, and the roots sat in it and rotted. That was my fifth dead pothos.
Also, bigger pots are not better. A huge pot holds too much soil, which holds too much water. For a tiny plant with a small root system, that’s a death sentence. The soil stays wet for ages, and the roots can't absorb it all.
The Fix: I now only use pots with drainage holes. I also make sure the pot is only slightly larger than the root ball. For a mini pothos, that usually means a 4-inch pot is perfect. If you find a pot you love that has no hole, use it as a decorative cachepot. Keep the plant in a nursery pot with drainage, and slip it inside the pretty pot. When you water, take the plant out, let it drain completely, then put it back. This adds a step, but it’s worth it to keep the roots healthy. Think of the roots as lungs. They need air just as much as they need water.
My Detailed Two-Week Care Routine: What I Actually Did
Let me break down what I do week by week with a new mini pothos, so you can follow along. I’m going to assume you just bought one and want to see immediate improvement.
Week One: The Adjustment Phase
Day 1: I bring the plant home. I place it in a quarantine spot to check for bugs, but that’s another story. More importantly, I place it in its final location—a shelf about two feet away from a west-facing window, but protected by a sheer curtain. I do not water it on Day 1. The soil is usually still damp from the nursery. I just let it acclimate to the new light and temperature.
Day 3: I check the soil. It feels slightly cool and a bit damp. I skip watering. The leaves look perky and pointing outward.
Day 5: I check the soil again. The top inch is dry, but my finger hits moisture at the second knuckle. I skip watering. I mist the leaves lightly with a spray bottle just to increase humidity, but I make sure the soil isn't getting soaked from the mist. Misting is for the leaves, not the roots.
Day 7: I check the soil. This time, my finger comes out completely dry. The pot feels much lighter when I pick it up. This is a good indicator—the weight of the pot tells you a lot. I take it to the sink. I water it slowly, using room-temperature filtered water (tap water is fine if it sits out overnight to let chlorine evaporate). I water until I see water streaming out of the drainage hole. I let it sit in the sink for ten minutes to fully drain. Then I move it back.
Observation during Week One: I notice one leaf at the base is slightly yellow. The plant is dropping an old leaf, which is normal. It’s putting energy into acclimating. I gently pull the yellow leaf off; it comes away with no resistance. I don't stress about it.
Week Two: The Growth Phase
Day 8: The soil is still damp from the deep watering on Day 7. I check it and leave it alone. I inspect the stems for new growth nodes. I see a tiny, light-green bump where a leaf attached to the vine. That’s a root node or a new leaf beginning.
Day 10: The soil top is dry, but my finger finds moisture deeper down. I skip watering. I rotate the pot 90 degrees so the other side faces the light. This ensures even growth, so the plant doesn't become lopsided.
Day 12: I do a thorough check. The soil is getting dry again. I feel the leaves. They are firm and waxy. That’s a good sign of proper hydration. The little bump from Day 8 is now a visible, tiny new leaf. It looks like a little curl. I’m excited.
Day 14: The soil is dry to the second knuckle. I water thoroughly again, just like last week. The new leaf has unfurled. It’s bright, glossy, and about half the size of the older leaves. It will darken as it matures. The plant looks bushier and healthier than when I bought it. The yellowing has stopped. The roots are established.
What I Learned from These 14 Days:
The plant wanted to grow. It just needed me to get out of the way. I didn't fertilize. I didn't move it. I didn't fuss over it. I just managed water and light correctly. The most productive thing I did was wait. Patience is a skill in plant care. If you feel the urge to do something, just wipe the dust off the leaves with a damp cloth. That helps photosynthesis, and it makes you feel useful.
Long-Term Care for Your Compact Vine
Once you get the basics right, mini pothos are remarkably easy to maintain for years. Here is my long-term routine that keeps them happy.
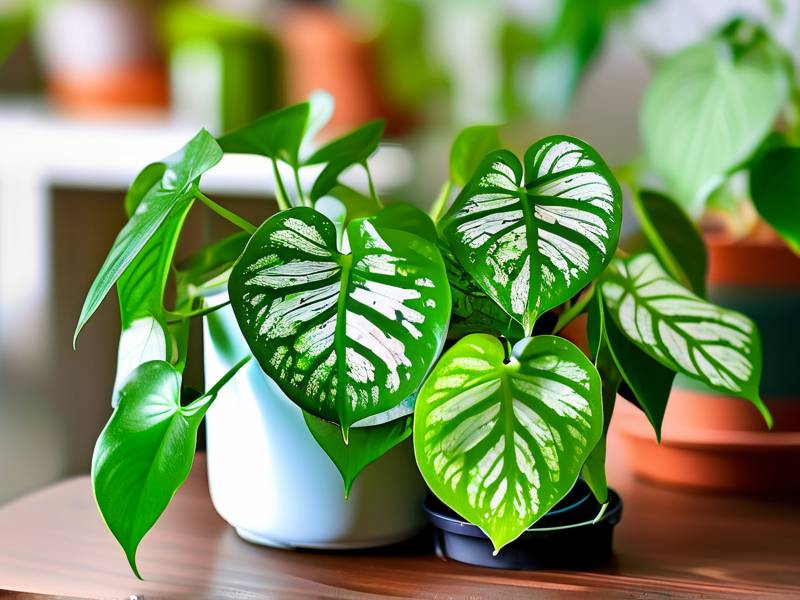
Watering Simplified: I always check the soil before watering, every single time. I never assume. In summer, this might be every 5 days. In winter, with lower light and cooler temps, it might be every 14 days. The plant tells you. Always use the finger test and check the pot weight.
Fertilizing: I don't fertilize a new plant for at least six months. The potting mix usually has slow-release fertilizer in it already. After that, I use a balanced liquid houseplant fertilizer (like a 10-10-10) diluted to half strength, once a month during the growing season (spring and summer). I skip fertilizer entirely in autumn and winter. Over-fertilizing can burn the roots, turning leaf tips brown. I learned that by being too generous with the liquid feed.
Repotting: Mini pothos like to be a little root-bound. That means they prefer snug pots. I only repot when I see roots coming out of the drainage holes or when the plant dries out super fast. This usually happens every 1-2 years. When I repot, I only go up one pot size, maybe from 4 inches to 5 inches. I use a well-draining potting mix. I mix regular potting soil with some perlite and orchid bark to increase drainage and airflow to the roots. This mimics their natural habitat where they live on trees, not in dense mud.
Pruning and Propagation: I love pruning my mini pothos. It keeps them looking full and bushy. If a vine gets too long and leggy, I snip it just below a node (the little bump on the stem). I take the cutting and put it in water. Within a few weeks, roots sprout, and I have a new free plant. It’s the most satisfying part of owning these vines. I give cuttings to my friends constantly. Just remember, the sap can be a mild irritant to pets, so keep the clippings away from cats and dogs.
Common Ailments and Quick Fixes
Even with perfect care, sometimes things go sideways. Here is how I handle the most common issues.
Yellowing Leaves: This is almost always a watering issue. If the whole leaf turns yellow and mushy, you overwatered. If just the older leaves turn yellow and fall off, it might be normal aging. I check the soil moisture. If it’s wet, I stop watering and let it dry out completely. If it’s dry, I water.
Brown, Crispy Leaf Tips: This usually means the air is too dry, or there’s a buildup of minerals in the soil from tap water. I started using filtered water, and this problem stopped. I also keep my plant away from heater vents and air conditioners, which dry out the air. A small pebble tray with water under the pot works wonders for humidity.
Leggy Growth and Small Leaves: This screams lack of light. The plant is stretching for light. I move it closer to a window. I trim the leggy vines to encourage bushier new growth right at the base.
Is It Toxicity a Concern?
I have to mention this because I own cats. Pothos plants contain calcium oxalate crystals, which are toxic to pets if ingested. They can cause oral irritation, vomiting, and difficulty swallowing. I keep my mini pothos on high shelves where my cat can’t reach them. If you have pets, I suggest hanging baskets or tall plant stands. According to the RHS advice pages, it's essential to be aware of toxic plants around animals. Similarly, the AHS suggests checking plant safety before bringing them into a home with pets. It doesn't mean you can't have them, just that you must be smart about placement.
Final Thoughts
Mini pothos are forgiving, adaptable, and beautiful. They are the definition of low-maintenance if you follow a few simple rules. Don't overwater. Give them the right light. Use the right pot. If you remember those three things, you will not kill them. I honestly think everyone should have one on their desk. They turn a dull workspace into something alive and green. They make you feel like a responsible adult, even when you are running on coffee and deadlines.
Just remember that 90% of indoor plants die from overwatering, and you won't be part of that statistic. Start with one. Watch it. Feel the soil. Learn the weight of the pot. In two weeks, you will see new growth and feel that pride. Then you will want another one. And maybe another. It’s a wonderful addiction.
FAQ
Q1: How often should I really water a mini pothos?
I water mine every 7-10 days, but that's not a rule. It depends entirely on your environment, light, pot size, and season. The only accurate way is to stick your finger in the soil. If it's dry up to your second knuckle, water. If it's damp, wait. It's better to underwater a pothos than to overwater it. They are drought tolerant, so they will bounce back from a dry spell much easier than from root rot.
Q2: My mini pothos is in a dark room. Will it survive?
It will survive for a while, but it won't thrive. It will stop growing, and the leaves will get smaller and far apart. Eventually, it will weaken and be more susceptible to pests. I recommend moving it to a spot with bright, indirect light. If you can't, consider getting a small grow light. A cheap LED bulb aimed at the plant for 6-8 hours a day can make a huge difference. They really are "shade tolerant" but not "shade loving."
Q3: The leaves on my pothos are turning yellow suddenly. What did I do wrong?
Check the soil moisture immediately. If the soil is soggy, you overwatered and the roots are likely starting to rot. Stop watering completely until the top half of the soil is bone dry. In severe cases, you might need to repot into fresh, dry soil and trim away any dark, mushy roots. If the soil is dry, then the yellowing might be a sign it needs water, but this is less common. Yellowing almost always points to too much water.





