bluename
How to Rescue a Dying Rhapis Humilis Palm with Advanced Root Rot
If your Rhapis humilis palm looks like it's on its last legs, I get it. I've been there. The first thing you need to know is that saving a dying lady palm with advanced root rot comes down to three things: stop the water, get the roots breathing, and rebuild the root system slowly. That's the short answer. The long answer is what follows, and I'll walk you through exactly what I did over two weeks to pull my own palm back from the edge.
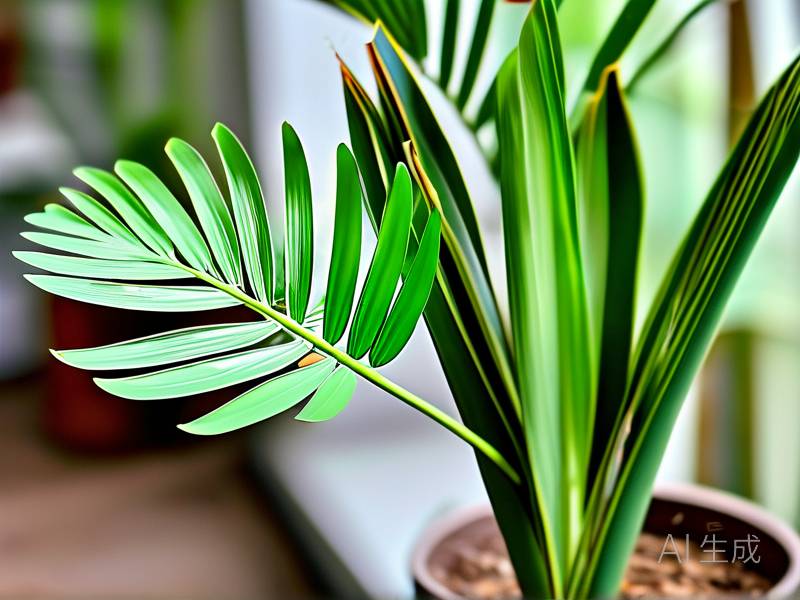
Rhapis humilis, commonly called the slender lady palm, is a slow-growing clumping palm that people love for its bamboo-like stems and fan-shaped fronds. It's an excellent houseplant for beginners on paper, but here's the catch. It's also one of the most common victims of overwatering in homes across the US, Canada, the UK, and Australia. Why? Because it tolerates low light, which means it grows slowly, which means it uses very little water. Most people water it like a fern. That's a mistake.
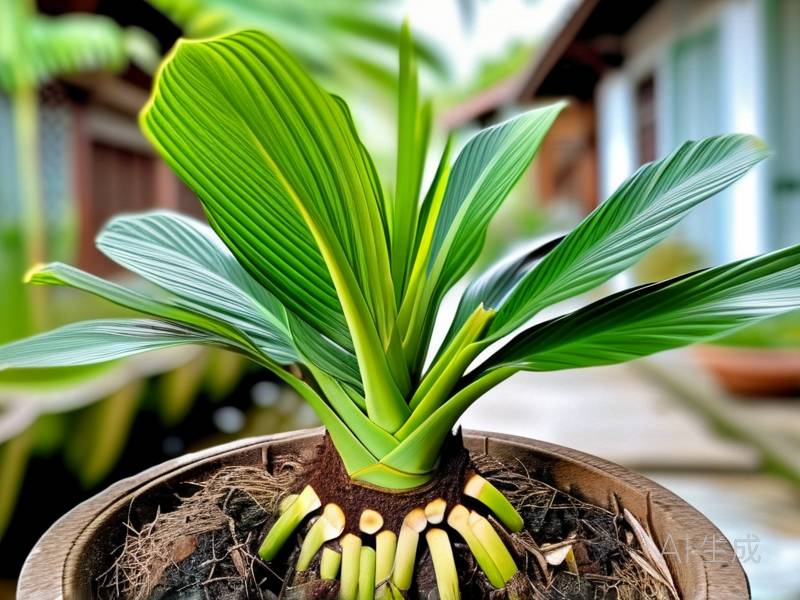
I've killed more than one palm this way. My worst case was a Rhapis humilis I'd had for three years. It looked fine one week, then the fronds went pale, the leaf tips browned, and the base of the stems started to feel soft. By the time I yanked it out of its pot, the roots were brown and mushy and smelled like a swamp. That's advanced root rot. Once it gets to that stage, you're not just adjusting care. You're performing surgery.
Here's something I wish someone had told me years ago: 90% of indoor plants die from overwatering. Not underwater, not pests, not bad light. Overwatering. That single stat changed how I look at every plant in my house, and it's the lens you need to look through if you want to save this palm.
What Advanced Root Rot Actually Looks Like
Before you rescue anything, you need to confirm the diagnosis. Root rot in Rhapis humilis doesn't always show up as obvious mush. Sometimes the first sign is yellowing fronds, especially the lower ones. Sometimes it's a soft, dark patch at the base of the stem. Sometimes the soil just never dries out and the pot feels heavy for days.
Gently pull the palm out of its pot. Healthy lady palm roots are firm, pale, and smell earthy. Rotting roots are brown, black, squishy, and smell sour. If more than half the root ball is dark and mushy, you're dealing with advanced root rot. That's the point where casual fixes won't cut it. You need to remove the dead tissue and repot into a sterile, fast-draining mix.
I tried the "just stop watering" approach once. It didn't work. Once rot sets in, it keeps spreading through the root mass because the dead tissue holds moisture against the healthy tissue. You have to cut it out. Full stop.
The Two-Week Rescue Plan I Used
Here's the step-by-step process I followed with my own palm. I took photos every two days so I could track progress honestly instead of guessing.
Day 1: Unpot and inspect. I laid out newspaper on the kitchen counter and gently loosened the root ball. I shook off as much old soil as I could without tearing healthy roots. Then I rinsed the roots under lukewarm water so I could see what was alive and what was dead.
Day 1: Sterilize and trim. I cleaned a pair of pruning shears with rubbing alcohol and cut away every brown, mushy root. I cut back to firm, white tissue. Yes, I lost about 60% of the root mass. That felt brutal, but leaving rotting roots in place would have killed the whole plant. I also dusted the cut ends with cinnamon, which is a mild natural antifungal I've used for years. If you want something stronger, a sulfur-based fungicide works too. The RHS recommends sterilizing tools between cuts when dealing with root disease, and I follow that rule strictly now.
Day 1: Repot into the right mix. I used a chunky, airy blend: roughly 50% orchid bark, 30% perlite, and 20% peat-free potting compost. The goal is drainage and airflow around the roots. I chose a pot only one size up from the root ball, with drainage holes I checked twice. More on pot size later, because this is where a lot of people go wrong.
Day 2–4: No water, just humidity. I did not water the palm for the first three days after repotting. The roots were stressed and wounded, and wet soil would have invited rot right back. Instead, I misted the fronds lightly in the morning and kept the plant in a warm spot with bright indirect light.
Day 5: First light watering. I gave it a small amount of water around the edges of the pot, not directly at the base. Just enough to moisten the top inch of the mix. I checked the moisture with a wooden skewer before watering, and I kept doing that every single time.
Day 7: First real check. I gently tugged on the stems. They felt firmer than they had on day one. No new yellowing on the upper fronds. The soil was drying evenly. I took that as a good sign.
Day 10: Second watering. Same approach, small amount, edges only. I also started a diluted foliar feed at quarter strength. Just a light mist of balanced liquid fertilizer once. Roots can't take much yet, but the leaves can absorb a little nutrition.
Day 14: Honest assessment. Two weeks in, the palm had stopped declining. No new brown tips. One new spear was pushing up from the center of a clump. That's the real victory signal with Rhapis humilis. It's slow, so any new growth means the roots are recovering. I kept the plant in quarantine away from my other houseplants for another two weeks just to be safe.
The Three Mistakes That Kill Rhapis Humilis
I've made all three of these. I'm listing them plainly because I wish someone had done that for me.
Mistake one: watering on a schedule. People water once a week because a blog told them to. Rhapis humilis doesn't care about your calendar. It cares about soil moisture. Stick your finger two inches into the mix. If it's damp, wait. If it's dry, water. That's it. The American Horticultural Society's guidance on container plant care backs this up — always check before you water, never assume.
Mistake two: putting it in direct sun or deep shade. This palm wants bright, indirect light. A few hours of gentle morning sun is fine. Harsh afternoon sun scorches the fronds. Deep shade slows growth to a crawl and keeps the soil wet for too long. Both extremes stress the plant and make root rot more likely.
Mistake three: using a pot that's too big. A big pot holds a big volume of wet soil, and a slow-growing palm can't drink it fast enough. The roots sit in moisture and rot. I learned this the hard way with my second palm. I potted it into a decorative planter three sizes too large because I thought it would "grow into it." It didn't. It drowned. Always choose a pot that's only slightly larger than the root ball, and always make sure it has drainage holes.
Light and Placement After the Rescue
Once your palm is stable, light becomes your main tool for preventing a relapse. Rhapis humilis does best in bright, indirect light. An east-facing window is ideal. A south or west window works if you pull the plant back a few feet or filter the light with a sheer curtain.
If the light is too weak, the palm grows slowly, which means it uses less water, which means the soil stays wet longer. That's the root rot pipeline. If the light is too strong, the fronds bleach and burn. I've seen both. Neither is fun.
During the recovery period, keep the plant in a spot with consistent temperatures, ideally between 60°F and 80°F. Avoid drafts from doors, air conditioning vents, and radiators. Rhapis humilis hates sudden temperature swings. I moved mine away from a chilly window in January and the leaf spotting stopped within a week.
Watering Rules That Actually Work
Here's my full watering approach for a recovering palm, and honestly for any Rhapis humilis I own now.
Water thoroughly, but only when the top two inches of soil are dry. Water until it runs out the drainage holes. Then dump the saucer. Never let the pot sit in standing water. I made that mistake for months with my first palm because I thought the saucer looked tidy. It was a rot factory.
During recovery, water less than you think you should. Smaller amounts, more often checking. I used a wooden skewer inserted near the edge of the pot to test moisture below the surface. If it came out clean and dry, I watered. If it came out dark and damp, I waited. Simple as that.
In winter, cut back further. The plant slows down. So should your watering can.
Soil and Repotting
The right mix makes rescue possible. I use a chunky, fast-draining blend, and I never use garden soil indoors. Garden soil compacts, holds water, and brings in pests. Skip it.
For repotting, choose a pot with drainage holes only one size up. Terracotta is great because it breathes and wicks moisture. Plastic works too, but be more careful with watering. Repot every two to three years, or when the roots start circling the pot. Don't repot a stressed plant more often than necessary. Repotting itself is stressful, and a recovering palm needs stability.
Feeding a Recovering Palm
Do not fertilize a palm with active root rot. I'll say that again because it matters. Fertilizer on damaged roots burns them. Wait until you see new growth, then start with a balanced liquid fertilizer at quarter strength. Feed once a month during the growing season. Stop entirely in winter.
I use a palm-specific fertilizer with micronutrients like magnesium and iron. Lady palms are prone to magnesium deficiency, which shows up as yellow banding on older fronds. A little Epsom salt in the watering can once a month helps, but only after the plant is stable.
Seasonal Care, Because This Palm Notices the Calendar
Spring. This is when you do the heavy lifting. Repot if needed, trim dead fronds, and start feeding. I do my repotting in early spring so the plant has the whole growing season to recover. Prune only brown or dead fronds. Don't cut green growth.
Summer. Watch the heat and the sun. Move the palm back from hot windows. Keep the air moving with a fan on low if the room gets stuffy. Check for pests weekly, especially spider mites, which love dry indoor air.
Autumn. Start reducing water and stop fertilizing by mid-autumn. Clean the fronds with a damp cloth to remove dust so the plant can breathe. Check the undersides of leaves for pests before you bring the plant indoors for the season.
Winter. This is the danger zone for overwatering. The plant is dormant. Water sparingly, keep it away from cold windows, and don't feed at all. I keep my winter watering to maybe once every two to three weeks, and I always check the soil first.
Pests and Problems to Watch For
Spider mites show up as fine webbing and stippled leaves. Treat with neem oil and raise the humidity. Mealybugs look like little cotton tufts in the leaf joints. Dab them with rubbing alcohol on a cotton swab. Scale insects are brown bumps on stems and fronds. Scrape them off and treat with horticultural oil.
Yellow fronds on older growth are usually normal aging. Yellow fronds on new growth mean a nutrient problem or root stress. Brown tips mean dry air or inconsistent watering. Soft, dark stems mean rot is back. Act fast if you see that.
FAQ
Can a Rhapis humilis with advanced root rot really be saved? Yes, if you catch it before the rot reaches the crown. Cut away all mushy roots, repot into a fast-draining mix, and water sparingly for the first two weeks. I've saved two palms this way. The key is acting early and being ruthless with the pruning shears.
How long does recovery take? Expect two to four weeks to see the decline stop, and two to three months to see real new growth. Rhapis humilis is slow. Don't panic if nothing happens in the first week. Watch for firm stems and no new yellowing.
Should I use hydrogen peroxide on the roots? I've tried it. A diluted rinse can help clean the root zone, but it's not a miracle cure. The real fix is removing dead tissue and fixing the soil and watering. Don't rely on a bottle to do the work for you.
What's the biggest mistake after repotting? Watering too soon and too much. Give the roots a few days to settle. Then water lightly and check the soil before every watering after that. Patience is the whole game here.