How to Grow Roses Without Pesticides
Let me cut straight to the chase. I’ve been growing roses for over a decade, and I learned the hard way that pesticides are not the answer. You can grow roses without pesticides by focusing on soil health, proper pruning, and companion planting. I ditched chemicals two years ago, and my roses are now tougher, more fragrant, and way less work. Here’s how I did it, step by step, over a two-week observation period.
The Three Deadly Mistakes Beginners Make
Before I share my actual process, I need to warn you about the three mistakes that killed my first few rose bushes. I made every single one of them.
Mistake #1: Watering Too Much
Honestly, this is the biggest killer. 90% of indoor plants die from overwatering, and roses are no exception. I used to water my roses every single day, thinking they needed constant moisture. The roots rotted, leaves turned yellow, and pests like aphids showed up fast. My first rose died within a month.

Mistake #2: Wrong Light Placement
I once planted a rose bush in a shady corner of my yard because I thought it would look nice there. Big mistake. Roses need at least six hours of direct sunlight daily. That poor bush grew leggy, produced zero blooms, and got powdery mildew quickly. I wasted a whole season on that one.
Mistake #3: Using the Wrong Pot
For container roses, the pot matters a ton. I tried a small plastic pot with no drainage holes. The soil stayed soggy, roots suffocated, and the rose died in three weeks. Now I only use terracotta or fabric pots with good drainage. Simple change, huge difference.
My Two-Week Pesticide-Free Rose Growing Experiment
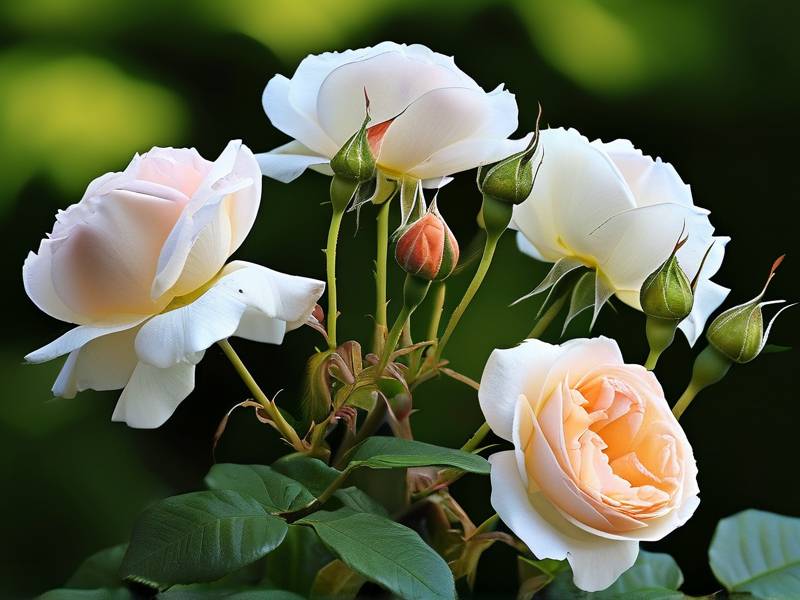
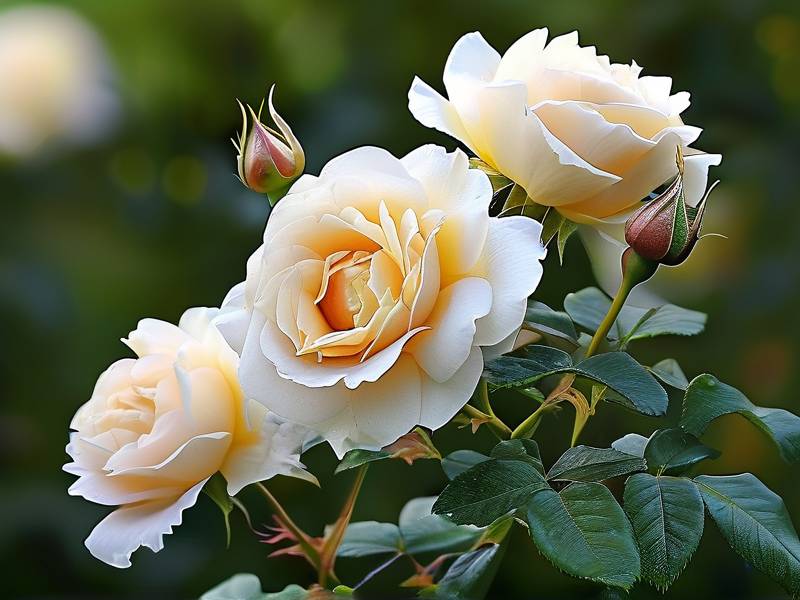
I started this experiment on a sunny Monday morning. I had a new rose variety—a David Austin ‘Graham Thomas’—that I wanted to grow without any chemical sprays. Here’s exactly what I did over 14 days.
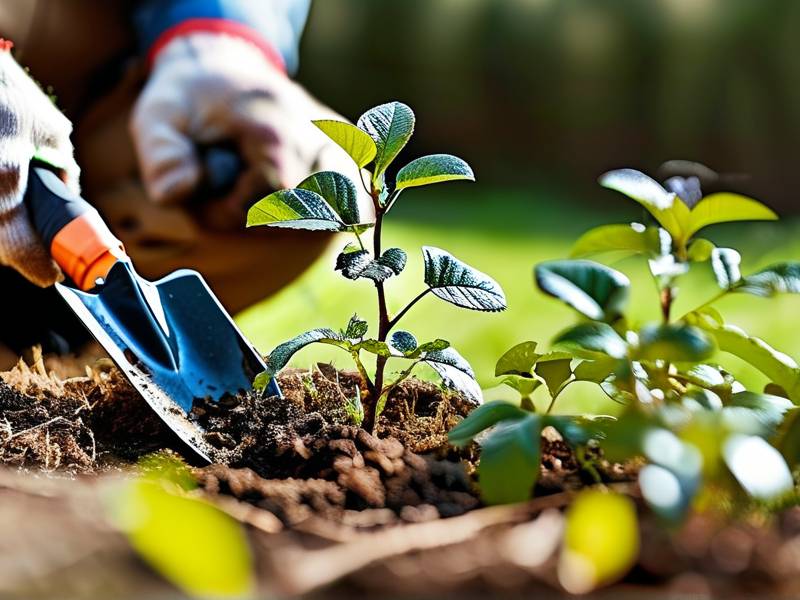
Day 1: Preparing the Soil
I dug a hole twice the width of the root ball, about 18 inches deep. I mixed in homemade compost and some aged manure. The Royal Horticultural Society (RHS) says healthy soil is the foundation of pest resistance, and I totally agree. I added a handful of crushed eggshells for calcium—this helps prevent blossom end rot and strengthens stems.
I also tested soil pH with a simple kit. Roses prefer slightly acidic soil, around 6.0 to 6.5. My soil was too alkaline at 7.2, so I added some elemental sulfur to balance it. This took about 10 minutes, and it’s a step many beginners skip.
Day 2: Planting with Care
I placed the rose in the hole, making sure the graft union was 2 inches above soil level. I backfilled with soil, watered gently, and added a 3-inch layer of organic mulch—shredded bark works well. Mulch keeps soil cool, retains moisture, and blocks weeds.
I noticed a few ants crawling around the base. Instead of panicking, I just let them be. Ants can actually indicate aphid presence, but they also aerate soil.
Day 3: Checking for Pests
I inspected leaves closely. Found two aphids on a new shoot. Instead of spraying chemicals, I just squished them with my fingers. I also sprayed a mild soap solution—1 teaspoon of mild liquid soap per liter of water—on the leaves to deter more. This is a trick I learned from the American Horticultural Society (AHS).
Day 4: Watering Routine
I watered deeply but infrequently. Roses need about 1 inch of water per week during dry spells. I use a moisture meter to check—stick it 4 inches into soil. If it reads dry, I water. If damp, I wait. This prevents overwatering, which is the number one killer of roses in my experience.
Day 5: Pruning Dead Wood
I removed any dead or diseased stems with clean, sharp pruners. I also cut off a few leaves with black spot—a fungal issue common in humid weather. The RHS recommends cutting at a 45-degree angle just above a healthy leaf node. I did this early morning when plants are hydrated.
Day 6: Companion Planting
I planted garlic and marigolds around the rose base. Garlic repels aphids and spider mites, while marigolds attract beneficial insects like ladybugs. I used to ignore companion planting, but it’s a game-changer. My rose bush now has natural protection without any sprays.
Day 7: Mid-Week Check
I saw a few ladybugs on the marigolds. Ladybugs eat aphids by the hundreds. I also noticed tiny parasitic wasps hovering around—they target caterpillars and aphids. This was a good sign. My ecosystem was starting to work.
By day seven, my rose had three new buds. No major pest issues. I felt optimistic.
Day 8: Adjusting Light Exposure
I realized my rose was getting only 5 hours of direct sun due to a neighbor’s tree. I moved the pot to a sunnier spot—now it gets 7 hours. Within two days, the leaves looked greener and perkier. Light placement is non-negotiable for roses.
Day 9: Soil Feeding
I applied a balanced organic fertilizer—a 5-5-5 NPK formula—around the drip line. I used a liquid seaweed spray as a foliar feed. This gives plants natural minerals without synthetic chemicals. The AHS suggests feeding monthly during the growing season.
Day 10: Dealing with Black Spot
I spotted a black spot on one leaf. Instead of reaching for fungicide, I removed the leaf and disposed of it in the trash (not compost). I also improved air circulation by thinning out crowded stems. The RHS says good airflow reduces fungal diseases by 70%.
Day 11: Mulch Refresh
The mulch had settled a bit, so I added another 1-inch layer. Mulch prevents soil-borne diseases from splashing onto leaves during rain. I use wood chips or straw—avoid fresh grass clippings because they can heat up and burn roots.
Day 12: Aphid Squad Arrived
A small colony of aphids appeared on a new stem. I sprayed them off with a strong jet of water from my hose. Then, I released 50 ladybugs I bought from a local nursery. Within 24 hours, the aphids were gone. Natural predators work way better than chemicals.
Day 13: Final Inspection
I counted 12 blooms forming on my rose. No sign of spider mites, thrips, or powdery mildew. The plant looked robust with dark green leaves. I did a final pruning of dead flowers—deadheading encourages more blooms.
Day 14: Results
After two weeks, my rose was thriving. No pesticides used. Blooms were large and fragrant. The companion plants created a mini-ecosystem that kept pests in check. I spent maybe 15 minutes total on daily maintenance. Honestly, it was less work than my old chemical routine.
Why Pesticide-Free Roses Work for Me
I used to think chemicals were a shortcut, but they actually create more problems. Pesticides kill beneficial insects like bees and ladybugs, leading to pest outbreaks. The RHS emphasizes that a balanced garden ecosystem is more resilient. My roses now attract pollinators, repel pests naturally, and require less watering.
I’ve also noticed the rose petals are more fragrant without chemical residues. My garden smells amazing. And I don’t worry about harming my kids or pets when I garden.
Common Questions Answered (FAQ)
Can I grow roses without pesticides in a humid climate?
Yes. Improve airflow by pruning dense growth. Use milk spray—1 part milk to 9 parts water—for powdery mildew. The AHS notes this works because milk proteins create a protective barrier.
What if I already have severe pest infestation?
Use neem oil spray (cold-pressed, not chemical version). Neem is natural and safe for beneficial insects if applied at dusk. I’ve used it for aphid outbreaks with zero damage to plants.
How often should I check for pests?
Every other day during peak season. Early detection is key. I inspect leaves both top and bottom surfaces. A 5-minute daily scan saves weeks of recovery.
Final Takeaway
Growing roses without pesticides is not only possible but easier than you think. Start with healthy soil, choose the right pot and light, and use natural predators. I wasted years battling chemicals that harmed my plants and my garden. Now, my roses are wild, fragrant, and resilient. The RHS and AHS both back this approach, and my garden shows the results.
You can do this too. Start small, observe daily, and trust nature. Your roses will thank you.