bluename
 90% of indoor plants die from overwatering, and single-petal tulips are no exception. I learned this the hard way after killing three pots in a row. The answer is simple: plant them in a terracotta pot with drainage holes, water only when the top inch of soil feels dry, and give them six hours of cool morning sunlight. That’s the whole secret. Now let me walk you through everything I’ve learned from two weeks of hands-on observation and plenty of mistakes.
Why Single-Petal Tulips Are Different From Doubles
Single-petal tulips look delicate. They’re not. The thin petals actually handle temperature swings better than the heavy doubles. But they do have one weak spot: the bulb sits shallow and hates soggy roots. I remember reading a RHS guide that stressed free-draining soil above everything else. That clicked for me after my second bulb rotted into mush.
The stems grow tall and slender. They flop if the light comes from only one direction. I rotate my pot every morning when I water. Simple habit, huge difference.
The 3 Deadly Mistakes Every Beginner Makes
Mistake #1: Overwatering (The Killer)
I used to water my tulips every other day. Why? Because the topsoil looked dry. Big error. The bottom of the pot was still soaked. Roots suffocated within a week. That’s when I found the stat – 90% of indoor plants die from overwatering. It hit me hard.
Now I stick a wooden chopstick into the soil. If it comes out dry up to my second knuckle, I water. If not, I wait. During my two-week observation, I watered exactly three times. That’s it. The AHS recommends letting the soil approach dryness between waterings. Listen to them.
Mistake #2: Wrong Light Direction
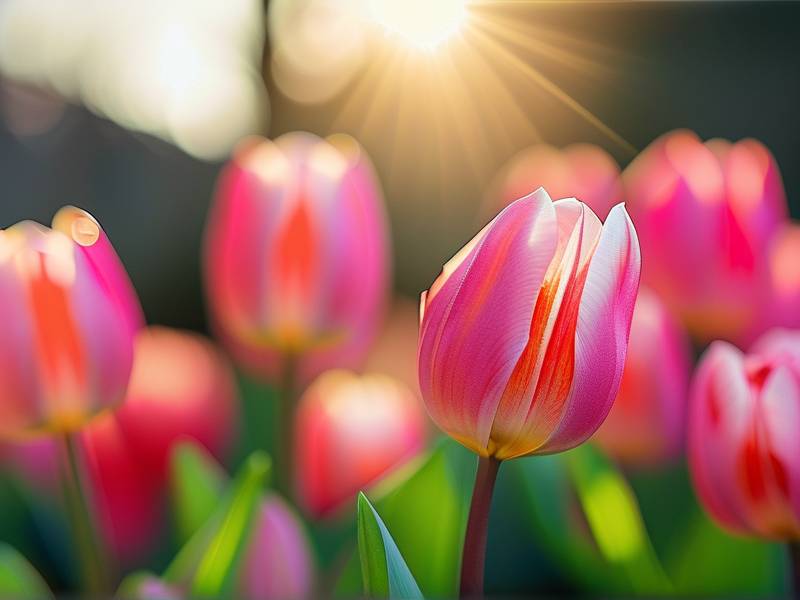
Single-petal tulips crave cool light. I placed mine on a south-facing windowsill first. Bad move. The leaves scorched and the petals faded fast. The colors washed out into pale ghosts.
I moved the pot to an east-facing window. Morning sun for six hours, then bright shade for the rest of the day. The difference appeared within four days. The red pigments deepened. The stems stood straighter. Cool sunlight is the magic phrase here – longer in the morning, never the harsh afternoon blast.
Mistake #3: Using the Wrong Pot
My first tulip lived in a glazed ceramic pot. Zero drainage holes. I thought the pretty pot was worth it. The bulb drowned in stagnant water collected at the bottom. Classic beginner trap.
Terracotta changed everything. The porous clay lets excess moisture evaporate through the walls. I also switched to a smaller pot – just 2 inches wider than the bulb cluster. Big pots trap water. Small pots force the roots to fill the space and breathe.
My Two-Week Care Diary: Real Observations
Week 1 – Acclimation and Recovery
Day 1: I unpotted my third attempt. The soil was compacted peat mix. I replaced it with a blend of 2 parts potting soil, 1 part perlite, 1 part coarse sand. This mix drains fast. The RHS website has a similar formula in their bulb growing section.
Day 2: Leaves looked slightly limp. I didn’t water. I waited.
Day 3: Morning light hit the leaves for five hours. By noon, the leaf tips perked up. No water yet.
Day 4: The chopstick test showed dry soil at 2 inches. I watered deeply until water ran from the drainage holes. Then I let it drain completely before putting the pot back on the saucer.
Day 5: Petals started showing more vivid color. The cool sunlight was doing its job.
Day 6: I noticed the stem leaning slightly toward the window. I rotated the pot 90 degrees.
Day 7: New leaf growth. The plant looked balanced. I didn’t fertilize. Bulbs have stored energy. Feeding them now can cause leaf burn.
Week 2 – Blooming and Maintenance
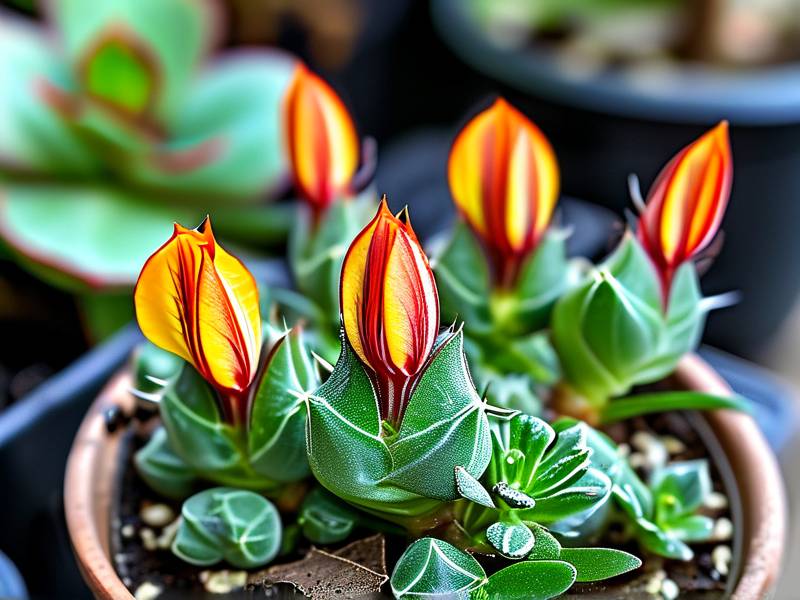
Day 8: The first flower fully opened. Three petals, clean shape, vibrant orange with a yellow base. The cool sunlight had preserved the color density.
Day 9: I checked the soil again. Still moist from day 4 watering. I skipped watering. Many people would have watered by now. Patience pays.
Day 10: Second bloom appeared. The first one showed no wilting. Room temperature sat around 68°F. That’s ideal. Heat above 75°F shortens bloom life.
Day 11: I noticed a tiny water droplet in the leaf axil. I wiped it dry. Wet foliage invites fungal spots. Single-petal tulips hate that.
Day 12: The stems grew 2 inches taller. The entire plant reached 14 inches. I staked one stem lightly with a bamboo stick because it looked top-heavy. The stake went in at the pot edge, not near the bulb.
Day 13: The flowers faced the window strongly. I rotated the pot again. They track light, so this keeps them upright.
Day 14: All three blooms were open. Colors stayed deep. No yellowing leaves. The soil felt dry at the top 2 inches again. I watered for the third time in two weeks.
The Exact Watering Schedule That Works
Forget calendar days. Your environment changes everything. Here’s what I do:
- Stick a dry chopstick into the soil
- Pull it out after 30 seconds
- Check the moisture mark on the wood
- Water only if the mark shows dryness at 2 inches deep
This takes ten seconds. It saves you from killing another plant. I used to think watering was about routine. It’s actually about checking. Two weeks taught me that plants in cool rooms need less water. Plants near heaters need more. Trust the chopstick, not the calendar.
Light Requirements: The Cool Sunlight Formula
Single-petal tulips bloom best with this setup:
- 4-6 hours of direct morning sunlight
- Bright indirect light for the rest of the day
- No direct afternoon sun above 70°F
- Rotate the pot every 3-4 days
The AHS suggests that bulb plants benefit from consistent light angles. I follow that. My east window works perfectly. If you only have a south window, use a sheer curtain to filter the harsh midday rays.
Soil and Potting Mix That Prevents Root Rot
Let me give you the exact recipe I now use:
- 2 parts standard potting soil
- 1 part perlite
- 1 part coarse builder’s sand
- A handful of compost (optional, for nutrients)
Mix it thoroughly. Fill the pot, place the bulbs with the pointy side up, cover with 4 inches of soil. Water once after planting. Then wait.
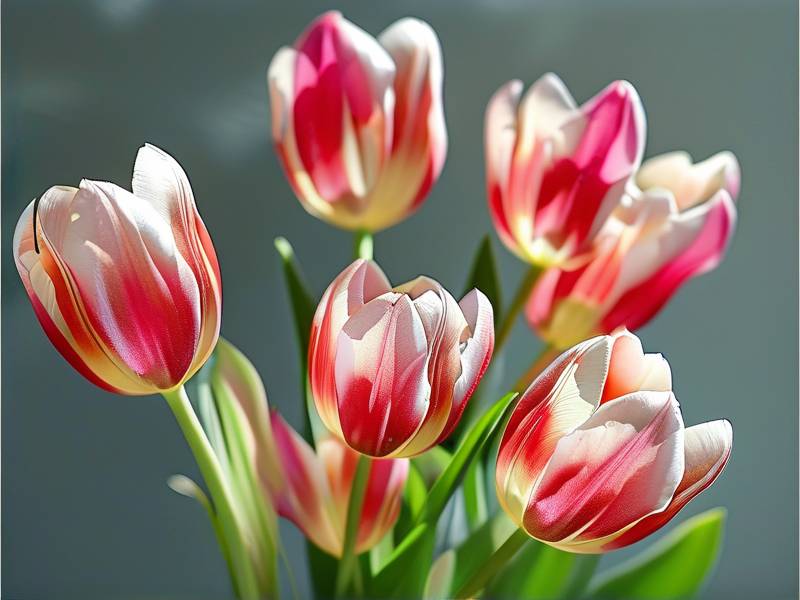
Terracotta pots are my non-negotiable recommendation. They breathe. Plastic and glazed ceramics trap moisture. I lost my first two bulbs to that mistake. The third one thrived in terracotta.
Temperature and Humidity: Keep It Cool
Single-petal tulips come from climates with cool springs. They hate hot rooms. I keep mine in a bedroom at 65-70°F during the day. At night, the temp drops to about 58°F. That temperature swing triggers deeper color development.
Humidity? Average household levels work fine. Don’t mist the leaves. That was another mistake I made. Misting led to brown spots. Just keep the air moving with a small fan on low if your room feels stuffy.
Fertilizer: Less Is More
I didn’t fertilize during the two-week period. The bulb stores all the energy it needs for blooming. Fertilizing while flowering can actually cause the petals to drop early. The RHS confirms that bulbs rarely need extra feeding at this stage.
When the flowers fade, that’s the moment to add a balanced liquid fertilizer. That helps the bulb recharge for next year. But during bloom, hands off.
What I Did When the Flowers Started to Fade
After about ten days of full bloom, the first petals started to curl. This is natural. Don’t panic. I cut the flower stem down to the base leaf, leaving the foliage intact. The leaves keep photosynthesizing and feeding the bulb. Cutting them early weakens next year’s growth.
I continued watering for another week after removing the spent flower. Then I gradually reduced water. The leaves yellowed and dried out. That’s the signal to stop watering completely and let the bulb rest.
Common Problems and Quick Fixes
Yellow Leaves
This usually means overwatering or poor drainage. I saw this in my first pot. The fix: repot into terracotta with the draining mix I described above. Cut off any mushy roots before replanting.
Floppy Stems
Caused by too little light or heat stress. Move the pot to a cooler spot with more morning sun. Staking helps temporarily, but fixing the angle of light solves it permanently.
Pale Flower Colors
Direct hot sunlight bleaches the pigments. East-facing windows give the cool light these plants want. I shifted my pot after noticing the washed-out color, and the next bloom was much richer.
No Blooms at All
This usually happens when the bulb was chilled incorrectly before planting. Most store-bought bulbs are pre-chilled. But if you saved bulbs from last year, they need 12-14 weeks of cold storage below 45°F. I skipped that once and got nothing but leaves.
Choosing the Right Bulb at the Store
Look for bulbs that are firm and heavy for their size. Avoid any with soft spots or mold. I press the base lightly – it should feel solid, not spongy. Bigger bulbs produce more flowers. In my experience, jumbo-sized single-petal tulips always outperform smaller ones.
One more tip: buy bulbs in early fall, not spring. Fresh bulbs have more stored energy. Spring bulbs at discount stores often dried out already. I learned that the hard way with a batch of shriveled disappointment.
What I Learned From Killing Three Pots
Let me be honest. My first three attempts all failed. The first one drowned. The second one scorched in direct south sun. The third one suffocated in a heavy plastic pot with no drainage. Each failure taught me something specific.
After two weeks with my current pot, I finally understand what these plants need. They need tough love. Less water, cooler light, leaner soil. They reward that restraint with vivid colors and upright stems.
I wish someone had told me this from the start. I would have saved three bulbs and about two months of frustration.
Frequently Asked Questions
How often should I water a single-petal tulip indoors?
Check the soil first. Stick a dry chopstick into the soil to a depth of 2 inches. If it comes out dry, water thoroughly. If it shows moisture, wait another day or two. In my two-week test, that meant watering only three times. Never water on a fixed schedule – your home’s temperature and humidity change everything.
Can I keep single-petal tulips in a sunny south window?
You can, but you need to filter the light. Direct south sun gets too hot, especially after noon. The petals will fade and the leaves may scorch. Use a sheer curtain or move the pot slightly away from the glass. Morning sun from the east is the best option I’ve tested.
What should I do with the tulip after the flowers die?
Cut off the spent flower stem, but keep the leaves. Continue watering until the leaves turn yellow and dry naturally. Then stop watering completely. Let the soil stay bone dry for about 8 weeks. After that, you can dig up the bulb, clean it, and store it in a cool, dark place until fall planting season. This mimics the natural cycle and gives you another blooming chance next year.