 bluename
 Okay, so you've just brought home a tiny Hoya, or maybe you've had one for a while and it's not thriving. You're probably here because your mini Hoya looks a bit sad, or maybe you're terrified of killing it before it even gets going. My own journey with these adorable vine plants has been a masterclass in patience and learning from my own mistakes. I've definitely killed a few in my time, and I'm here to tell you that 90% of indoor plants die from overwatering, and mini Hoyas are no exception. This guide on how to care for Mini Hoya is going to give you the straight answers you need, starting with the absolute essentials: you need to provide bright indirect light, let the soil dry out completely between waterings, and avoid using a pot that's too large for its tiny root system. It took me years and a few casualties to figure this out, and I want to help you skip the heartbreak.
My Biggest Blunders (So You Don't Have To Make Them)
Look, I’m not a botanist. I'm just a person who genuinely loves plants and has made just about every mistake you can think of. To save you the trouble, I’ve distilled my failures into the three most common issues I see people have with mini Hoyas.
1. The Fatal Overwatering Mistake
This is, without a doubt, the number one killer. I remember my first mini Hoya, I treated it like a tropical jungle plant that needed constant moisture. I watered it a little bit every other day. The leaves went from firm and waxy to soft, yellow, and translucent. The roots basically turned to mush. I was so upset.
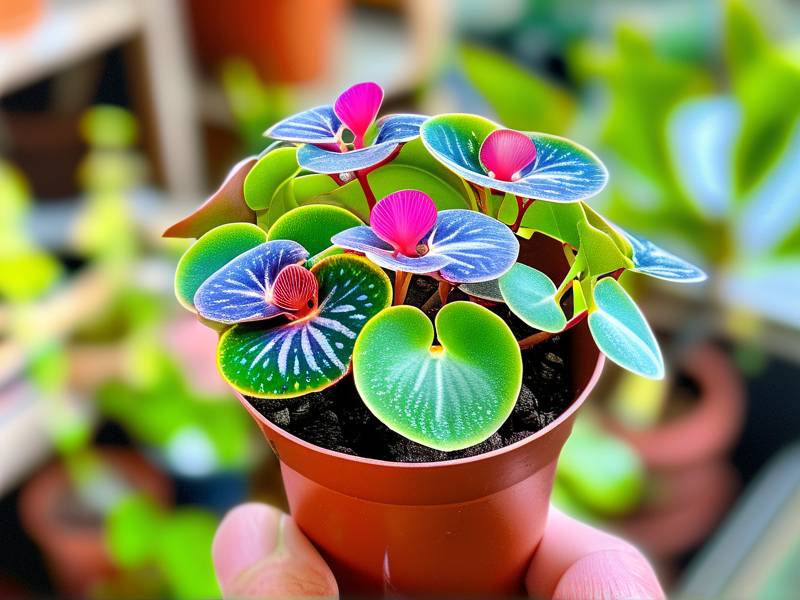
I learned my lesson the hard way. These little guys have thin, delicate roots that are prone to rot. They aren't like a fern that wants damp soil. They need a wet-dry cycle that mimics their natural, epiphytic habitat. Let me put it this way: when in doubt, don't water it. You have to hold back. Wait until those leaves feel slightly less firm and the soil is completely bone dry. Often, that means waiting a full 10-14 days between waterings, depending on your home environment.
2. Getting the Light Wrong
Another huge mistake I see is assuming a plant from a store likes the same light you might give a succulent or an orchid. Some people think "low light" means it'll survive on a bookshelf in a dark corner. That's a one-way ticket to a leggy, pale plant that just refuses to grow.
Mini Hoyas need bright, indirect light. Think of a spot near an east-facing window where it gets gentle morning sun and bright ambient light for the rest of the day. I tried putting one on a desk a few feet away from a south-facing window, and it stopped growing. It just sat there, kind of sulking. Once I moved it right to the windowsill behind a sheer curtain, it thank me by putting out two new leaves in a couple of weeks. Direct, harsh afternoon sun is a different kind of problem; it'll scorch those pretty leaves, leaving ugly brown spots. You want it close to a window, but not in the line of fire of the sun's direct rays.
3. Choosing the Wrong Kind of Pot
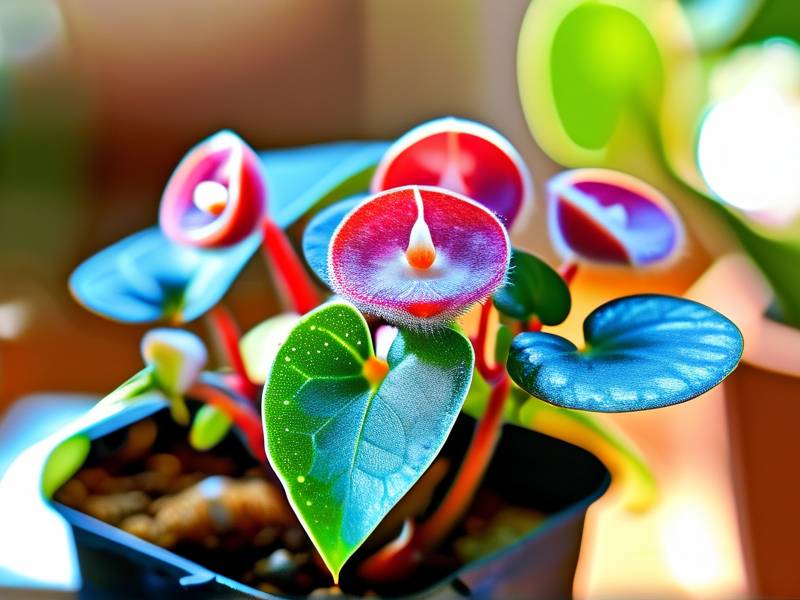
I can't stress this enough, but the size and type of pot are absolutely critical. When I first got my plant, I thought, "Oh, it's a mini plant, I'll put it in this cute little teacup!" That was a disaster. The teacup was glazed ceramic, had no drainage hole, and it was just a little bit too big for the root ball.
The issue is that a big pot holds too much water. The soil stays wet for too long after you water it, and those tiny roots just sit in soggy soil, which is a recipe for disaster. Also, without drainage, water has nowhere to go, and salts build up. I honestly recommend a pot that is just a fraction bigger than the root ball. It doesn't need room to "spread out" much in the beginning. And I always say, keep it in a plastic nursery pot with plenty of drainage holes and just sit that inside a pretty ceramic cover pot, if you want to.
I've found the sweet spot is using a small plastic pot, maybe 3-4 inches, with excellent drainage. This way, I can take it out, check the roots if I need to, and it dries out much faster than if it were in a giant, water-retentive container.
My 2-Week Observational Deep-Dive
To give you a real, feet-on-the-ground perspective, I decided to document a strict two-week period of care for one of my smaller Hoyas, a Hoya carnosa 'Crimson Queen' cutting that I had been struggling with. It had a few wispy vines and wasn't doing much. This was my plan, and here's what I saw.
Week 1: Stabilization and Observation
My main goal for the first week was to get the plant into a stable, healthy environment and just leave it alone. I started by checking the soil. It was completely dry. It had been about 12 days since its last watering, which was perfect. I decided to give it a proper drink.
I use the "soak and drain" method. I took the entire pot to my kitchen sink. I gently and slowly poured room-temperature water over the top of the soil until it ran out of the drainage holes. I let it drain completely for a good 10-15 minutes. I did not water it again after that. The pot felt heavy and the soil was dark and wet. I then placed it back in its prime spot on my east-facing windowsill, which gets perfect morning sun.
The First Few Days: For the next few days, I didn't do anything. I didn't even touch the pot. I just looked at it. The leaves were already waxy and green, but I noticed a few of the older leaves were looking a little dull. I assumed this was a result of underwatering or the silica buildup from before. I watched the soil. It stayed damp for about 3 days, and then I could feel it slowly drying out.
Towards the End of Week One: By day 6, the top inch of soil was completely dry. I checked the lower down by sticking my finger in, but it was still slightly damp. I waited. It took the full 10 days for that soil to be bone dry from top to bottom. It was a really important lesson in patience. I had this urge to "just add a little water," but I forced myself to hold back, understanding that the plant was fine and didn't need my intervention.
Week 2: Noticing the Nuances
By the start of the second week, I was dying to see a sign that it was happy. I examined the newest, smallest leaves at the tips of the vines. They seemed a bit more solid, a little more perky than they had been. The color hadn't changed, but there was a life to them that wasn't there before.
The Big Watering Moment: Around day 14, I gave it another "soak and drain" exactly like before. This time, I paid attention to how quickly the water ran through. It seemed to absorb the water faster this time, which I took as a good sign that the roots were healthy and actively taking up water.
The Surprise: Just two days after that second watering, I was inspecting the plant and noticed something tiny. Nestled at the node of a vine, right where a leaf attaches to the stem, were two little bumps. They weren't new leaves yet, but they were clearly fresh, new growth starting to emerge! That was a huge win. I hadn't changed the light, the temperature, or anything else. The only difference was that I waited for the soil to be super dry before watering and gave it a thorough flush when I did. It felt like the plant was finally breathing a sigh of relief.
It didn't grow a giant, sprawling vine in 14 days, obviously. But that new growth point was the proof that I needed to see. My consistent, patient watering approach was working.
A Step-by-Step Guide to a Thriving Mini Hoya
Now that we've covered the usual pitfalls, let's talk about a consistent routine that works. I look at this whole process as a way of giving the plant what it wants, not what I think it wants.
The Perfect Living Environment
I think of it as building a little microcosm for the plant. It’s about getting the basics right.
Light: The Energy Source You absolutely must place it in a spot with bright, indirect light. That's non-negotiable. In my home, the best place is on a stool about a foot away from my south-facing window. The window has a sheer curtain, so the light is softened and diffused. If you are in an East or West facing window, you can place it a bit closer, but still watch out for the intense afternoon sun. If you don't have a good light spot, you might need to consider a small grow light. I've learned that without enough light, we start to see the plant get leggy, stretching out for more sun, and the leaves will lose that lovely variegation pattern they often have.
Water: The Need, Not the Schedule Stop watering based on a calendar. Seriously. Don't water every Monday. Instead, check the leaves and the soil. The leaves of a well-watered Hoya are firm and stiff. When they need water, they start to feel a little flimsy, almost like they're not as turgid. You can bend one gently, and it'll feel bendy. That's my physical cue. The soil cue is even simpler: when the soil is completely dry to the touch, and the pot feels light, that's when I water it. For my plants, that is roughly every 7-10 days in the summer and maybe every 14 days or more in winter.
Potting Mix and Container: The Foundation For a plant this small, it needs a very airy, free-draining mix. It needs to mimic the airy bark and moss it grows on in the wild. I like to use a pre-made mix for orchids or epiphytes, or I make my own. A rough blend is:
- 2 parts coco coir or peat-free potting soil
- 1 part perlite (for drainage)
- 1 part pine bark (for airflow)
That mixture is like a life jacket for the roots, ensuring they never sit in soggy soil. As for the pot, stick to small. A 3-4 inch terracotta pot is my personal favorite for mini Hoyas. It's porous, which helps the soil dry out quickly and evenly. Just remember, the smaller and more porous the pot, the less chance you have of overwatering.
Feeding Your Tiny Vine
Hoya aren't heavy feeders. I actually don't fertilize mine very often. I use a very diluted, balanced liquid fertilizer (like a 10-10-10) about once a month from spring to early autumn. I don't feed at all in the winter. More is not better here. Over-fertilizing can cause salt build-up which will burn the roots and cause ugly yellow leaf tips.
How to Nurture Those Signature Mini Ball Flowers
The ultimate prize for any Hoya owner is to see those clusters of star-shaped flowers, the "ball flowers" you mentioned. Here’s the truth: they often bloom better when their roots are a little snug in their pot. It's called being root-bound, and they seem to love it. It's a survival mechanism, they flower when they think they might not have room to grow, to try and spread seeds.
In my experience, these mini Hoyas are often smaller or derived from larger varieties, so the flowers will appear on a little spur (peduncle). The biggest tip is: do not cut the peduncle off after the flowers fall. This is the spot where a new set of flowers will come back next year! Another crucial thing is to give them plenty of bright, indirect light. And as I learned in my 2-week trial, a little bit of a dry period at the roots also encourages blooming. This is probably why letting them dry out too much works! It signals stress and triggers the plant to flower.
Answering Your Biggest Questions (FAQs)
I've been in your shoes, feeling a bit lost when I first got my Hoya. So, I know exactly what kind of questions you might be scrambling for answers to.
Question: My Hoya's leaves are turning yellow. What am I doing wrong? This is almost always a watering issue. If the leaves are a pale yellow and feel mushy or transparent, that's overwatering and you might be losing the plant. Ease off immediately. If the leaves are yellow and feel more dry and crispy, it's likely getting too much sun or not enough water. Check the soil and your light source to determine which way to jump.
Question: I want my Hoya to grow faster. Is there a trick? Patience is the biggest part of the deal. But to give it a nudge, ensure it has enough light. The more consistent bright, indirect light you can give it, the faster it will photosynthesize and grow. You can also try giving it a weak dose of fertilizer in the growing season. Also, be careful not to overpot; a snug pot promotes better root health which leads to more top growth.
Question: Do I absolutely need to mist the leaves for humidity? I see this advice everywhere, but I never bother. Misting does very little to increase actual humidity around the plant; it just wets the leaves and can even encourage fungal diseases if the water sits overnight. You are much better off investing in a small pebble tray filled with water at the base of the plant or a small humidifier if you live in a very dry climate.
My Final Take on Mini Hoya Care
If there’s one thing I want you to take from all this, it's that mini Hoyas aren't that hard to keep happy. You just need to get out of their way a little. They want to be left alone. Their whole strategy for survival is to be fussy about how you treat them, but that fussiness translates into a simple rule set for you: give them good light, water them sparingly, and don't fuss over them too much.
Here’s the thing, the real trick is to stop thinking about them like a plant that needs coddling and start thinking about them like a tough little epiphyte that has evolved to survive on very little. You're going to do great. Give it that bright window, that tiny pot, and step back. The plant will reward your respectful neglect with that amazing growth and, eventually, those perfect little star-shaped flower clusters. Check out the RHS website for some more great, general information on this genus, and you can even browse the AHS site for more general gardening tips. Trust me, your mini Hoya is tougher than you think.





