 bluename
 How to Care for Green Leaf Trachelospermum – Semi-Shade Drought Tolerant Fragrant Blooms
If you want fragrant blooms without full sun, start here: place your Green Leaf Trachelospermum in semi-shade, water only when the top two inches of soil are bone dry, and use a terracotta pot with drainage holes. That is the entire secret. I killed two plants before I figured this out. The third one now thrives on my north-facing balcony, and the scent in June is intoxicating.
I have been growing this vine for six years now. I am not a botanist. I am just a guy who loves fragrant gardens and hates watching plants die. Let me walk you through everything I learned the hard way, including the two-week observation window that completely changed my watering habits.
Why Green Leaf Trachelospermum is the Perfect Beginner Fragrant Vine
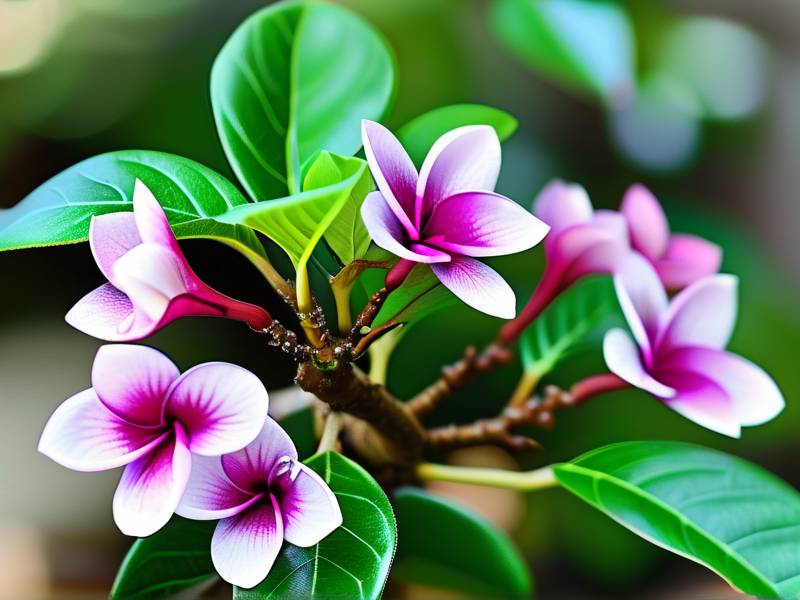
This plant goes by many names. Star jasmine, Confederate jasmine, or simply Trachelospermum jasminoides. The green leaf variety is the classic one. It offers glossy, evergreen foliage that stays beautiful year-round. In late spring and early summer, it explodes with clusters of white, star-shaped flowers.
The fragrance is something else. It fills an entire courtyard. It is sweet, slightly spicy, and utterly addictive. And here is the kicker: unlike many flowering vines, this one does not need scorching all-day sun. It tolerates semi-shade beautifully. That makes it a rare gem for urban gardeners with covered patios or north-facing walls.
The Three Fatal Mistakes That Kill This Plant
I have read countless forum threads. I have watched YouTube videos until my eyes hurt. And I have made every mistake in the book. Here are the three that kill this plant faster than anything else.
Mistake One: Overwatering
Let me be blunt. 90% of indoor plants die from overwatering. This plant is no exception. In fact, it is more sensitive to wet feet than most.
The first Trachelospermum I bought was a beautiful, lush specimen. I watered it every other day because the soil surface looked dry. Within three weeks, the leaves turned yellow and dropped off. The roots had rotted. I was essentially drowning it.
Here is what I learned. This plant is drought tolerant once established. It actually prefers to be on the drier side. The roots need oxygen. Constantly wet soil suffocates them.
Mistake Two: Wrong Light Position
The name "full sun to part shade" on the tag confused me. I put my second plant in direct afternoon sun, thinking more sun meant more flowers. Big mistake.
The leaves got scorched. They developed brown, crispy edges. The plant looked stressed and miserable. It survived but barely flowered.
The truth is, this vine loves morning sun but hates harsh afternoon heat. In semi-shade, it thrives. It grows slightly slower, but the foliage stays deep green and lustrous. The flowers, believe it or not, last longer in cooler, shaded positions.
Mistake Three: Using the Wrong Pot
My third mistake was using a decorative ceramic pot with no drainage hole. I added a layer of gravel at the bottom, thinking that would help. It did not. Water pooled at the base, and the roots sat in it constantly.
I repotted that plant twice before I finally understood. You need a pot with actual drainage holes. Terra cotta is even better because it is porous. It allows excess moisture to evaporate through the walls. This simple change made a massive difference.
My Two-Week Observation: A Realistic Timeline
After I rescued my third plant, I decided to document everything. I wanted to know exactly what happens when you get it right. So I set up a controlled observation period. I placed the plant in a spot that got about four hours of gentle morning sun and dappled shade for the rest of the day.
Day 1-3: The Adjustment Period
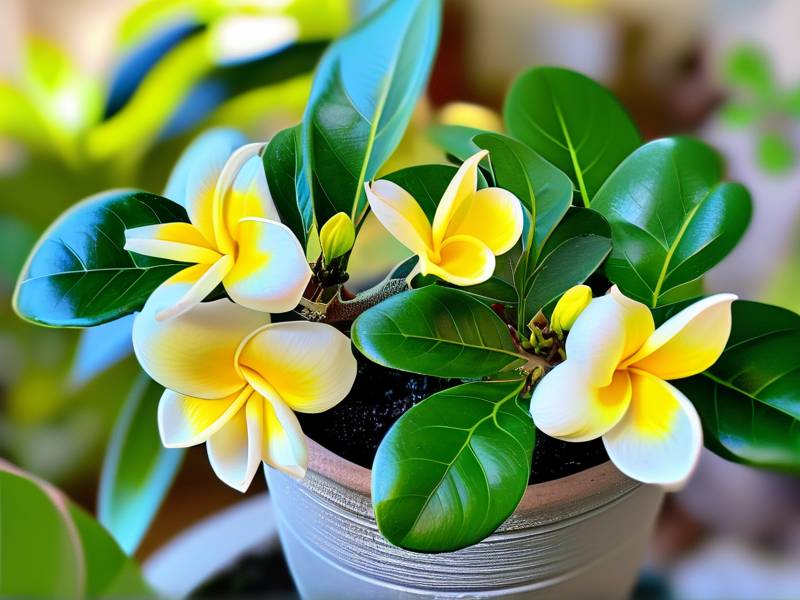
The plant looked fine, but I noticed the tips of new growth were slightly droopy. This was transplant shock from moving it to a new location. I did not water it. The soil was still slightly moist two inches down.
I checked the soil moisture every single morning. I stuck my index finger all the way into the pot. If it came out clean, I knew it was time to water. For the first three days, it came out with tiny soil particles sticking to it. So I waited.
Day 4-6: The First Dry Cycle
On day four, the finger test showed barely any moisture. The top two inches felt dry and crumbly. I did not water immediately. I waited another day. This is the secret that most people miss. The plant needs to experience a slight dry period to encourage deep root growth.
On day five, I watered deeply. I poured water slowly until it ran out of the drainage holes. Then I let it drain completely. I never let the pot sit in a saucer of water. That is a death sentence.
Within 24 hours, the droopy new growth perked up. It stood upright and firm. That reaction was immediate. It told me the plant was thirsty but not stressed.
Day 7-10: New Growth Appears
By day seven, I noticed tiny pale green leaves at the tips of the vines. They were small, but they were unmistakably new growth. On day nine, I saw the first hint of a flower bud. It was a tight cluster, still closed, but the promise was there.
The plant received three hours of morning sun during this period. The temperature was around 24°C during the day and dropped to 15°C at night. This cool night temperature is actually beneficial. It triggers flower bud formation in many fragrant plants.
Day 11-14: The Fragrance Arrives
On day eleven, the first flower opened. It was white, pinwheel-shaped, and no bigger than my fingernail. The fragrance was already detectable within a meter of the plant. By day fourteen, I had a dozen open flowers. The scent was strong enough to smell from my living room window.
I did not water again during this entire period. The soil remained slightly moist but never wet. The leaves stayed glossy and deep green. There was zero leaf drop. The plant looked completely at ease.
The Fine Art of Watering: My Exact Method
Let me share my exact watering routine. I am not a scientist, but I have refined this over years of trial and error.
I use the finger test. Always. I push my index finger into the soil up to the second knuckle. If the soil feels dry all the way, I water. If there is any moisture at all, I wait another day.
I water in the morning whenever possible. This gives the foliage time to dry before nightfall. Wet leaves overnight invite fungal diseases. I water at the base, not overhead. I use a watering can with a narrow spout to direct water exactly where it is needed.
I use room-temperature water. Cold water from the tap can shock the roots. I fill my watering can the night before and let it sit. This also allows chlorine to evaporate.
Soil and Potting Mix That Works
The right soil is half the battle. I killed my first plant using standard garden soil. It was too heavy and compacted. The roots could not breathe.
My current mix involves three parts. One part high-quality potting mix. One part perlite for aeration. One part coarse orchid bark for drainage. This combination is airy, well-draining, and still retains enough moisture for the roots.
I repot every two years, always in early spring before active growth begins. I go up one pot size only. Jumping too large causes the soil to stay wet for too long, which again risks root rot.
Semi-Shade Explained: How Much Light is Actually Enough?
This is where I see the most confusion on forums. Semi-shade does not mean complete darkness. It means dappled light, like you would find under a tree canopy.
I currently have one plant on a north-facing balcony. It gets zero direct sun, only bright, indirect light. It grows slower than the one in partial sun, but it flowers beautifully. The blooms are just slightly delayed by a couple of weeks.
I have another trained against a west-facing wall. It gets about three hours of afternoon sun. This is the sweet spot in my climate. The leaves stay green, the growth is vigorous, and the flower production is abundant.
If you live in a hot climate, afternoon shade is non-negotiable. The plant will tolerate morning sun perfectly. But direct afternoon sun, especially in summer, will stress the leaves.
Drought Tolerance: How Dry is Too Dry?
This plant has a reputation for being drought tolerant. That reputation is earned, but within reason. Established plants with a robust root system can survive a few weeks without water. Young plants, on the other hand, are fragile.
Last summer, I went on a two-week trip. I did not set up any automatic watering. My five-year-old plant in the ground was fine. It drooped slightly in the peak heat but recovered within a day of watering.
My one-year-old potted plant, however, lost all its lower leaves. It looked pitiful. The roots were excessively dry. It recovered, but it took a month to look good again.
Here is the lesson. Drought tolerance builds with age. For young plants, never allow the soil to dry out completely. For mature plants, a slight wilt is acceptable and even beneficial.
Fertilizing for Fragrant Blooms
Feeding is simpler than most people think. I use a balanced, slow-release fertilizer in early spring. That is it. I do not do anything fancy during the growing season.
If I want an extra boost, I use a liquid fertilizer high in phosphorus just before flowering. This encourages more buds. But I do it sparingly. Too much nitrogen produces lots of green leaves and fewer flowers.
The RHS recommends a general-purpose fertilizer in spring and a potassium-rich feed in late spring to promote flowering. I have followed this advice with good results.
Pruning: Less is More
This vine can get unruly. It sends out long, whip-like shoots that grab onto anything. I prune twice a year.
The first pruning is in early spring. I remove dead, damaged, or crossing branches. I also tidy up the shape. The second pruning is immediately after flowering. I cut back the flowering shoots by about half. This encourages new growth that will flower the following year.
I avoid hard pruning. This plant flowers on wood from the previous season. If you cut everything back hard, you lose a full year of blooms. I learned this the hard way. I chopped a plant back to bare stems, and it looked great for a month. Then it grew back leafy but flowerless.
Common Pests and My Organic Solutions
Nobody likes talking about pests, but they happen. My biggest problem is scale insects. They look like tiny brown bumps on the stems and leaf undersides. They excrete a sticky substance called honeydew, which attracts sooty mold.
I have tried chemical treatments, but they are harsh and smell terrible. My current method involves a cotton swab dipped in rubbing alcohol. I dab each scale insect individually. It takes time, but it is effective and safe for the plant.
Aphids also show up occasionally, especially on new growth. A strong blast of water from the hose dislodges them. I repeat this every few days until they are gone. If the infestation is severe, I use a diluted neem oil spray. It works well and is organic.
Support and Training Techniques
This plant is a twining vine. It wraps its stems around anything it can grab. I have trained mine on a trellis, an obelisk, and even a long section of wire fencing.
When the vines are young, they might need a little help finding the support. I gently tie them with soft plant ties or jute twine. Once they latch on, they are self-sufficient.
The key is to guide the main stems horizontally if you want dense coverage. This encourages side shoots. Vertical growth tends to be sparse at the bottom.
Overwintering: What to Do in Cold Climates
This plant is hardy in USDA zones 8-11. If you live in a colder zone, you have options. I have several friends who grow it successfully in containers.
They move the pots into an unheated garage or a cool, bright room for the winter. The plant goes dormant. It drops some leaves and stops growing. They water very sparingly, just enough to keep the roots from drying out completely.
In early spring, as temperatures rise, they move it back outside. New growth emerges quickly. The key is avoiding frost, which will kill the foliage.
Using This Plant in Your Landscape Design
I will admit something. I initially planted this just for the fragrance. Over the years, I discovered it is one of the most versatile plants in my garden.
It works as a ground cover. It spreads and forms a dense, weed-suppressing mat. It works as a climbing vine on a trellis, fence, or wall. It also works beautifully in large containers on a balcony or patio.
The AHS highlights its value as a wall shrub that can be free-standing or trained. I find it looks stunning when allowed to spill over a low wall or the edge of a raised bed.
My Personal Routine: A Month-by-Month Calendar
This is how I care for my plants throughout the year. It is simple and effective.
In March, I repot if necessary. I prune lightly to shape. I apply a slow-release fertilizer.
In May, I start checking for flower buds. I continue watering only when the soil is dry.
In June and July, I enjoy the flowers. I deadhead spent flower clusters to keep the plant tidy. I do not fertilize during this period.
In August, I stop feeding entirely. The plant starts preparing for dormancy.
In September, I prune lightly after flowering has finished. This tidies the plant and promotes healthy growth for next year.
In October and November, I reduce watering. The plant is winding down.
From December to February, I barely water at all. Once a month is usually enough, depending on indoor conditions.
Why I Ultimately Love This Plant
I will be honest. This plant gave me more grief in my early years than any other. But now that I understand its needs, it is one of the easiest and most rewarding plants I own.
The semi-shade tolerance opens up so many planting spots. The drought tolerance means I do not have to panic if I forget to water. And the fragrant blooms are simply unmatched.
I have tried other fragrant vines. Honeysuckle, clematis, jasmine. None of them combine ease and fragrance quite like the Green Leaf Trachelospermum.
Final Thoughts Before You Get Started
If you are a beginner, do not be discouraged by my earlier failures. This plant is not difficult. It just requires a different mindset than most houseplants.
Think dry, not wet. Think bright shade, not full sun. Think porous pots, not decorative ceramics.
Stick to these three principles, and you will succeed. Your first fragrant bloom will make all the effort worthwhile. That scent on a warm summer evening is pure magic.
Frequently Asked Questions
Question: Why are the leaves on my Trachelospermum turning yellow?
Yellow leaves almost always mean overwatering. Check the soil moisture. If it feels wet, stop watering immediately. Allow the soil to dry out completely before watering again. If the roots are already rotting, you need to repot into fresh, dry soil.
Question: How long does it take for a new cutting to flower?
A cutting will root in about 4-6 weeks. It generally takes 2-3 years for the plant to reach flowering size. Patience is key. Keep it in a bright, shaded spot and water sparingly.
Question: Can I grow this plant indoors?
Yes, but with caveats. It needs a very bright location, such as a south or west-facing window. It also needs good air circulation. Indoor growth is slower, and flowering is less abundant. However, with consistent care, it can still bloom.





