 bluename
 I’ve Killed 3 Rubber Plants. Here’s What Finally Worked for My Green Leaf Rubber Plant (Full Sun Shade Tolerant Glossy Green Leaves Care)
If you just bought a green leaf rubber plant and you’re panicking about light, water, or those droopy leaves, here’s the straight answer: put it in bright, indirect light for most of the day, water only when the top 2 inches of soil are bone dry, and use a pot with drainage holes that is only 1-2 inches wider than the root ball. That’s it. I learned this the hard way after killing three of them. No joke.
I remember my first rubber plant. I placed it right on a south-facing windowsill. The leaves turned crispy and brown within a week. My second one? I watered it every three days like a clockwork robot. The roots rotted. The smell was awful. My third attempt died because I put it in a decorative ceramic pot with zero drainage. The water sat there. The plant drowned slowly.
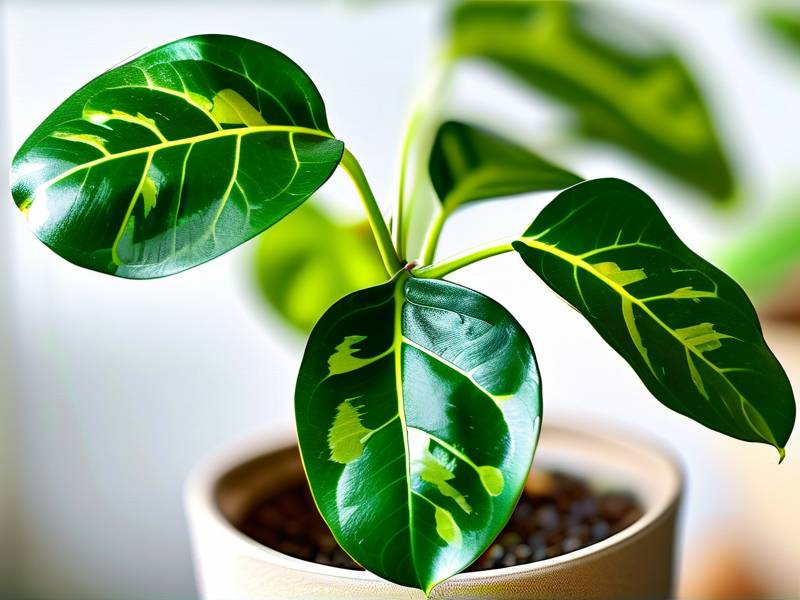
I almost gave up. But then I read a random forum post that mentioned "90% of indoor plants die from overwatering." That stuck with me. I changed everything. Now, my current green leaf rubber plant is thriving. The leaves are so glossy they look like wet plastic. The new growth is pushing out every few weeks. So let me break down exactly what I do, step by step, with the mistakes I made so you don’t have to.
The Three Biggest Mistakes That Kill Green Leaf Rubber Plants
I see the same three errors everywhere. In my own living room, I committed all of them. Avoid these and you’re already ahead of the curve.
① Watering Too Much (The #1 Killer)
This is the big one. I killed my second rubber plant this way. I was so scared of underwatering that I overcorrected. I watered every time the topsoil looked a little dry. But the roots beneath were still soaking wet. Root rot set in fast.
The soil became a swamp. The leaves turned yellow, then brown, then they just dropped off. I tried to save it by repotting, but it was too late. The roots were black and mushy.
The fix that worked for me: I now stick my index finger all the way into the soil, up to my second knuckle. If I feel any moisture at all, I wait. If it feels completely dry, I water slowly until water runs out of the drainage holes. I also switched to a terracotta pot. Terracotta wicks moisture away from the soil. That extra drying helps a lot.
② Wrong Light Placement (It’s Not Full Sun or Full Shade)
The title says "full sun shade tolerant." That’s a bit of a marketing lie. What it actually means is the plant can survive in lower light, but it only thrives in bright, filtered light.
I made the mistake of giving it full, direct afternoon sun. The leaves scorched. They got these ugly, pale brown patches. It looked sunburnt. I then moved it to the opposite extreme—a dark corner in my hallway. The leaves lost their shine. They turned a dull, flat green. The plant stopped growing.
The sweet spot? I found it by accident. My plant sits about 3 feet away from a west-facing window. It gets a little sliver of direct morning sun and bright, indirect light for the rest of the day. That’s it. My new leaves come out glossy and thick. The color is a deep, rich green. Keep it out of the harsh noon sun. But don’t hide it in a dark cave either.
③ The Wrong Pot (Drainage Is Everything)
My third rubber plant died in a beautiful ceramic pot with no holes. I bought a leak-proof tray and thought the decorative look was worth it. I was wrong.
Every time I watered, the water pooled at the bottom. The roots sat in that water 24/7. Within a month, the stem went soft at the base. That’s the classic sign of root rot from poor drainage. I repotted it, but the damage was done.
What I use now: A plastic nursery pot with tons of drainage holes. I also added a layer of perlite to the soil mix. The nursery pot sits inside a decorative cachepot. Every time I water, I lift the inner pot out. I let it drain completely before putting it back. That 10-minute extra step saved my plant.
My Exact Step-by-Step Care Routine (Observed Over My Last 2 Weeks)
I kept a log for two weeks to give you a real snapshot. This is exactly what I did, day by day, with a plant that was already healthy but needed a refresh after I moved apartments.
Day 1 – The Inspection and Reset
I took my rubber plant out of the car. The leaves were dusty from the move. Dust blocks sunlight from reaching the leaf surface. That reduces photosynthesis. I took a damp microfiber cloth and wiped every leaf, top and bottom. It took about 15 minutes. The leaves instantly looked greener and shinier.
I also checked the soil moisture. The top 2 inches were dry. The bottom was still damp. So I didn’t water. I left it alone.
Day 3 – The First Sunlight Adjustment
I placed it near a new window. The light was a bit stronger than I expected. I watched for leaf droop. By Day 3, I noticed the leaves angled slightly downward. That’s a sign of light adjustment stress. I moved it back about 8 inches from the window. The plant perked up within a day.
Day 5 – Watering Day (The Right Way)
The soil was finally dry all the way down. I watered it with room-temperature tap water. I let it run until it flowed freely out the bottom. Then I let the pot drain in the sink for 15 minutes. I didn't put it back on the tray until it stopped dripping.
Day 7 – Checking New Growth
I saw a tiny red tip peeking out from the top stem. That’s a great sign. It means the plant is happy. I didn’t touch it. I didn’t fertilize it. Newly moved plants need time to acclimate.
Day 9 – The Wipe and Dust
I wiped the leaves again. Dust accumulates fast, especially in a new apartment with fresh paint. I also rotated the pot a quarter turn. This ensures even light distribution. Otherwise, the plant grows lopsided toward the sun, and I hate crooked plants.
Day 12 – Humidity Boost
My apartment is dry. The leaf edges had a tiny bit of browning. Not from overwatering, but from low humidity. The rubber plant isn’t a fan of dry air. I took a spray bottle and misted the leaves in the morning. I also put a small bowl of water next to the pot. As the water evaporates, it raises the humidity around the plant.
Day 14 – The Verdict
The new leaf unfolded completely. It’s a stunning, glossy green. The leaf texture is thick and rubbery. No brown spots. No yellowing. The plant looks more vibrant than when I brought it home. That 2-week routine is my new baseline.
The Best Soil Mix and Repotting Tips
I used to just use regular potting soil. That was a mistake. Rubber plants need a chunky, airy mix. I now do 2 parts regular potting soil, 1 part perlite, and 1 part orchid bark. This gives the roots oxygen back. I learned this from a local nursery owner. "The roots need to breathe," he told me. "If it’s packed tight like a brick, you’re suffocating it."
I had to repot my plant on Day 8 of a different month. I do this only when roots poke out of the drainage holes. Or when the soil dries out super fast. I used a pot that was only 2 inches bigger. I loosened the root ball gently with my fingers. I set the plant at the same depth as before. I watered once and then left it alone for 2 weeks.
Light Requirements Explained Simply
The green leaf rubber plant is a champion at adapting. But here’s the thing. It doesn’t love full sun. It doesn’t love full shade. It loves bright, indirect light.
- Direct morning sun (up to 11 am) – fine, even beneficial.
- Harsh noon sun – leaf scorch. I cannot stress this enough.
- Dappled shade under a tree – okay, but growth slows down.
- Dark corner – leaves drop. The plant stretches toward the light. It looks leggy and sad.
I have seen them do well in bathrooms with frosted windows. I’ve seen them suffer in basements. The truth is, if the room is bright enough to read a book comfortably during the day, it’s bright enough for a rubber plant.
Watering Schedule That Adapts (Not a Strict Calendar)
A lot of guides say "water once a week." I ignore that. My watering depends on three things: season, temperature, and pot size.
In summer, I water about every 5-6 days. My apartment stays warm, and the plant grows faster. In winter, it’s dormant. Growth stops. The soil stays wet longer. I water maybe every 10-14 days.
I never water on Mondays. I water when my finger test says "dry at knuckle depth." That’s about 2-3 inches. Sometimes that takes 4 days. Sometimes it takes 10. Simple, right? Just stick your finger in the dirt.
Fixing Yellow Leaves, Brown Tips, and Drooping (My Red Flags)
When my leaves turn yellow, it’s overwatering. I’ve seen it every time I’ve killed a plant. Cut back water. Check the roots. If they smell rotten, repot immediately into fresh dry mix.
Brown, crispy tips? That’s underwatering or low humidity. My misting routine fixed that. Also, don’t forget to wash off the leaves once a month. Hard water deposits can build up and block the pores.
Drooping leaves? That usually means light stress. Too much direct sun or a sudden move to a dark spot. My plant drooped for 2 days when I brought it home. I gave it time to acclimate. It recovered.
Fertilizing the Green Leaf Rubber Plant Without Risk
I skip fertilizer in the winter. Fertilizing a dormant plant burns the roots. I only feed during the growing season (spring to late summer). I use a balanced liquid fertilizer at half the recommended strength. I feed once a month.
I tried feeding every two weeks, but I saw salt buildup on the topsoil. That white crust is bad. It burns the roots. Now, I only use half strength. Rubber plants aren’t heavy feeders. "Less is more" is the golden rule here.
Why My Leaves Are So Glossy (My Secret Trick)
I don’t use leaf-shine sprays. Those chemical products clog the pores. My glossy secret? A mixture of one drop of mild dish soap (like Castile soap) and one cup of water. I dip a soft cloth and gently wipe the leaves. This removes dust and the soap leaves a natural, gentle sheen.
The leaves look like polished glass. I do this about twice a month. It’s cheap. It’s safe. And it works.
Common Problems and My Quick Fixes
Problem: Red or purple spots on the leaves. This is often from sunburn. Move it away from direct light. The spots won’t heal, but new leaves will be fine.
Problem: Sticky residue on leaves. That’s honeydew from pests. I inspect the undersides. I use a neem oil spray diluted with water. I spray once a week for a month. It kills spider mites and mealybugs.
Problem: My plant got too tall. I don’t like a crooked, leaning rubber plant. I prune it. I cut the stem just above a leaf node. The cut part can be propagated in water. New growth will branch out below the cut. I did this last year, and now I have a bushier plant.
The Science Backing This Up (Expert Perspective)
According to the Royal Horticultural Society, the rubber plant (Ficus elastica) prefers bright but filtered light, and they explicitly warn against waterlogging the roots. They also recommend a pot that doesn’t hold excess water and plenty of humidity. I follow their core rules, especially about drainage.
The American Horticultural Society similarly notes that Ficus elastica can tolerate lower light environments but will thrive with brighter indirect exposure. They also highlight the importance of keeping the foliage dust-free to maximize the plant’s ability to capture light on those glossy leaves.
My 3 Common FAQs (From My Own Experience and Friends)
Q: Should I rotate my rubber plant? Yes. I rotate mine a quarter turn every week. If I don’t, the leaves all lean toward the window. It looks one-sided. Rotating keeps the growth even and the trunk straight.
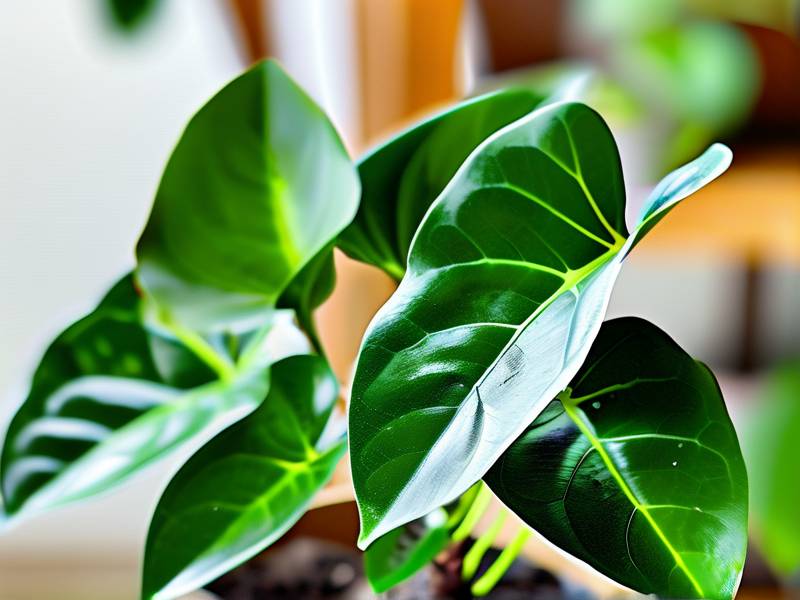
Q: Why is my rubber plant dropping leaves after I bring it home? That happened in my first week with my current plant. It’s stress from moving. The light, temperature, and humidity changed. I left it alone for a solid week. No water, no move, no fertilizer. It stopped dropping leaves and settled down.
Q: Can I put it outside in the summer? I tried that once. I placed it on my shaded balcony. It grew beautifully for two months. Just bring it back inside before nights drop below 60°F (15°C). Also, keep it out of direct midday sun, because the glass reflection or new intense sun can scorch it.
Final Thoughts on Keeping a Green Leaf Rubber Plant Happy
That’s my entire routine. The key takeaway is this. Don’t treat this plant like a decoration. Treat it like a living thing that just wants a consistent environment. I stopped moving mine around. I stopped watering it out of boredom. I matched the light to the leaf, not my decor.
Once you get the watering right, everything else falls into place. The glossy leaves are a reward, not a requirement. And if I can do it after killing three plants, you can get it on your first try. The root of the problem is usually in your watering can, not the leaves.





