How to Care for Indoor Asparagus Fern: Tips for Lush, Green Foliage

How to Care for Indoor Asparagus Fern: Tips for Lush, Green Foliage...

How to Care for Indoor Asparagus Fern: Tips for Lush, Green Foliage

If you’ve ever walked into a room and been drawn to a delicate, feathery plant with soft, bright green leaves, chances are you’ve encountered an asparagus fern (scientific name: Asparagus setaceus). Often mistaken for a true fern, this popular houseplant is loved for its airy, elegant appearance that adds a touch of nature to shelves, desks, or hanging baskets. But while it may look gentle, keeping an asparagus fern healthy—and its leaves staying that vibrant, fresh green—takes a little know-how. Many new plant parents struggle with browning tips, yellowing fronds, or sparse growth, but with the right care routine, you can keep your asparagus fern thriving for years. In this guide, we’ll cover everything you need to know about indoor asparagus fern care, from light and water to soil and troubleshooting, plus easy tips to keep those leaves looking lush and 鲜翠 (xiān cuì)—that beautiful, lively green we all want.

Understanding the Asparagus Fern: What It Needs to Thrive

First, let’s get to know this plant a little better. The asparagus fern is native to South Africa, where it grows in shaded forests and along riverbanks—so it’s used to warm, humid conditions and indirect light. Unlike some tough houseplants that can tolerate neglect, this fern has specific preferences, especially when it comes to moisture and light. Its “leaves” (technically called cladodes, since they’re flattened stems that act like leaves) are delicate and prone to drying out if not cared for properly. The goal of good care is to mimic its natural habitat as much as possible, which will keep the plant stress-free and its foliage bright green.

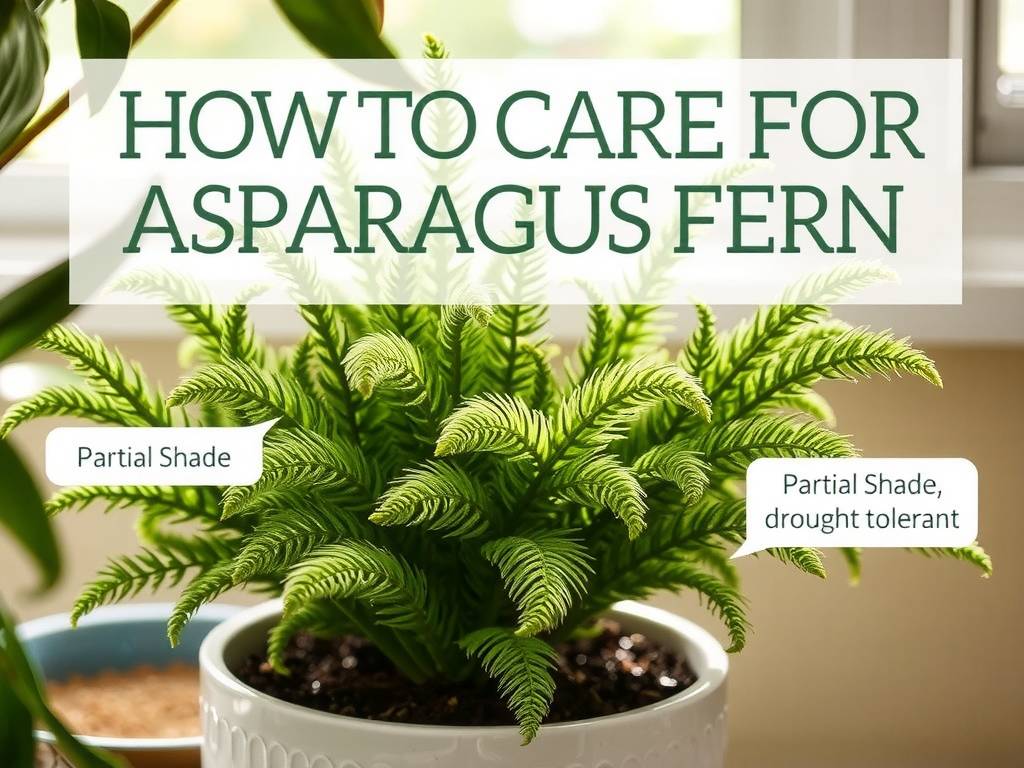
1. Light: The Key to Avoiding Yellow or Leggy Growth

One of the most common mistakes with asparagus ferns is giving them too much direct sunlight—or not enough light at all. Let’s break down what works best:

What Kind of Light Does an Asparagus Fern Need?

Asparagus ferns thrive in bright, indirect light. Think of the light that filters through a sheer curtain onto a windowsill, or a spot a few feet away from a south- or east-facing window. Direct sunlight—especially the harsh afternoon sun—will scorch the delicate cladodes, leaving brown, crispy spots and turning the once-green leaves dull. On the flip side, too little light (like a dark corner or a window that only gets north-facing light) will cause the plant to become leggy: the stems will stretch out thin, and the leaves will turn pale green or yellow as they reach for more light.

Pro Tips for Light Placement

  • If you have a south-facing window, place your asparagus fern on a shelf or table 2–3 feet away from the glass, or use a sheer curtain to soften the light.

  • East-facing windows are ideal because they provide gentle morning sun (which the plant can handle) and indirect light for the rest of the day.

  • If your home is low on natural light, you can supplement with a grow light. Use a LED grow light set to 12–14 hours a day, positioned 12–18 inches above the plant. This will help keep the foliage full and green, even in darker spaces.

    How to Care for Indoor Asparagus Fern: Tips for Lush, Green Foliage

2. Watering: Keep Soil Moist (But Never Soggy)

Overwatering or underwatering is another top cause of unhappy asparagus ferns—especially when it comes to leaf health. The plant likes consistent moisture, but it hates sitting in water. Here’s how to get watering right:

How Often to Water an Indoor Asparagus Fern

The frequency of watering depends on a few factors: the size of the pot, the type of soil, the light level, and the humidity in your home. A good rule of thumb is to water when the top 1–2 inches of soil feel dry to the touch. Stick your finger into the soil—if it’s still damp below the surface, wait a few more days. In general, this means watering every 5–7 days in the spring and summer (when the plant is growing actively) and every 10–14 days in the fall and winter (when growth slows down).

How to Water Correctly

When it’s time to water, pour room-temperature water slowly over the soil until it starts to drain out of the bottom of the pot. This ensures that the entire root ball gets hydrated, not just the top layer. Never let the plant sit in a saucer of standing water—empty the saucer after 15–20 minutes to prevent root rot. Root rot is a common issue with overwatered asparagus ferns, and it shows up as yellowing leaves, mushy stems, and a foul smell from the soil.

What If the Leaves Are Wilting or Turning Brown?

If your asparagus fern’s leaves are wilting, it’s usually a sign of underwatering—but don’t jump to conclusions! Wilting can also happen if the plant is overwatered (since rotting roots can’t absorb water). Check the soil first: if it’s bone dry, water thoroughly and the plant should perk up within a day or two. If the soil is soggy, stop watering, remove the plant from the pot, and trim any soft, brown roots before repotting in fresh, well-draining soil.
For brown, crispy leaf tips, this is often a sign of low humidity (we’ll cover that next) or inconsistent watering. If only the tips are brown, you can trim them off with clean scissors (cut at an angle to mimic the natural shape of the leaf) to keep the plant looking neat.

3. Humidity: Keep the Air Moist for Fresh, Green Leaves

Remember, the asparagus fern comes from humid forests, so dry indoor air (especially in winter, when heaters are on) is a big problem. Low humidity causes the edges of the leaves to turn brown and crispy, and the foliage can look dull instead of bright green. Here’s how to boost humidity for your plant:

Easy Ways to Increase Humidity

  • Mist the leaves regularly: Fill a spray bottle with room-temperature water and mist the foliage 2–3 times a week. Avoid misting too much if the plant is in a low-light spot (this can lead to mold).

  • Use a pebble tray: Fill a shallow tray with pebbles, add water until it reaches just below the top of the pebbles, and set the pot on top of the pebbles. As the water evaporates, it will create a humid microclimate around the plant. Refill the tray when the water dries up.

  • Group plants together: Plants release moisture through their leaves (a process called transpiration), so grouping your asparagus fern with other humidity-loving plants (like pothos, ferns, or peace lilies) will help raise the humidity in the area.

  • Use a humidifier: If you have multiple humidity-loving plants or live in a very dry climate, a small humidifier near the plant is the most effective solution. Aim for a humidity level of 40–60%—this is ideal for keeping the asparagus fern’s leaves soft and green.

4. Soil: Choose a Well-Draining Mix to Prevent Root Rot

The right soil is crucial for asparagus fern health. The plant needs soil that retains moisture but drains quickly—so it doesn’t stay soggy. A heavy, compact soil (like garden soil straight from the yard) will hold too much water, leading to root rot and yellow leaves.

Best Soil Mix for Indoor Asparagus Ferns

A good DIY mix is:
  • 2 parts peat moss or coconut coir (retains moisture)

  • 1 part perlite or vermiculite (adds drainage)

  • 1 part potting soil (provides nutrients)

You can also buy a pre-made potting mix labeled for “ferns” or “tropical plants”—just check the ingredients to make sure it has perlite or vermiculite for drainage. Avoid mixes that contain a lot of compost or manure, as these can be too rich and burn the plant’s roots.

Repotting: When and How to Do It

Asparagus ferns grow relatively quickly, so they’ll need to be repotted every 1–2 years to give their roots more space. Signs that it’s time to repot:
  • The roots are growing out of the drainage holes at the bottom of the pot.

  • The plant is top-heavy and tips over easily.

  • The soil dries out within a day or two of watering (a sign the roots are taking up all the moisture).

To repot:
  1. Choose a pot that’s 1–2 inches larger in diameter than the current pot (don’t go too big—too much extra soil will hold water and cause root rot).

  1. Fill the bottom of the new pot with a layer of the well-draining soil mix.

  1. Gently remove the asparagus fern from its old pot, being careful not to damage the roots. If the roots are tightly packed (root-bound), loosen them slightly with your fingers.

  1. Place the plant in the new pot, add more soil around the roots, and press down gently to remove air pockets.

  1. Water thoroughly after repotting to help the plant settle into its new home.

Repotting is best done in the spring, when the plant is starting to grow actively—this gives it time to recover before winter.

5. Temperature: Keep It Warm (But Not Too Hot)

Asparagus ferns are tropical plants, so they prefer warm temperatures. They do well in average indoor temperatures between 60–75°F (15–24°C). Avoid placing them near cold drafts (like open windows in winter, air conditioners, or doorways that let in cold air) or heat sources (like radiators, heaters, or stovetops).
Temperatures below 50°F (10°C) can damage the plant: the leaves may turn yellow or brown, and growth will slow down. If you have to move the plant during winter, make sure it’s not exposed to cold air for more than a few minutes (for example, when bringing it in from a balcony).

6. Fertilizer: Feed Sparingly for Healthy Growth

Asparagus ferns don’t need a lot of fertilizer, but a little extra nutrients during the growing season will help keep the foliage green and full. Here’s what to know:

When to Fertilize

Fertilize only during the spring and summer (March to September), when the plant is growing actively. Stop fertilizing in the fall and winter, when growth slows down—too much fertilizer during this time can burn the roots and cause leaf damage.

What Kind of Fertilizer to Use

Use a balanced, water-soluble fertilizer (like 10-10-10 or 20-20-20) diluted to half strength. This means mixing the fertilizer with water according to the package instructions, then adding half as much fertilizer as recommended. For example, if the package says 1 teaspoon per gallon of water, use ½ teaspoon per gallon.

How Often to Fertilize

Fertilize every 4–6 weeks during the growing season. Overfertilizing can lead to salt buildup in the soil, which causes the leaf tips to turn brown and the foliage to look dull. If you notice this, flush the soil with water: pour water slowly over the soil until it drains out the bottom, and repeat 2–3 times to wash away excess salts.

7. Pruning: Keep Your Asparagus Fern Full and Tidy

Pruning is an important part of asparagus fern care—it helps remove dead or yellowing leaves, encourages new growth, and keeps the plant looking full and bushy. Here’s how to do it:

When to Prune

You can prune your asparagus fern at any time of year, but it’s best to do it in the spring or summer when the plant is growing actively. This way, the plant will recover quickly and produce new green growth.

How to Prune

  • Use clean, sharp scissors or pruning shears to avoid damaging the plant. You can wipe the blades with rubbing alcohol to prevent the spread of disease.

  • Cut off any yellow, brown, or dead leaves at the base of the stem (where they meet the main plant). This will redirect the plant’s energy to new growth.

  • If the plant is getting too leggy or sparse, trim back some of the longer stems to encourage branching. Cut the stems just above a set of healthy leaves—new growth will sprout from that point.

  • Don’t be afraid to prune heavily if needed! Asparagus ferns are resilient, and a good trim can help them grow back fuller and greener.

Troubleshooting Common Asparagus Fern Problems

Even with the best care, you might run into a few issues with your asparagus fern. Here are the most common problems and how to fix them:

Problem 1: Yellow Leaves

  • Causes: Overwatering (most common), underwatering, too much direct sunlight, or low light.

  • Fix: Check the soil first—if it’s soggy, stop watering and let it dry out. If it’s dry, water thoroughly. Move the plant to a spot with bright, indirect light. If the leaves are yellow but the soil is moist and light is good, check for root rot (remove the plant from the pot and look for soft, brown roots). Trim any rotted roots and repot in fresh soil.

Problem 2: Brown, Crispy Leaf Tips

  • Causes: Low humidity, inconsistent watering (either too much or too little), or overfertilizing.

  • Fix: Boost humidity with a pebble tray or humidifier. Check the soil regularly to keep it evenly moist. If you’ve been fertilizing a lot, flush the soil with water to remove excess salts. Trim the brown tips with clean scissors.

Problem 3: Leggy, Sparse Growth

  • Causes: Too little light, or the plant is root-bound.

  • Fix: Move the plant to a brighter spot with indirect light. If it’s root-bound, repot it into a slightly larger pot. You can also prune back the leggy stems to encourage new growth.

Problem 4: Pests (Mealybugs, Spider Mites)

  • Causes: Dry air (spider mites love dry conditions) or bringing in an infested plant from outside.

    How to Care for Indoor Asparagus Fern: Tips for Lush, Green Foliage(1)

  • Fix: Wipe the leaves with a damp cloth to remove pests. For mealybugs (white, cottony spots), use a cotton swab dipped in rubbing alcohol to kill them. For spider mites (tiny red or brown dots, plus webbing), spray the plant with a mixture of water and a few drops of dish soap, then rinse with clean water. Repeat every few days until the pests are gone. Boost humidity to prevent future infestations.

Final Tips for Keeping Asparagus Fern Leaves 鲜翠 (Xiān Cuì)

To sum up, the key to lush, green asparagus fern foliage is consistency. Here’s a quick checklist to keep your plant happy:
  • Light: Bright, indirect light (avoid direct sun).

  • Water: Keep soil moist but not soggy—water when top 1–2 inches are dry.

  • Humidity: 40–60% humidity (mist, pebble tray, or humidifier).

  • Soil: Well-draining mix (peat moss, perlite, potting soil).

  • Temperature: 60–75°F (avoid cold drafts).

  • Fertilizer: Half-strength balanced fertilizer every 4–6 weeks (spring/summer).

  • Pruning: Remove dead leaves and trim leggy stems to encourage full growth.

With these tips, your indoor asparagus fern will thrive, and its delicate, feathery leaves will stay bright, 鲜翠 (xiān cuì), and beautiful for years to come. Remember, plants communicate—pay attention to how your asparagus fern looks, and adjust your care routine as needed. Before you know it, it will be one of the most eye-catching plants in your home!


上一篇:How to Care for Anthurium in Different Seasons: Winter Temperature Maintenance
下一篇:How to choose a asparagus fern flowerpot? Key points for selecting compatible containers

为您推荐

About Us | Contact Us | Privacy Policy | Disclaimer | Terms & Conditions
This website uses cookies and third-party advertising (Google AdSense) to improve your experience. By continuing to browse, you agree to our Privacy Policy.