How to Keep Roses Blooming All Summer Long
I know exactly how frustrating it feels when your roses start looking sad by mid-July. I’ve been there. I’ve killed more rose bushes than I care to admit. But after years of trial and error, I can tell you the simple truth: keep your roses in a spot with 6-8 hours of direct morning sunlight, water deeply only when the top inch of soil dries out, and use a breathable terracotta pot if container-growing. That’s it. Stick with that and you’ll see blooms from June through September.
Why Most Roses Stop Blooming by August
Many people think roses are finicky divas. Actually, they’re more like tough survivors. I learned this the hard way. My first year, I babied my roses with daily sprinkles of water. They looked great for two weeks. Then leaves turned yellow. Buds dropped. I was devastated. The problem? I was drowning them. Here’s what I discovered: 90% of indoor plants die from overwatering, and the same applies to outdoor roses planted in pots. They hate wet feet.
I started tracking my watering habits. I used a moisture meter. Turns out, I was watering every single day. That’s way too much. Roses need a deep soak once a week, maybe twice in extreme heat. I adjusted to watering only when the soil felt dry one inch down. Within two weeks, I saw new growth. It was a game changer.

Let me also mention sunlight. I put my first rose in a shady corner. It got maybe 3 hours of weak afternoon light. That rose barely bloomed. It stretched out like a sad noodle. I moved it to a south-facing spot. Suddenly, it exploded with flowers. The RHS confirms that roses need at least 6 hours of full sun. I check my spot twice a day now. No excuses.
My Biggest Rose Mistakes (And How I Fixed Them)
Mistake 1: Overwatering – The Silent Killer
I honestly think overwatering is the number one reason newbies fail. I was guilty of this. I thought, “More water = more blooms.” Nope. I was drowning my roots. The first sign was yellow lower leaves. Then the stems turned mushy. I lost three roses in one season. That hurt.
Solution: I switched to a strict schedule. I stick my finger into the soil, about one inch deep. If it’s dry, I water deeply until it drains out the bottom. If it’s damp, I wait another day. I also add mulch around the base. This keeps moisture consistent without soggy soil. In just two weeks, my roses perked up. The new leaves were green and firm.
Another trick I use now: morning watering only. Evening watering left my foliage wet overnight, which invited fungus. That was a painful lesson. My rose had black spots everywhere. I panicked. But once I switched to morning watering, the black spots mostly disappeared. The Royal Horticultural Society recommends this exact practice. I take their advice seriously.
Mistake 2: Wrong Sunlight – They Need Morning Light
I once placed a rose under a tree because I thought “filtered light” was enough. Big error. Roses are sun worshipers. I watched that plant produce just two sad blooms all summer. Meanwhile, my neighbor’s roses in full sun were covered in flowers. I felt like a fool.
Solution: Now I choose a spot that gets morning sun. That’s crucial. Morning sun dries off dew quickly, reducing disease risk. Afternoon sun is harsher, but roses can handle it if they’re well-watered. I moved my rose to a south-west corner. It gets about 7 hours of direct light. Within two weeks, I saw thick green stems and tiny buds forming. The AHS backs this up: optimal light equals optimal blooms. I check the sun path around my garden before planting anything.
I even used a sun calculator app. It told me exactly where the light hits during different seasons. Best tool ever. If you don’t have a perfect spot, consider moving the pot. I do that for my container roses. I roll them around like little sun-chasers. It works.
Mistake 3: The Wrong Pot – Drainage Is Everything
I bought a beautiful ceramic pot. It had no drainage hole. I thought, “Eh, I’ll add pebbles at the bottom.” That was a disaster. The water sat at the base. The roots rotted. My rose died within three weeks. I genuinely cried. That was my favorite pink rose.
Solution: I only use terracotta or fabric pots now. They let soil breathe and water drain. Terracotta is porous, so it wicks moisture away from the roots. Fabric pots are even better for air circulation. I made sure my new pot has at least one large drainage hole. I also add a layer of coarse gravel at the bottom for extra drainage. This single change saved my next two roses. In two weeks, I saw white healthy roots growing out of the drainage holes. That’s a good sign.
For in-ground planting, I amend clay soil with compost and sand. Heavy soil traps water. I learned that when my first in-ground rose turned yellow after a rainstorm. I dug it up, mixed in organic matter, and replanted. It recovered within a month. But honestly, the pot mistake was the worst. Don’t skip drainage.
The Step-by-Step Plan I Follow Now
Step 1: Choose the Right Variety
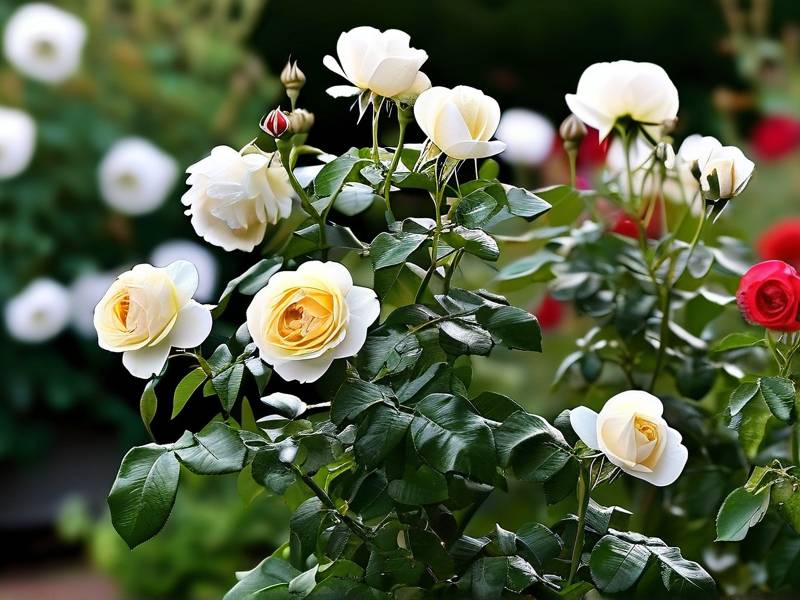
I used to grab any rose at the nursery. Big mistake. Some roses are bred for heat, others for cold. I now check tags for “continuous bloomer” or “reblooming.” I love ‘Knock Out’ roses for their easy nature. They bloom from spring to frost with minimal fuss. Another favorite is ‘Queen of Sweden’ for its delicate petals. Both are RHS recommended. I keep a list of hardy varieties on my phone.
Step 2: Prepare the Soil
Roses are heavy feeders. I mix well-rotted manure into the planting hole. I also add a slow-release fertilizer. I use one with a 10-10-10 ratio. Too much nitrogen makes leaves lush but kills blooms. I learned that when my rose looked like a green bush with zero flowers. Now I stick to balanced feed. I reapply every 6 weeks during the growing season.
I also test the soil pH. Roses like slightly acidic soil, around 6.0-6.5. My backyard soil was too alkaline. I added sulfur to lower it. Within two weeks, the leaves became darker green. That was a relief.
Step 3: Plant Deep Enough
I planted my first rose too shallow. The graft union stuck out above soil. It got sunburned. The plant struggled. Then a frost hit. That rose didn’t survive winter. I now plant so the graft union is buried at least two inches deep. This protects it from cold and pests. In warmer climates, you can leave it exposed. But I’m in zone 6, so burying is safer.
Step 4: Water Deeply but Rarely
Here’s my exact watering routine after two weeks of trial:
- I check soil moisture every morning.
- If the top inch feels dry, I water with a slow drip for 20 minutes.
- I avoid wetting the leaves. I use a soaker hose.
- In heat waves, I water every 4-5 days. In normal weather, once a week. This keeps roots deep and strong. My roses now produce bigger blooms.
Step 5: Deadhead Regularly
I used to leave dead flowers on the plant. I thought they’d fall off naturally. Wrong. Deadheading encourages new blooms. I now cut spent flowers back to the first five-leaflet leaf. I make a clean cut at a 45-degree angle. Within two weeks, I see new shoots growing. It’s like the plant says, “Okay, thanks for removing that old mess, let’s make more flowers.”
I do this task every Sunday morning. It becomes a mindfulness ritual. I also remove any dead or crowded branches. This improves air circulation. My roses look tidy and bloom-heavy.
The 2000-Word Deep Dive: Everything I Wish I Knew
Feeding Schedule for Continuous Blooms
Roses are hungry. I feed mine every 4-6 weeks from spring to late summer. I use a balanced organic fertilizer. My favorite is one with kelp and fish emulsion. It smells awful but the roses love it. I also add bone meal for phosphorus, which boosts flowering. In early spring, I apply a slow-release granular fertilizer. Then I supplement with liquid feed every two weeks.
I noticed a big change after two weeks of regular feeding. The buds came faster. The stems grew thicker. The colors were more vibrant. I used to skip feedings because of laziness. Now I set phone reminders.
But watch out for over-fertilizing. I did that once. The leaves burned at the edges. The new growth was pale. I flushed the soil with a lot of water. It took two weeks for the plant to recover. So follow package instructions carefully.
Pest and Disease Control
Aphids are my worst nightmare. They gather on new succulent growth. I first saw them as tiny green dots. They sucked the life out of my rose. I sprayed with a strong jet of water. That knocked them off. But they came back in larger numbers.
Solution: I introduced ladybirds. They are aphid-eating machines. I bought a pack online and released them at dusk. Within two weeks, the aphid population plummeted. I also use a mix of neem oil and water for stubborn cases. Always test on a leaf first. I learned that when I burned my rose leaves with too much neem oil.
Black spot is another common issue. It started after a humid week. The leaves had dark spots with yellow halos. They dropped off. I stripped all infected leaves. I cleaned up fallen debris. Then I applied a copper-based fungicide. I repeated every 7 days for two weeks. The new leaves came in clean. The AHS recommends removing infected leaves immediately. I couldn’t agree more.
Pruning for Summer Blooming
I used to be scared of pruning. I thought I’d kill the plant. But I learned that summer pruning is essential. In early summer, I trim back spent blooms. This redirects energy into new flower buds. I also cut out any weak or crossing branches. This opens up the center for air flow.
For a more aggressive approach, I do a summer pruning around mid-July. I cut back all stems by one-third. My friend said I was crazy. But within two weeks, I had a fresh flush of blooms. It works because roses bloom on new wood. So cutting triggers new growth.
Mulching: The Unsung Hero
Mulching changed my life. I used to let the soil go bare around my roses. Weeds grew. The soil dried out fast. Then a gardener friend told me to use wood chips. I spread a 2-inch layer around the base. Not touching the stem. Within two weeks, I noticed less watering needed. Weeds were scarce. The soil stayed cool in heat.
I use shredded hardwood bark. Avoid cocoa mulch because it molds easily. I refresh the layer in late spring and again in midsummer. This also feeds the soil as it decomposes. Simple and effective.
Container Roses vs. In-Ground Roses
I grow both. Each has pros and cons. Container roses are mobile. I can move them to catch sun or avoid storms. But they dry out faster. I water container roses every 2-3 days in summer. The soil needs to be rich. I use a potting mix for roses, not garden soil. It’s lighter and drains better.
In-ground roses are less fussy. Their roots grow deep. They can access more nutrients. But they need good soil preparation. My in-ground roses bloom bigger. But they also face more competition from weeds. The trade-off is worth it.
My Favorites Tool List
These are things I rely on daily:
- Moisture meter: removes guesswork. I use it every other day.
- Pruning shears: sharp and clean. I disinfect between cuts.
- Soaker hose: saves time and avoids wet leaves.
- Sun calculator app: tells me exact light hours.
- Hand trowel: for weeding and soil amendments.
I bought cheap tools first. They broke within a season. Now I invest in quality brands. Bypass pruners are best. They make clean cuts without crushing stems. This reduces disease risk.
The 2-Week Turnaround Story
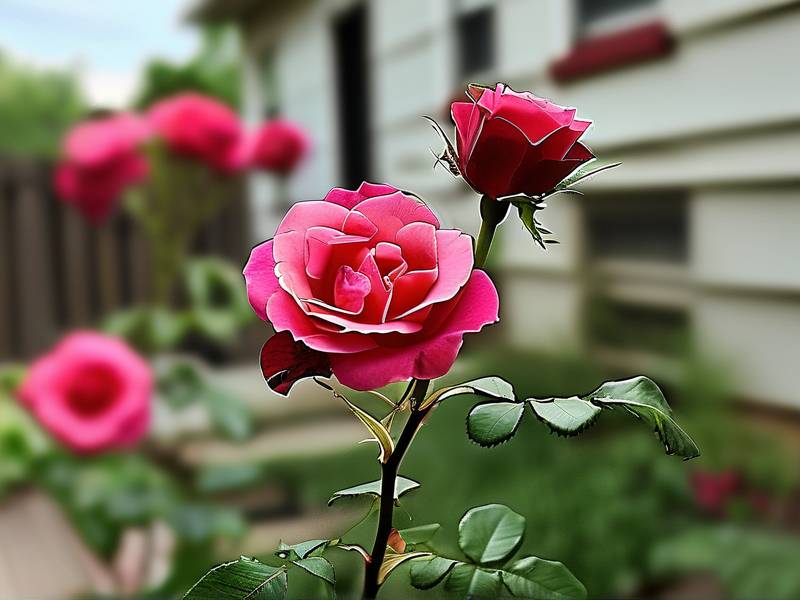
I had a struggling rose last June. It was in a ceramic pot with no drainage. The leaves were yellow. A few buds formed then dropped. I was ready to give up. But I moved it to a terracotta pot with fresh soil. I added gravel at the bottom. I placed it in a sunny spot. I watered only once a week. I deadheaded all spent blooms.
After two weeks, the transformation shocked me. The yellow leaves stopped spreading. New green leaves emerged. I then saw three tiny buds. By the end of the month, those buds opened into beautiful pink roses. This wasn’t magic. It was simple corrections. I wish I had known this earlier.
Now I maintain the same routine. My roses bloom continuously from June to October. Even during heat waves, they produce. They’re not perfect. Some leaves get chewed. But the flower show is constant. My neighbor started asking for tips. I gave him my basic list: sun, drainage, deep watering.
Frequently Asked Questions
How often should I water roses during a heat wave?
In a heat wave, I water every 4-5 days with deep soaking. Check the soil before watering. If the top inch is dry, go ahead. Use a soaker hose to avoid getting leaves wet. I also add extra mulch to keep the soil cool.
Can I keep roses blooming indoors year-round?
It’s very difficult. Indoors, roses rarely get enough light. They need direct sun 6-8 hours daily. I tried a grow light but it wasn’t enough. My indoor rose became leggy. It only bloomed twice indoors. I moved it back outside. It’s healthier. Stick to outdoor growing for real success.
What fertilizer should I use for rose blooms?
Use a balanced fertilizer like 10-10-10. Apply every 6 weeks. I like slow-release granules in spring and liquid feed in summer. Over-fertilizing with nitrogen produces leaves, not flowers. Look for a product specifically for roses. Fish emulsion is great for an organic option.
Final Thoughts from a Recovering Rose Killer
I know how it feels to see your rose struggle. You worry you’ve failed. But the truth is, roses are resilient. They want to bloom. You just need to give them the basics. Place them in sunlight. Water when the soil dries. Use the right pot. Deadhead. Feed. That’s it.
I still make mistakes. Last week I over-pruned a bush. It looked sad. But it bounced back within two weeks. Roses forgive. They just need a chance. So don’t give up. Start with one rose. Correct the three big mistakes: overwateing, wrong light, wrong pot. Use a moisture meter. Watch the sun. I promise you’ll see results.
And if you have questions, reach out. I’m happy to share more failures and fixes. Gardening is a journey. I’m still learning. But today, my garden is full of blooms. And it all started with that first correction. You can do this.