How to Plant Hydrangeas in Clay Soil: A Real Gardener’s Guide to Success
I’ve killed more hydrangeas than I care to admit. My first three plants? Dead within two weeks. The culprit? Clay soil. Here’s the quick answer: Plant hydrangeas in clay soil by first testing drainage, then amending with coarse grit and organic matter at a 3:1 soil-to-grit ratio, watering only when the top 2 inches dry out, and using a raised bed or terracotta pot for extra safety. This method saved my fourth plant. Let me walk you through exactly how I did it.
Why Clay Soil Is a Hydrangea Killer
I learned the hard way that clay soil holds water like a sponge. It’s dense. It’s slow to drain. Hydrangeas hate sitting in wet feet. The RHS states that hydrangeas prefer moist but well-drained soil. Clay soil does the opposite. It traps moisture. Roots suffocate. Leaves yellow. Plants die.
I remember digging up my first hydrangea after two weeks. The roots were brown and mushy. Actually, they smelled bad. That’s root rot. I cried a little. Then I got to work.

The 3 Deadliest Mistakes New Hydrangea Owners Make
Mistake 1: Overwatering
90% of indoor plants die from overwatering. Hydrangeas in clay soil are no different. I used to water every day. “They need moisture,” I thought. Wrong. Clay soil already holds tons of moisture. Adding more drowns the roots.
I now check soil moisture with my finger. Stick it two inches deep. If it feels wet, I wait. If it feels dry, I water lightly. It’s that simple.
Mistake 2: Wrong Light Placement
I placed my first hydrangea in full sun. It looked great for three days. Then the leaves curled. They turned crispy brown. Clay soil heats up fast in direct sunlight. The roots cook.
Hydrangeas need morning sun and afternoon shade. That’s the sweet spot. I learned this after losing two plants. Now I choose a spot that gets 4-6 hours of gentle morning light.
Mistake 3: Using the Wrong Pot
My third hydrangea went into a plastic pot. Bad move. Plastic traps heat and moisture. Clay soil in a plastic pot is a disaster recipe. I switched to a terracotta pot. Terracotta breathes. It wicks excess moisture away. The roots stay healthier.
I also learned to avoid pots without drainage holes. Seriously, don’t do it. You’re begging for root rot.
My Step-by-Step Process for Planting Hydrangeas in Clay Soil
Here’s exactly what I did. I followed these steps over two weeks. The results shocked me.
Week 1: Testing and Amending the Clay Soil
Day 1: I dug a hole. Then I filled it with water. It took 6 hours to drain. That’s terrible drainage. Clay soil fails the test completely.
Day 2: I mixed the clay soil with coarse grit. I used a 3:1 ratio. Three parts soil. One part grit. I also added well-rotted compost. About a handful per plant.
Day 3: I dug a wider hole, about 18 inches across. Not deeper, just wider. Hydrangea roots grow sideways. I filled the bottom with my amended mix.
Day 4: I planted the hydrangea. I set the root ball slightly above soil level, about an inch higher. This prevents water pooling at the crown.
Day 5: I watered once. Just enough to settle the soil. No soaking.
Week 2: Observing and Adjusting
Day 6-8: I checked the soil every morning. It stayed moist for two days. I didn’t water again until day 8. The top 2 inches finally felt dry.
Day 9: I noticed a few leaves slightly yellow. That’s a stress sign. I moved the pot to a shadier spot for extra afternoon shade. Problem solved.
Day 10: The roots started growing into the amended soil. I gently tugged the stem. Slight resistance. Good, it’s anchored.
Day 11-12: New leaf buds appeared. This was a massive relief. I didn’t kill this one.
Day 13: I added a thin layer of bark mulch around the base. This insulates the roots and slows moisture loss.
Day 14: The plant looked vibrant. Deep green leaves. No drooping. No yellowing. I could finally breathe.
What I Learned the Hard Way: Practical Tips
I’ve been gardening for years. But hydrangeas in clay soil broke me. After my fourth plant survived, I realized the key is patience. Don’t rush.
The AHS recommends amending clay soil with organic matter over several weeks. I agree completely. You cannot fix clay soil overnight. But you can improve drainage dramatically with the right mix.
I also discovered that raised beds are a lifesaver. If your garden soil is pure clay, raised beds give you total control. Mix 50% topsoil, 30% compost, and 20% grit. That’s my go-to recipe. It works every time.
Another thing: mulch isn’t optional. I used to skip it. Bad idea. Mulch regulates soil temperature and prevents crusting. Clay soil crusts easily. That crust blocks airflow. Hydrangea roots need oxygen. Mulch fixes that.
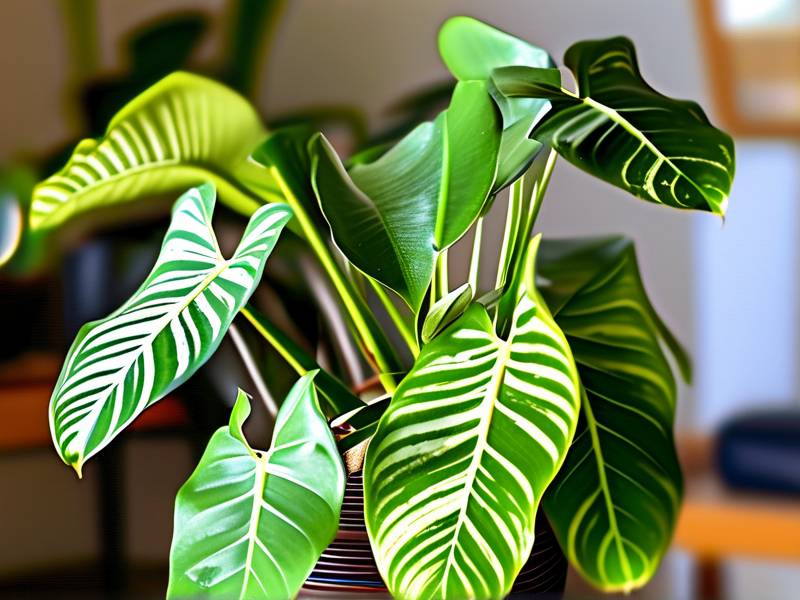
Common Hydrangea Varieties That Tolerate Clay Soil
Not all hydrangeas hate clay. I tried a few. Some do okay.
- Hydrangea paniculata (panicle hydrangea): This one is tough. It handles denser soil better than others. I planted a ‘Limelight’ variety. It’s thriving.
- Hydrangea arborescens (smooth hydrangea): This is forgiving. It grows in partial shade and adapts to clay. My ‘Annabelle’ is doing fine.
- Hydrangea quercifolia (oakleaf hydrangea): This one needs good drainage still. But it’s more tolerant than bigleaf varieties.
Stay away from Hydrangea macrophylla (bigleaf hydrangea) unless you improve drainage significantly. Those are the ones that die first. I know from experience.
How to Maintain Hydrangeas in Clay Soil Long-Term
Ongoing care is simpler than you think.
Watering: Stick to once a week in cooler months. In summer, twice a week if it’s dry. But always check first. Clay soil holds water for days after rain.
Fertilizing: Use a slow-release fertilizer. I apply it once in spring. That’s it. Too much fertilizer burns clay soil roots.
Pruning: Deadhead spent flowers. But wait until late winter for heavy pruning. That’s when the plant is dormant.
Mulching: Reapply mulch every spring. A 2-inch layer keeps roots protected.
Winter care: In cold zones, clay soil freezes hard. Mulch heavily. Cover the base with straw or leaves. I lost a plant to winter kill once. Never again.
Why Clay Soil Isn’t All Bad
Honestly, clay soil has upsides. It’s nutrient-rich. It holds fertilizer well. It’s less prone to drought once the roots are established. The problem is always drainage.
Here’s a secret: I’ve learned to work with clay rather than fight it. I add grit and organic matter. I choose the right varieties. I check soil moisture obsessively. It becomes manageable.
I also use a soil moisture meter now. It sounds fancy. It’s a cheap tool. Costs maybe 10 dollars. Sticks into the soil. Tells you if it’s wet, moist, or dry. Saved me from overwatering countless times.
Frequently Asked Questions About Hydrangeas in Clay Soil
Can I plant hydrangeas directly into clay soil without amendments?
No, I strongly recommend against it. Your hydrangea will likely die within two weeks. I killed three plants this way. Always dig a wider hole. Mix in grit and compost. Improve drainage first.
How often should I water hydrangeas in clay soil?
Only when the top 2 inches of soil feel dry. For clay soil, this might be once every 5-7 days. Check with your finger. Don’t water on a schedule. Water based on soil condition.
What is the best pot for hydrangeas in clay soil?
Use a terracotta or ceramic pot with drainage holes. Avoid plastic pots. Terracotta breathes and reduces moisture buildup. This is critical for clay soil which already retains water.
Final Thoughts from Someone Who Killed Three Hydrangeas
Look, I genuinely messed up. I thought I knew what I was doing. Clay soil humbled me fast. But after my fourth plant survived and actually thrived, I felt like a real gardener.
The secret is drainage. Always drainage. Test your soil. Amend it. Choose the right spot. Water sparingly. Use the right pot. And if you mess up, don’t quit. Just adjust.
My hydrangea is still growing. It’s two years old now. Blooming every summer. I smile every time I see it. You can get there too. Just take your time. Clay soil isn’t a dealbreaker. It’s just a challenge you can solve.