How to Care for Pothos and Solve Hydroponic to Soil Transplant Shock
You’ve lovingly nurtured your pothos in a clear vase of water, watching its roots grow long and healthy. But when you finally transplant it into soil, hoping for even more vigorous growth, your plant seems to give up. Leaves turn yellow, droop, and some may even fall off. This discouraging scenario is a classic case of transplant shock, a common hurdle when moving a plant from water to soil. Understanding how to care for pothos during this critical transition is the key to success. This guide will walk you through every step to minimize stress and ensure your hydroponic pothos thrives in its new soil home, effectively solving the challenge of hydroponic to soil transplant shock.
Understanding Why Transplant Shock Happens
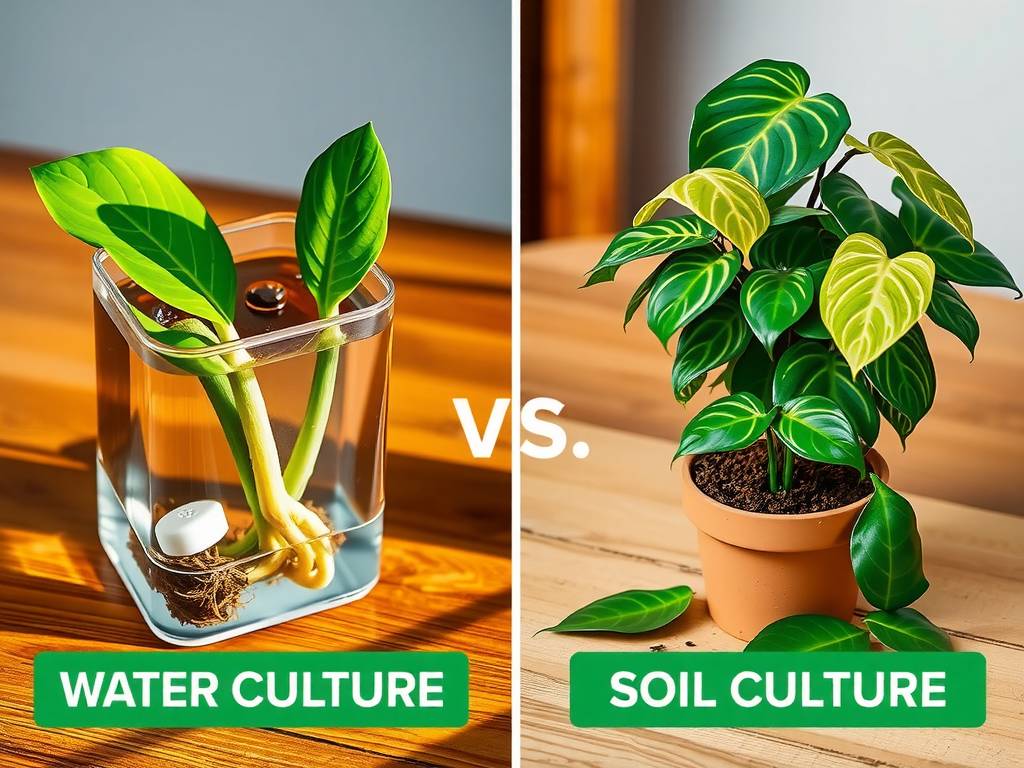
The roots your pothos develops in water are fundamentally different from the roots it grows in soil. Aquatic roots, or water roots, are adapted to absorb oxygen and nutrients directly from the water. They are often thinner, more fragile, and have different cellular structures. Soil roots, in contrast, are sturdier, designed to navigate through a dense medium, seek out water, and withstand the presence of soil microbes and varying moisture levels.
When you place water-adapted roots directly into soil, they can struggle to function. The soil environment can feel suffocating, leading to root rot if kept too wet, or desiccation if allowed to dry out completely. The plant must expend immense energy to grow an entirely new set of soil-adapted roots while the old water roots often die back. This period of adaptation is the transplant shock we observe above the soil as wilting and yellowing leaves.
Preparing for a Successful Transition
Timing and preparation are everything. Don’t rush this process.
Choose the Right Time: The best time to attempt this move is during the active growing season, typically spring or early summer. Your pothos has more natural energy to devote to root regeneration during this period. Avoid transplanting in winter when growth is minimal.
Gather Your Supplies: You will need:
- A well-draining potting mix. A standard indoor plant mix with added perlite or orchid bark is perfect for pothos care.
- A pot with adequate drainage holes. This is non-negotiable for preventing root rot.
- Clean, sharp scissors or pruning shears.
- A watering can with a narrow spout.
Select the Right Pot: Start with a pot that is only 1-2 inches larger in diameter than the root mass. A pot that is too large holds excess soil that stays wet for too long, creating a dangerous environment for the transitioning roots.
The Step-by-Step Transplant Process
Follow these steps meticulously to give your pothos the best chance.
1. Acclimate the Water Roots Before the big move, begin thickening the water roots. Add a small amount of clean, sieved soil or a dilute hydroponic nutrient solution to the water your pothos is sitting in. Over a week or two, gradually increase the amount. This slightly murkier environment signals to the roots that change is coming and can encourage them to start adapting.
2. Prepare the New Pot and Soil Place a piece of porous landscape fabric or a single coffee filter over the drainage holes to prevent soil washout. Fill the new pot about one-third full with your pre-moistened potting mix. The soil should be damp like a wrung-out sponge, not soggy.
3. Handle the Roots with Care Gently remove your pothos from its water vessel. Rinse the roots with lukewarm water to remove any residual algae or debris. Inspect the roots. Using sterilized scissors, trim away any roots that are black, mushy, or smell foul. Healthy roots are firm and white or tan.
4. Planting in Soil Create a small mound of soil in the center of your prepared pot. Spread the pothos roots over this mound. Hold the plant at the correct height so the base of the stems is just below the rim of the pot. Gently backfill with more pre-moistened soil, tapping the pot to settle it. Avoid packing the soil down tightly; you want it to remain airy.
5. The Initial Watering Water the plant thoroughly until water runs freely from the drainage holes. This serves to eliminate large air pockets and ensures the roots make good contact with the soil. This is the only time you will water this heavily for a while.
Post-Transplant Care: The Critical Recovery Period
Your care in the weeks following the transplant is what ultimately determines success in solving pothos transplant shock.
The First Two Weeks: High Humidity is Key This is the most critical phase. The plant is losing moisture through its leaves faster than the new roots can absorb it from the soil. To combat this:
- Place the pot in a location with bright, indirect light. No direct sun, which adds stress.
- Create a mini-greenhouse. Cover the plant loosely with a clear plastic bag or place it under a cloche. Ensure the plastic does not touch the leaves. Open it for an hour each day for air circulation.
- Alternatively, place the pot on a pebble tray filled with water or group it with other plants to raise ambient humidity.
- Do not fertilize. The plant is in recovery and fertilizer can burn the fragile new roots.
Watering Strategy for New Soil Roots Overwatering is the number one killer at this stage. Let the top 1-2 inches of soil dry out completely before watering again. Stick your finger into the soil to check. The goal is to keep the soil lightly moist, encouraging the roots to seek out water and grow stronger. The American Horticultural Society (AHA) emphasizes that "proper watering technique, which encourages deep root growth, is more beneficial than frequent light watering."
Recognizing and Responding to Stress Signs
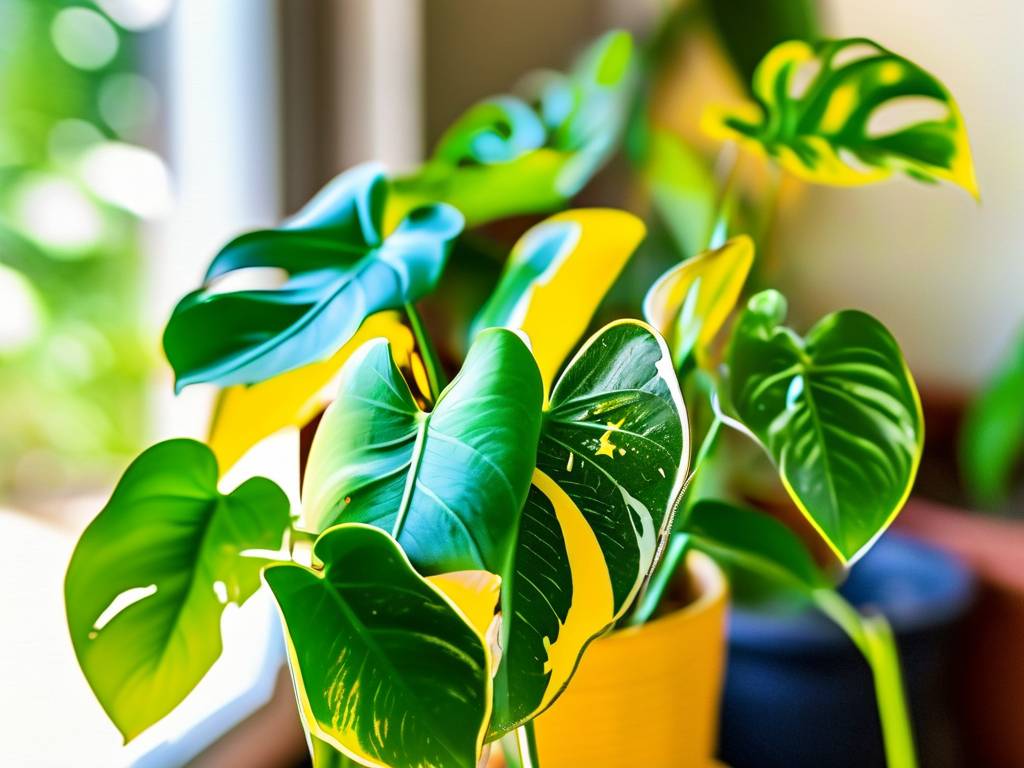
- Yellowing Leaves: This is normal for a few of the oldest leaves as the plant reallocates resources. Remove them gently.
- Wilting/Drooping: This indicates transplant stress. Maintain high humidity and ensure the soil isn’t bone dry.
- Severe Leaf Drop: Reevaluate your conditions. Is it too dark? Too cold? Is the soil staying wet for weeks?
Once you see new growth—a fresh leaf unfurling—it’s a clear sign your pothos has established its new soil roots and the transplant shock is over.
Long-Term Pothos Care in Soil
Congratulations! Your pothos has adapted. Now, shift to standard, long-term care to keep it thriving.
Light: Pothos prefers bright, indirect light but is famously tolerant of lower light. More light encourages faster growth and more pronounced variegation. Watering: Follow the "soak and dry" method. Water deeply when the top few inches of soil are dry, then let the excess drain away completely. The Royal Horticultural Society (RHS) advises that "allowing the compost to dry slightly between waterings mimics the natural wet-dry cycles many houseplants experience." Feeding: During the growing season (spring-fall), feed monthly with a balanced, water-soluble fertilizer diluted to half-strength. Pruning: Regular pruning encourages bushier growth. You can propagate these cuttings in water or soil, starting the cycle anew!
Common Questions About Pothos Transplant Shock
How long does pothos transplant shock last? The acute phase, where you might see significant wilting or leaf loss, typically lasts 1-3 weeks. Full recovery and the resumption of normal growth can take 4-8 weeks. Patience is essential during this period.
Can I skip the acclimation step and plant directly into soil? You can, but it significantly increases the risk and severity of transplant shock. The sudden change is a major shock to the root system. The acclimation process, even if brief, gives the plant a much better chance by allowing the roots to begin adapting before the full environmental shift.
Should I use a rooting hormone when transplanting from water to soil? While not strictly necessary for pothos, a gentle rooting hormone gel or powder can be beneficial. Dipping the healthy water roots in a hormone product before planting can stimulate the development of new soil roots faster, potentially shortening the recovery period. Look for products containing Indole-3-butyric acid (IBA), a common and effective rooting auxin.
Moving a pothos from water to soil doesn’t have to end in disappointment. By understanding the cause of the shock and following a careful process of preparation, gentle transplanting, and attentive aftercare focused on humidity and cautious watering, you can guide your plant through a successful transition. The reward is a resilient, soil-grown pothos that will continue to purify your air and bring vibrant greenery to your space for years to come. Remember, the key lies in mimicking a more natural shift for the roots and providing unwavering support during its time of change.