How to Care for Lucky Bamboo - Soil to Hydroponic for Fast Rooting
You’ve brought home a beautiful Lucky Bamboo plant, drawn to its elegant stalks and promise of good fortune. But now, you’re noticing yellowing leaves, slow growth, or perhaps the roots in its water vase look less than healthy. The challenge of keeping this popular plant thriving, whether in soil or water, is a common frustration. Many enthusiasts struggle with the transition between mediums or achieving that coveted, robust root system. This comprehensive guide will demystify the entire process, from mastering basic soil care to successfully transitioning your plant to hydroponics for remarkably faster rooting and lush growth.
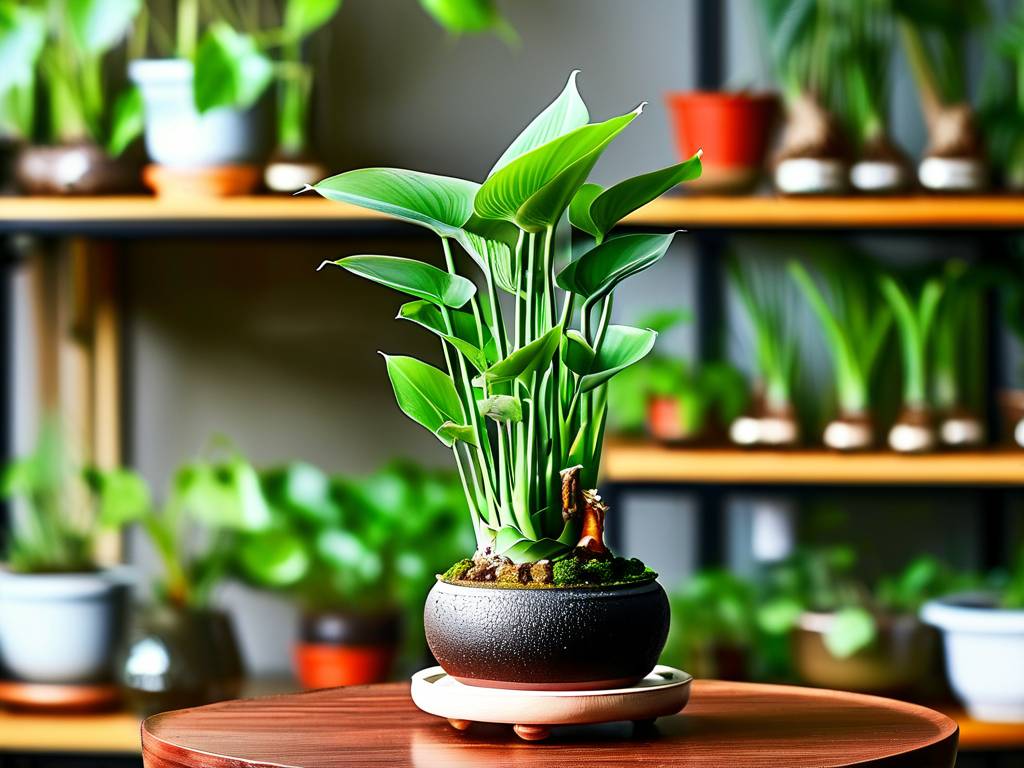
Understanding Your Lucky Bamboo Plant
First, let's clarify a common misconception: Lucky Bamboo is not a true bamboo. Its scientific name is Dracaena sanderiana, and it's a member of the Dracaena family. This tropical understory plant naturally enjoys warm, humid, and lightly shaded conditions. Understanding this origin is key to replicating its ideal environment, whether you choose to grow it in traditional potting mix or in a water-based setup. The choice between soil and hydroponics isn't just about aesthetics; it influences watering frequency, nutrient delivery, and the plant's overall growth pattern.
Essential Care for Soil-Grown Lucky Bamboo
While often seen in water, Lucky Bamboo grows exceptionally well in soil, which can provide a more stable and nutrient-rich foundation.
Choosing the Right Potting Mix and Container The foundation of health for a potted Lucky Bamboo is its soil. A well-draining, aerated potting mix is non-negotiable. Use a high-quality, peat-based potting soil and amend it with perlite or coarse sand to improve drainage. According to the American Horticultural Society (AHS), proper drainage is critical to prevent root rot, one of the leading causes of houseplant failure. The container must have at least one drainage hole. A pot that is 1-2 inches wider than the root ball is ideal; too large a pot holds excess moisture, risking root suffocation.
Perfecting the Watering and Lighting Routine Watering is where most soil care mistakes happen. The goal is to keep the soil consistently moist but never soggy. Insert your finger about an inch into the soil; if it feels dry, it’s time to water thoroughly until it runs out the drainage hole. Then, empty the saucer underneath. Never let the plant sit in standing water. For lighting, bright, indirect light is perfect. A spot near an east-facing window or a few feet back from a south or west window is ideal. Direct sunlight will scorch the leaves, causing brown, crispy tips, while too little light leads to leggy, stretched growth and fading color.
Feeding and Maintenance for Vigorous Growth During the growing season (spring and summer), feed your Lucky Bamboo monthly with a balanced, water-soluble fertilizer diluted to half the recommended strength. A formula like 10-10-10 works well. The Royal Horticultural Society (RHS) advises against over-fertilizing, as salt buildup can damage roots and cause leaf tip burn. Flush the soil with plain water every few months to leach out excess salts. Regularly wipe the leaves with a damp cloth to remove dust, allowing for efficient photosynthesis.
Transitioning to Hydroponics for Faster Rooting
Many plant lovers prefer the clean, modern look of hydroponic Lucky Bamboo. More importantly, transitioning cuttings to water can stimulate faster initial root development, as the cutting can dedicate energy to root growth without navigating dense soil.
Step-by-Step Guide: Soil to Water Conversion
- Gentle Removal: Carefully remove your Lucky Bamboo from its soil pot. Gently run lukewarm water over the root ball to wash away all soil particles. Be as gentle as possible to minimize root damage.
- Root Inspection and Pruning: Examine the roots. Using sterilized scissors, trim away any black, mushy, or excessively long roots. Healthy roots are firm and orange-tinted.
- The Vessel and Medium: Choose a clean vase, jar, or dedicated hydroponic container. Fill it with tepid, filtered or distilled water. Tap water often contains chlorine, fluoride, and minerals that can cause leaf tip burn. The water level should cover 1-2 inches of the roots and base of the stalks.
- Support and Placement: Use clean pebbles, glass beads, or a decorative support structure to hold the stalks upright. Place the container in its permanent spot with bright, indirect light.
Mastering Hydroponic Care for Healthy Roots The secret to fast rooting in hydroponic systems is consistency and water quality. Change the water completely every 7-10 days. This replenishes oxygen and prevents the buildup of bacteria and algae, which can rot stems. When you change the water, rinse the roots, the container, and the support medium. Add a single drop of liquid hydroponic fertilizer to the fresh water every month. More is not better; excessive nutrients in water can be toxic.
Troubleshooting Common Issues in Both Systems
- Yellow Leaves: This is the most common signal. In soil, it usually means overwatering. In water, it can indicate too much fertilizer, poor water quality, or excessive direct light.
- Brown Leaf Tips: Typically caused by chemicals in tap water (fluoride/chlorine) or low humidity. Switch to filtered water and consider misting the leaves occasionally.
- Slow Growth or No Rooting: Ensure the plant is warm enough (65-80°F or 18-27°C is ideal) and receiving adequate indirect light. A rooting hormone can be applied to cuttings during the transition to hydroponic growth, but clean water and warmth are often sufficient.
- Algae Growth (in water): Algae thrives on light and nutrients. Use an opaque container or keep your clear vase out of direct sunlight. Regular weekly water changes are the best prevention.
Creating the Ideal Environment for Root Development
Whether in soil or water, environmental factors dramatically impact rooting speed and plant health. Maintain a warm room temperature, as cold drafts stunt growth. Humidity levels around 50% are beneficial; grouping plants together or using a pebble tray can help. Remember, the fast rooting process is supported by stable, tropical-like conditions. Avoid moving the plant frequently, as it needs time to adapt to its medium.
Why are the stalks of my Lucky Bamboo turning yellow? A yellowing stalk is a serious concern, often indicating rot from overwatering (in soil) or bacterial infection (in water). If a stalk turns yellow, it is best to remove it immediately to prevent spread to healthy stalks. Check the remaining stalks for firmness.
Can I use tap water for my hydroponic Lucky Bamboo? It is not recommended. Chemicals like chlorine and fluoride, along with dissolved minerals, are common in tap water and can accumulate, causing leaf burn and poor root health. For the healthiest plant, use filtered, distilled, or rainwater. Letting tap water sit out for 24 hours can evaporate chlorine but will not remove fluoride or minerals.
How often should I fertilize my Lucky Bamboo in water? Far less often than in soil. In a hydroponic setup, add one drop of liquid fertilizer to the fresh water every 4-8 weeks during the growing season. In winter, or if the plant is not actively growing, you can skip fertilizing altogether. Over-fertilizing in water leads directly to salt damage on the roots and leaves.
Caring for Lucky Bamboo, from soil to a hydroponic vase, is a rewarding practice that blends simple routines with attentive observation. By selecting the right medium, providing pristine water or well-draining soil, and ensuring bright, indirect light, you create the foundation for success. The transition to water culture, when done methodically, can indeed promote a swift and healthy root system, allowing you to enjoy the serene beauty of this resilient plant for years to come. Pay attention to its signals—the color of its leaves, the condition of its stalks—and adjust your care accordingly. With this knowledge, you are well-equipped to not only keep your Lucky Bamboo alive but to help it thrive and bring a touch of vibrant, growing fortune into your space.


