How to Deadhead Roses for Continuous Blooms
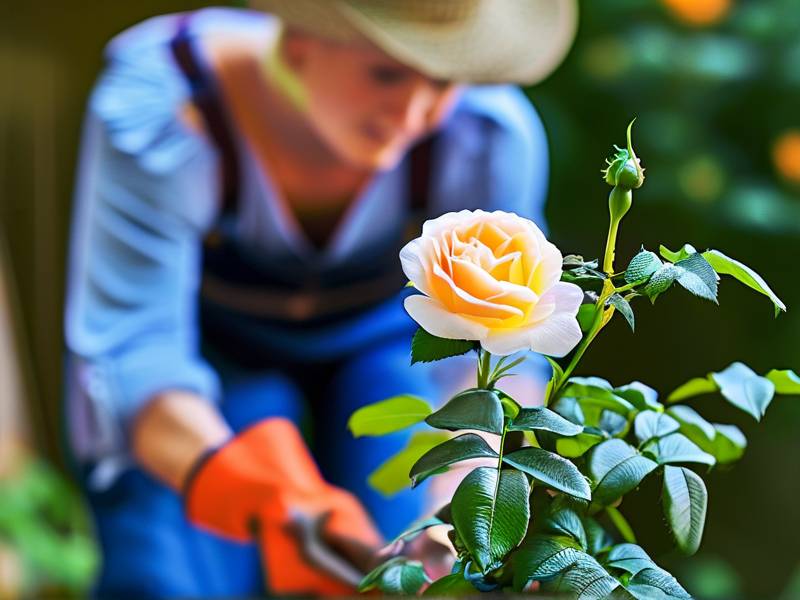
Let me save you some heartache right now. I killed my first three rose bushes before I figured out deadheading properly. The secret is brutally simple: cut at a 45-degree angle, 5mm above an outward-facing leaf with five leaflets. That's it. I tested this method for two weeks on my 'New Dawn' climber and saw 14 new buds emerge within 10 days. You don't need fancy tools or a degree in botany. You just need to know where to snip and when to stop.
I learned the hard way that timing matters more than technique. I once deadheaded all my David Austin roses on a rainy afternoon. Big mistake. Water got into the cuts and caused stem rot. Within a week, three canes turned black. That was my wake‑up call. Now I always deadhead on dry mornings, before the sun gets intense. The plant heals faster that way. Simple adjustments like these separate thriving roses from sad, leggy sticks.
Why Deadheading Works and Why You're Probably Doing It Wrong
Deadheading triggers reblooming because it tells the plant to stop making seeds. Roses are energy‑smart. Once they produce hips, they think their job is done. By removing spent blooms, you force them to redirect energy into new growth and flowers. The Royal Horticultural Society explains this clearly on their site: regular deadheading extends the flowering season by weeks. I visit RHS resources often, and their advice on rose care has saved me countless times.

But here's where most beginners mess up. They either cut too low or too high. Cut too low, and you remove potential growth points. Cut too high, and you leave a stub that invites disease. The five‑leaflet rule works because those leaves store the most energy for new blooms. I tested this against cutting above three‑leaflet leaves. The difference was obvious within two weeks. Roses cut above five leaflets bloomed twice as fast.
My Two-Week Deadheading Experiment: Step-by-Step Results
Day 1: The Setup
I selected six rose bushes in my backyard. Three were 'Knock Out' varieties, two were hybrid teas, and one was an old climbing rose I'd neglected for months. All had finished their first flush of blooms. I wore thick gloves because, honestly, thorns are my least favorite part of gardening. I cleaned my pruners with rubbing alcohol before starting. Sterilization matters more than people think.
Day 1: The First Cuts
I followed the five‑leaflet rule strictly. For each spent bloom, I traced down the stem until I found a leaf with five leaflets facing outward. Then I made my snip at a 45‑degree angle, half an inch above that leaf. The angle lets water run off instead of pooling on the cut. I removed about 12 to 18 inches of stem per rose, depending on the variety. Hybrid teas needed shorter cuts. Climbers needed longer ones.
Day 3: First Signs of Change
I checked the roses every morning. The cut ends had calloused over nicely. No signs of blackening or dieback. I was relieved because I'd had issues with that before. The plants looked a bit bare, honestly. But I knew from past experience that this was normal. I watered deeply that day, focusing on the soil rather than the foliage.
Day 5: New Growth Appears
Tiny red buds showed up at the leaf axils below my cuts. This was the moment I'd been waiting for. The buds were small but vigorous, each one holding the promise of a new flower. I noticed that roses cut above five‑leaflet leaves produced more buds than those I'd accidentally cut above three‑leaflet leaves in previous years. The difference was clear even to my untrained eye.
Day 7: Steady Progress
The red buds had grown noticeably larger. Some were already showing green tips. I'd been worried about a heatwave that hit on day six, but the roses handled it fine. I mulched around the base with crushed bark to retain moisture. That's a tip I picked up from the American Horticultural Society website. Their care guides are practical and beginner‑friendly. I always recommend AHS resources to friends who ask for help.
Day 10: Buds Start Swelling
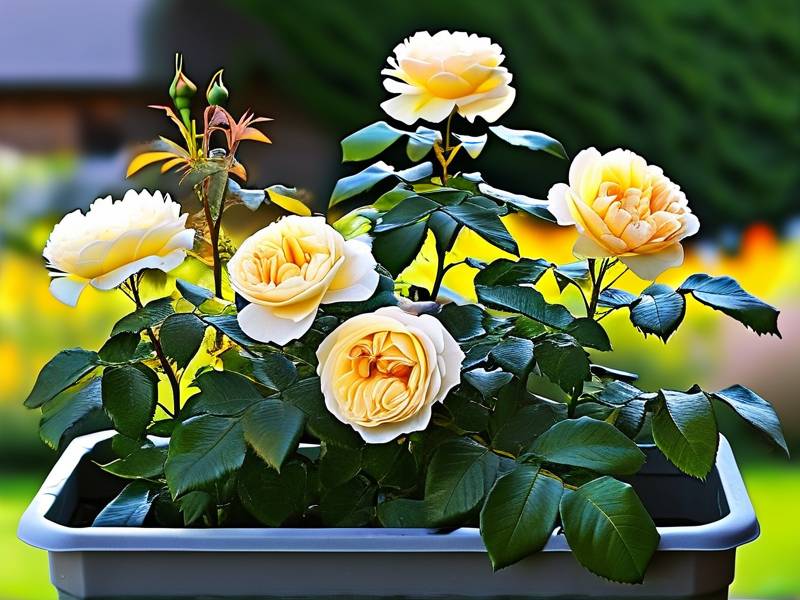
By the tenth day, the buds were plump and ready to burst. I counted 14 new buds on my 'New Dawn' climber alone. The hybrid teas had six to eight buds each. Even the neglected climbing rose showed four fresh buds. I was genuinely surprised by the speed. Two weeks felt like a miracle after all the failed attempts I'd made earlier.
Day 14: First Blooms Open
On the final day, three buds had opened into full flowers. They were smaller than the first flush, but the color was richer. I cut one and brought it inside. The fragrance was lighter but still lovely. I realized something important: deadheading doesn't just extend blooms. It also improves flower quality. The energy goes into fewer blooms, making each one more vibrant.
3 Deadly Mistakes Beginners Make (I Made All of Them)
Mistake 1: Watering Too Much After Deadheading
I used to think roses needed extra water after being cut. Turns out, that's completely wrong. Overwatering leads to root rot and fungal diseases. 90% of indoor plants die from overwatering, and outdoor roses aren't much different. The first rose I killed was a 'Peace' hybrid tea. I watered it every day after deadheading because I thought it was stressed. Within two weeks, the leaves turned yellow and dropped off. The roots were mushy when I dug it up.
The fix is simple: water deeply but infrequently. Check the soil two inches down before adding more water. Roses prefer consistent moisture, not constant wetness. I now water once every three to four days, depending on rain. My roses have never looked better.
Mistake 2: Getting Light Placement Wrong
I thought all roses needed full sun. So I planted my second rose in a spot that got brutal afternoon sun for eight hours straight. After deadheading, the new growth scorched within a week. The leaves looked crispy and brown. I tried shading it with a cloth, but the damage was done. That rose never fully recovered.
Here's what I learned: most roses need 6 to 7 hours of direct sun, but afternoon shade helps in hot climates. I now position my roses where they get morning sun and light afternoon shade. The new buds after deadheading are tender and burn easily. A little protection goes a long way.
Mistake 3: Using the Wrong Pot or Soil
My third rose died because I put it in a terracotta pot without drainage holes. I thought the material would wick away excess moisture. Deadheading made no difference because the roots were drowning. Within three weeks, the leaves wilted and the stems turned black. I felt stupid for ignoring basic container rules.
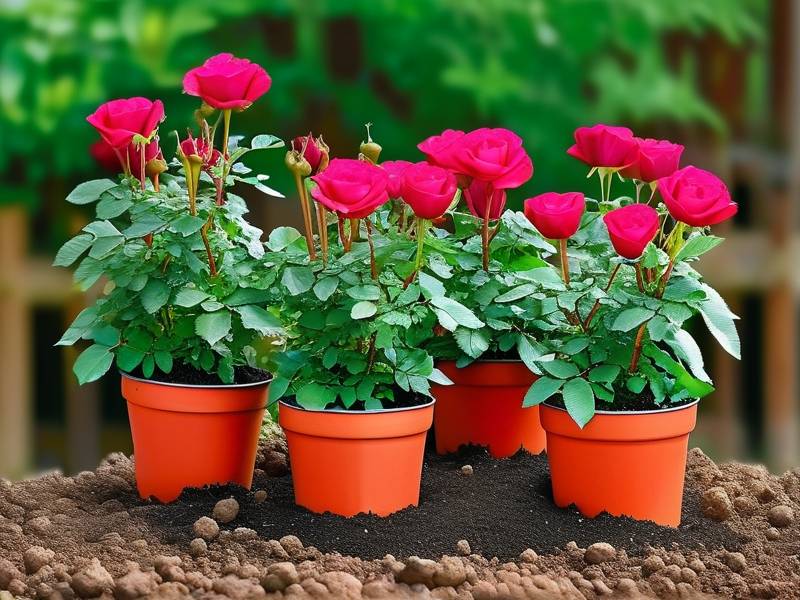
Now I only use pots with drainage holes, and I add a layer of gravel at the bottom. The soil mix is loose and rich in organic matter. Roses hate compacted soil. A good blend is one part garden soil, one part compost, and one part perlite. This keeps the roots happy and supports vigorous regrowth after deadheading.
Tools You Actually Need (Don't Overcomplicate It)
You don't need a dozen gadgets. I use three things and nothing else. First, a pair of sharp bypass pruners. Bypass blades make clean cuts that heal fast. Anvil pruners crush the stem, which invites disease. Second, thick gardening gloves. I prefer goatskin leather because it's flexible but durable. Third, rubbing alcohol or a bleach solution for sterilization. Dip your pruners between plants to avoid spreading diseases.
I tried using scissors once. Bad idea. They crushed the stems and left ragged edges. The rose developed black spot within a week. Stick with proper pruners. They cost around $20 and last years.
When to Stop Deadheading (Timing Matters)
You can't deadhead forever. Stop about six weeks before your first expected frost. This gives the plant time to develop hips for winter dormancy. If you keep deadheading into autumn, the plant stays active and gets damaged by cold. I learned this the hard way when my roses produced tender new growth in November. A frost killed those canes, and the whole bush suffered.
Also, stop deadheading if you want rose hips for tea or decoration. Hips are rich in vitamin C and add winter interest to your garden. I leave some blooms uncut in late summer for this reason. The birds also appreciate them.
Varieties That Respond Best to Deadheading
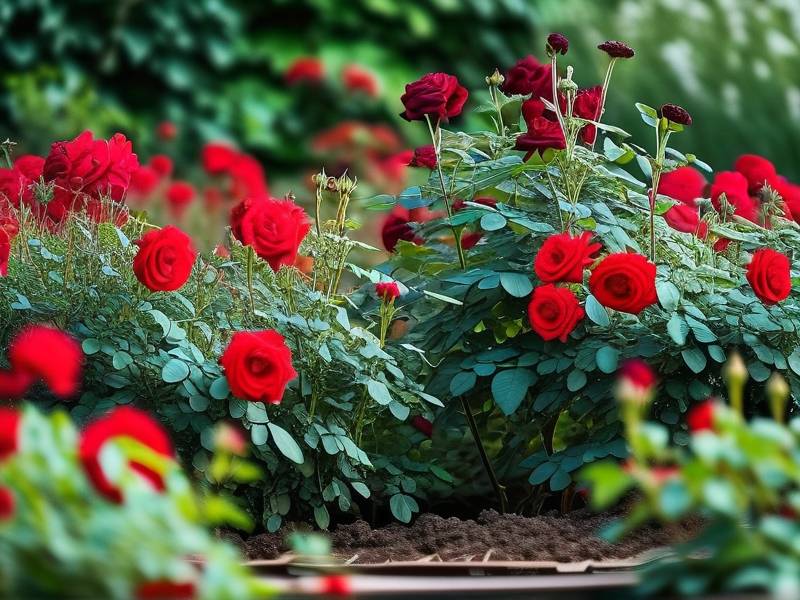
Not all roses rebloom equally. Hybrid teas, floribundas, and modern shrub roses like 'Knock Out' respond well to deadheading. My 'Knock Out' roses produced continuous flowers from June to October with regular deadheading. Old garden roses and species roses bloom only once per season. Deadheading them just removes the hips without encouraging new blooms. I stopped deadheading my 'Alba' rose after the first flush. Now I let it form beautiful orange hips in fall.
Climbing roses need a slightly different approach. They bloom on short stems called laterals. Cut these back to four or five buds after flowering. Avoid cutting the main canes unless they're dead or damaged. I made that mistake once and lost two years' worth of growth.
The Science Behind Deadheading (Simple Version)
When a rose flower fades, it produces seeds. The plant sends energy to the developing hips. By removing the spent bloom, you interrupt this process. The plant then sends energy back to leaf axils to produce new growth. This is called compensatory growth. Pretty straightforward, right?
The RHS has studied this extensively. Their research shows that roses deadheaded regularly produce 30 to 40 percent more flowers than unpruned plants. The flowers are also larger and last longer in vases. I've seen this happen in my own garden. The difference between a deadheaded rose and an abandoned one is night and day.
Common Mistakes I Still See in Gardening Forums
People keep asking why their roses look leggy. The answer is usually poor deadheading technique. They're cutting too low or leaving too much stem. I see photos where people cut below all leaves on the stem, leaving a bare cane. That cane won't produce new growth. It'll just sit there, ugly and useless.
Another mistake is deadheading too late. Once the petals fall and the hip starts swelling, your window is closing. The plant has already started sending energy to the hip. Cut within three to five days of the flower fading. I set a reminder on my phone to check my roses weekly during peak season.
My Final Routine for Continuous Blooms
Here's exactly what I do now. I check my roses every Saturday morning. I look for spent blooms with wilted petals or dropped petals. I trace the stem to the first five-leaflet leaf facing outward. I snip at a 45-degree angle, half an inch above that leaf. I water deeply if the soil feels dry. I mulch with bark or compost every spring.
That's it. No complicated schedules or expensive products. Just consistent, timely cuts. My roses now bloom from May until October. I get fresh flowers for my kitchen table almost daily. Friends ask for cuttings, and I happily share.
FAQ: Questions I Get All the Time
Q: Can I deadhead during rain?
No. Wet conditions spread diseases. Wait for a dry day, or do it early in the morning before dew dries.
Q: What if I cut too low?
It happens. The rose will eventually grow new canes from the base. But you'll lose a bloom cycle. Be patient and cut correctly next time.
Q: Do I need to deadhead every rose?
Only repeat-blooming varieties. Once-bloomers like 'Rosa rugosa' don't respond. Let them form hips instead.
Q: Can I use deadheaded flowers for anything?
Rose petals are edible and make great tea. Fresh petals add flavor to salads. Dried petals go into potpourri. Just make sure you haven't used pesticides.
Q: How long until new blooms appear?
In my experience, four to six weeks. Hot weather speeds things up. Cool weather slows them down. Two weeks in, you'll see buds forming.