 bluename
 Indoor Spider Plant Care: Essential Tips for Light, Watering, and Fertilizing
Indoor Spider Plant Light Requirements: Find the Perfect Bright Spot
What Counts as “Ideal” Indoor Light for Spider Plants?
Best Windows for Indoor Spider Plants: East-facing windows are perfect. They get gentle morning sun (which is mild enough not to scorch leaves) and bright indirect light for the rest of the day. North-facing windows also work—they provide consistent, soft indirect light year-round, though growth may be slightly slower.
South or West Windows? Proceed with Caution: South and west windows get intense afternoon sun (especially in summer). If you place your spider plant here, use a sheer curtain to filter the light, or move the plant 1–2 feet back from the window. Direct midday sun (11 AM to 3 PM) can cause brown, crispy leaf tips or bleached patches on the leaves—something no indoor plant parent wants!
What If You Have Low Indoor Light?
Add a Grow Light: A small LED grow light is a game-changer for low-light indoor spaces. Hang it 6–12 inches above the plant and set it to run for 12–14 hours a day (mimicking natural daylight). This gives your spider plant the energy it needs to grow without the risk of sunburn.
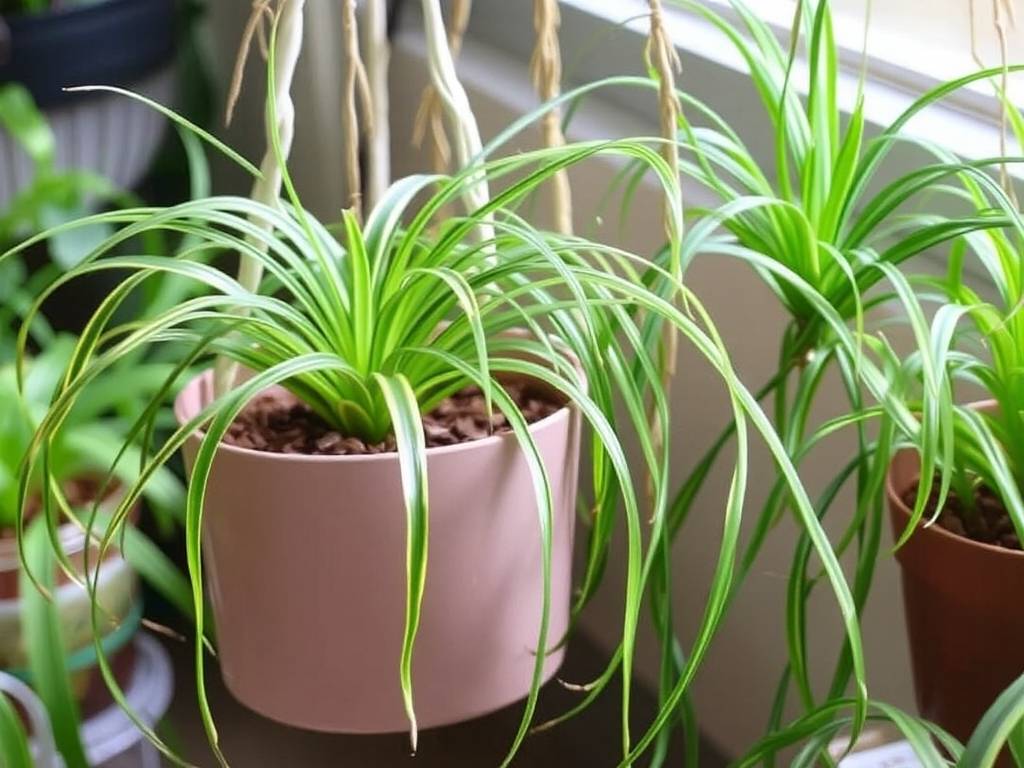
Rotate the Plant Weekly: Even in low light, light comes from one direction. Rotate the pot ¼ turn every week to ensure all sides of the plant get equal light—this prevents lopsided growth and keeps the foliage full.
Avoid Dark Corners: Never place your spider plant in a completely dark corner (e.g., a closet or a room with no windows and no artificial light). Without any light, it will slowly lose leaves and die.
Signs Your Indoor Spider Plant Isn’t Getting Enough Light
Leggy Stems: Stems stretch toward the nearest light source, becoming thin and sparse.
Fewer Pups: The plant stops producing baby spider plants on its stems.
Dull Foliage: Leaves lose their vibrant green color and look pale.
Indoor Spider Plant Watering: Avoid the #1 Mistake (Overwatering!)
How Often to Water Indoor Spider Plants
Stick Your Finger in the Soil: Insert your index finger 1–2 inches into the soil. If it feels completely dry (no moisture at all), it’s time to water. If it still feels damp, wait 2–3 days and check again.
Typical Indoor Watering Frequencies:
Summer: Every 7–10 days (warmer temperatures and more light mean soil dries faster).
Winter: Every 10–14 days (cooler temperatures and less light slow growth, so the plant uses less water).
Low-Light Spaces: Every 14–21 days (soil dries even slower here—err on the side of underwatering).
How to Water Indoor Spider Plants (The Right Way)
Use Room-Temperature Water: Cold tap water shocks indoor spider plant roots, which can lead to yellow leaves. Let tap water sit out overnight to warm up and let chlorine (which harms plants) evaporate. Filtered water or rainwater works even better!
Water Thoroughly: Pour water slowly around the base of the plant, not directly on the leaves. Keep pouring until water drains out the bottom of the pot—this ensures all roots get moisture, not just the top ones.
Empty the Saucer: After watering, check the saucer under the pot. If there’s standing water, pour it out immediately. Indoor spider plants hate sitting in wet soil—this causes root rot (a fatal condition where roots turn brown and mushy).
Signs You’re Watering Your Indoor Spider Plant Wrong
Overwatering Signs: Yellow leaves (soft and mushy, not dry), a foul smell from the soil, or droopy foliage that doesn’t perk up after watering. If you see these, stop watering, let the soil dry completely, and check the roots—if they’re rotted, repot the plant in fresh soil (more on that later).
Underwatering Signs: Dry, crispy leaf tips, wilted leaves that feel thin, or soil that pulls away from the edges of the pot. Fix this by watering thoroughly—your plant will bounce back within a day or two.
Pro Tip for Indoor Watering: Choose the Right Pot
Indoor Spider Plant Fertilizing: Feed Lightly for Healthy Growth
When to Fertilize Indoor Spider Plants
Start in Early Spring: Begin fertilizing when you notice new growth (usually March or April).
Stop in Late Summer: Cease fertilizing by August or September, as the plant prepares for slower winter growth.
What Type of Fertilizer to Use for Indoor Spider Plants
Balanced Water-Soluble Fertilizer: Look for a fertilizer with an N-P-K ratio of 10-10-10 or 20-20-20 (N = nitrogen for leaves, P = phosphorus for roots and stems, K = potassium for overall health). Dilute it to half the recommended strength—for example, if the label says 1 teaspoon per gallon of water, use ½ teaspoon. This prevents root burn, a common issue with indoor fertilizing.
Organic Fertilizers: If you prefer natural options, use diluted fish emulsion (1 part emulsion to 20 parts water) or worm castings (mix a handful into the soil once a season). These are slow-release and gentle, perfect for indoor plants.
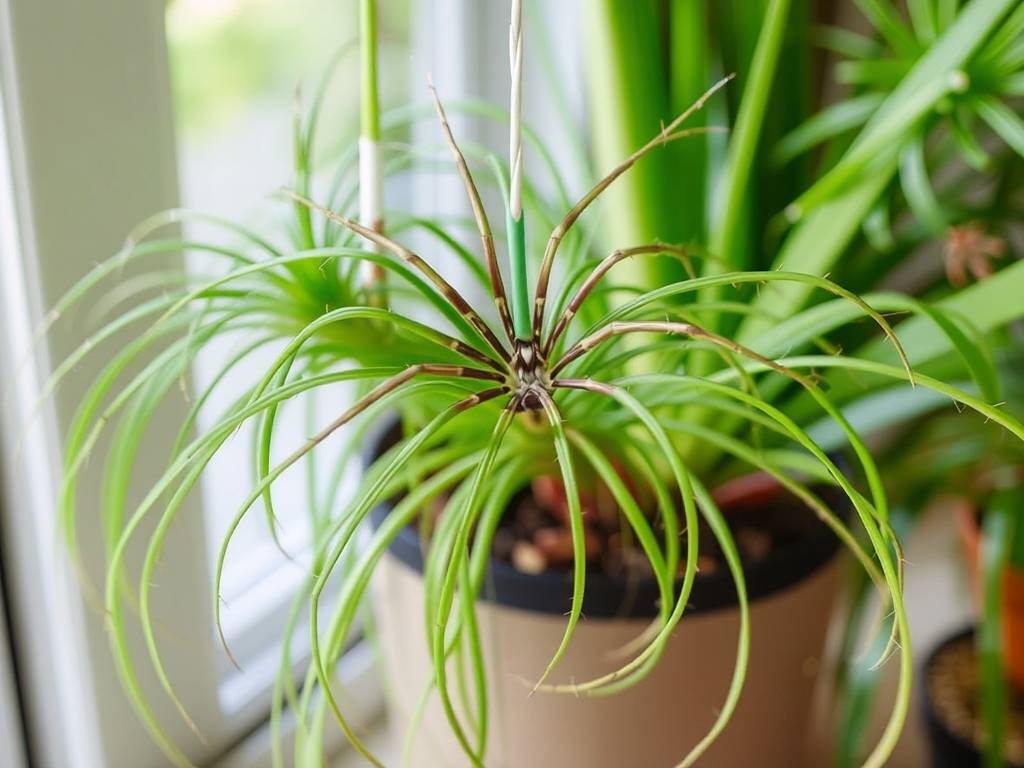
Cactus/Succulent Fertilizer: Spider plants are semi-succulent (they store water in roots), so a cactus fertilizer (low in nitrogen) works well too. Dilute it to half strength, same as above.
How to Fertilize Indoor Spider Plants
Water First: Never fertilize a dry indoor spider plant. Water the plant thoroughly 1–2 hours before fertilizing—this moistens the roots, so they absorb fertilizer slowly (preventing burn).
Apply Fertilizer: Pour the diluted fertilizer around the base of the plant, just like you would with water. Avoid getting fertilizer on the leaves—this can cause brown spots.
Don’t Overdo It: Fertilize only every 2–3 weeks during the growing season. More isn’t better—overfertilizing leads to salt buildup in the soil (you’ll see a white crust on top), which damages roots and stops growth.
What If You Forgot to Fertilize?
Bonus: Fixing Common Indoor Spider Plant Issues (Tied to Light, Water, or Fertilizer)
1. Brown Leaf Tips
Causes: Dry indoor air (from heaters/AC), too much direct sun, or fertilizer burn.
Fix: If it’s dry air, mist the leaves once a week or place a tray of water near the plant (don’t let the pot sit in water). If it’s sunburn, move the plant to a shadier spot. If it’s fertilizer burn, flush the soil with water (pour water through the pot until it drains out) to remove excess salts, then stop fertilizing for a month.
2. Yellow Leaves
Causes: Overwatering (most common), too little light, or old leaves (normal!).
Fix: If overwatering, let soil dry completely and repot if roots are rotted. If too little light, move to a brighter spot. If leaves are old (bottom leaves turn yellow first), trim them off—this is natural.
3. No Pups (Baby Spider Plants)
Causes: Not enough light, overwatering, or the plant is too young (spider plants start producing pups when they’re 1–2 years old).
Fix: Move to a brighter spot, adjust watering to let soil dry out, and be patient—pups will come once the plant is mature and happy.
4. Root Rot
Causes: Overwatering or pots without drainage holes (indoor spider plants are especially prone to this, as soil dries slowly).
Fix: Remove the plant from the pot, cut off all brown, mushy roots with sterilized scissors, and repot in fresh, well-draining soil (use the 2:1:1 mix of houseplant soil, perlite, and peat moss from earlier). Water lightly and place in bright indirect light—with luck, the plant will recover.
Final Thoughts: Keep Indoor Spider Plant Care Simple
Light: Bright, indirect light (east/north windows or filtered south/west windows).
Water: Let soil dry 1–2 inches down, then water thoroughly and empty the saucer.





