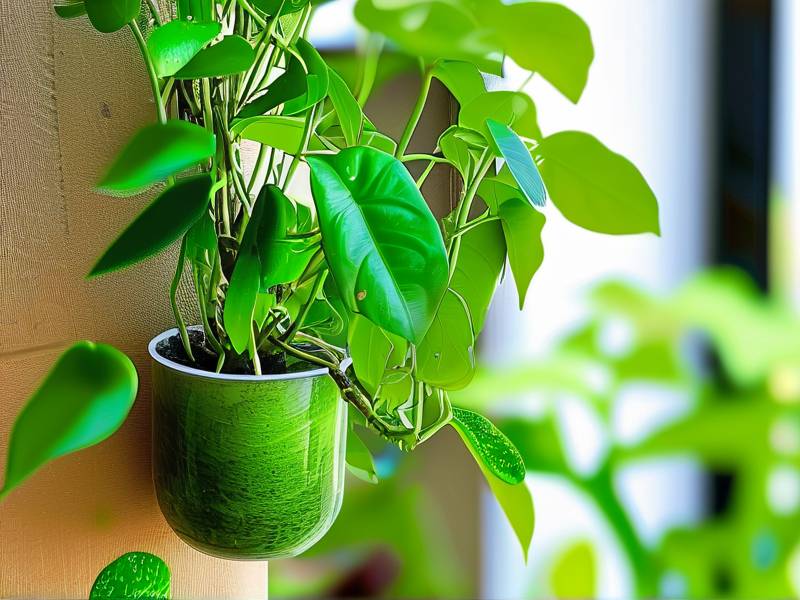
Indoor Ivy Care: Essential Tips for Light, Watering, and Pruning
Mastering Indoor Ivy Light: Find the Perfect Spot for Green, Healthy Foliage
East-facing windows: These are perfect for indoor ivy. They get gentle morning sunlight, which is warm but not intense enough to scorch leaves, followed by indirect light for the rest of the day. This mimics the plant’s natural habitat and encourages steady growth and vibrant green leaves.
North-facing windows: If you don’t have an east-facing window, north-facing ones are the next best choice. They provide consistent, soft indirect light all day long—no harsh rays, just the gentle glow your ivy needs. The only downside? Growth might be a little slower here, but the foliage will stay healthy.
West or south-facing windows: These are trickier. West-facing windows get hot afternoon sun, which can burn ivy leaves, while south-facing windows have intense midday sun that can dry out foliage. If you have to use these, place your ivy at least 2 to 3 feet away from the window, or use a thick curtain to block most of the direct light.

Too much light: Leaves will develop brown, crispy edges or pale, bleached spots. The plant might also look wilted, even if the soil is moist.
")
Too little light: Vines will become long and thin (called “leggy growth”), with big gaps between leaves. The foliage might turn a dull, yellowish-green instead of bright green.
Watering Indoor Ivy: Avoid the #1 Mistake and Keep Soil Perfectly Moist
Step 1: Check the Soil Before Watering
Step 2: Water the Right Way
Step 3: Adjust for Seasons and Humidity
Spring and summer: This is the plant’s growing season, so it will need more water. You might water every 5 to 7 days, depending on how quickly the soil dries out.
Fall and winter: Growth slows down, so the plant uses less water. Cut back to watering every 10 to 14 days, and always check the soil first—some homes are dry in winter (thanks to heaters), so you might need to water a little more often, but never as much as in summer.
Mist the leaves with room-temperature water 2 to 3 times a week.
Place the pot on a tray filled with pebbles and water (make sure the pot isn’t sitting directly in the water).
Use a small room humidifier near the plant.
Pruning Indoor Ivy: Shape Your Plant and Encourage Bushy, Full Growth
When to Prune Indoor Ivy
How to Prune Indoor Ivy (Step-by-Step)
Gather the right tools: Use clean, sharp pruning shears or scissors. Dull tools can crush the vines, making the plant more vulnerable to disease. You can clean your tools with rubbing alcohol before and after use to prevent the spread of pests or bacteria.
Decide what to prune:
Leggy vines: Look for vines that are long and thin with few leaves. Trim these back to a node (the small bump on the vine where leaves grow). Cutting just above a node encourages new branches to grow from that spot, making the plant bushier.
Dead or yellow leaves: Remove any leaves that are brown, yellow, or wilted—these won’t recover, and they take energy away from the healthy parts of the plant.
Overgrown sections: If your ivy is trailing too far over a shelf or climbing beyond your moss pole, trim the ends of the vines to the length you want.
Prune strategically:
For a fuller plant: Cut back 1/3 to 1/2 of the longest vines. This might seem drastic, but ivy is a fast grower, and it will bounce back quickly. Focus on cutting just above nodes to promote new growth.
For a trailing plant: If you want your ivy to cascade more, trim the tips of the vines to encourage side growth. This will make the trailing sections denser.
For a climbing plant: If your ivy is climbing a moss pole or trellis, trim any vines that are growing away from the support. This keeps the plant neat and helps it cling to the structure better.
After-pruning care: After pruning, give your ivy a little extra love. Water it lightly (if the soil is dry) and place it in its usual bright, indirect light spot. You can also mist the leaves to boost humidity, which helps the plant recover. Avoid fertilizing for a week or two—pruning is a stressor, and fertilizer can add extra stress.
Pro Tips for Pruning Success
Don’t be afraid to prune! Indoor ivy is tough, and it can handle even heavy pruning. In fact, regular pruning keeps the plant healthier by improving air circulation and reducing the risk of pests (which love to hide in dense, unpruned foliage).
Use the pruned cuttings to propagate new ivy plants! Simply place the cuttings in a glass of room-temperature water (make sure at least one node is submerged) and keep them in bright, indirect light. Roots will grow in 2 to 4 weeks, and you can then plant them in soil for new plants.
Final Thoughts: Enjoy Your Thriving Indoor Ivy
Place it in bright, indirect light (east or north-facing windows are best).
Water only when the top 1 inch of soil is dry, and always empty the saucer.
Prune in spring to encourage bushiness, and remove dead leaves year-round.