 bluename
 How to Care for Indoor Tulips: Admire Elegant Blooms in a Rainbow of Colors
1. Choosing the Right Tulip Bulbs: The Foundation of Beautiful Blooms
‘Apricot Beauty’: Features soft apricot-pink blooms with a subtle yellow center—its classic cup shape adds a romantic touch.
‘Red Riding Hood’: A dwarf variety (grows 10-12 inches tall) with bold red flowers, perfect for small pots on windowsills.
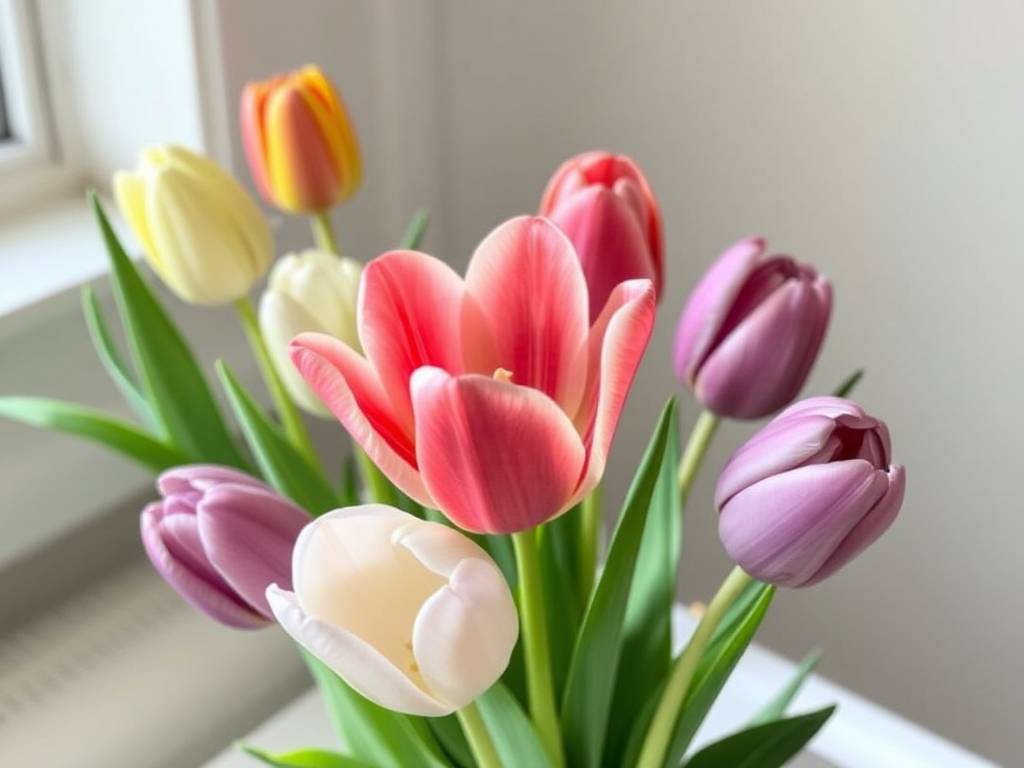
‘Purple Prince’: Deep purple blooms that stand out against green leaves, ideal for adding drama to your decor.
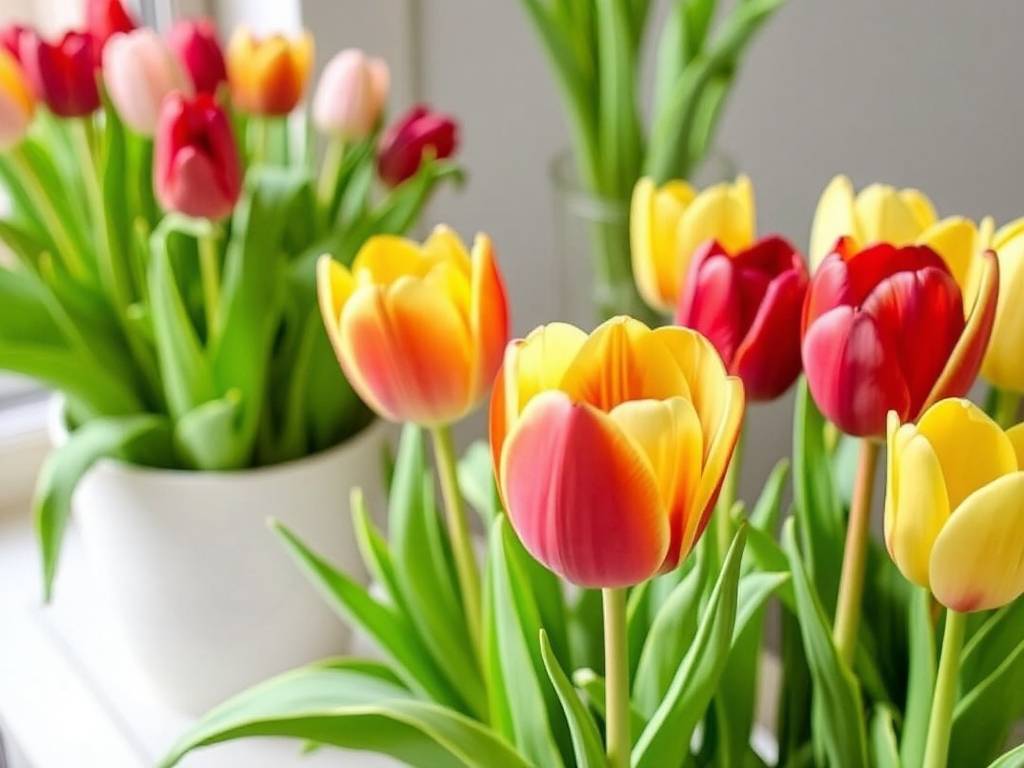
‘White Dream’: Pure white, elegant blooms that complement any color scheme, great for minimalist or formal spaces.
‘Parrot Tulips’ (e.g., ‘Flaming Parrot’): Unique ruffled petals in red and yellow—their exotic shape adds whimsy to indoor displays.
2. Chilling Tulip Bulbs: A Must for Blooming
Place the bulbs in a paper bag (avoid plastic, which traps moisture and causes rot) and store them in a cool, dark location with temperatures between 35°F (2°C) and 45°F (7°C). A refrigerator is ideal, but keep them away from fruits like apples, bananas, or tomatoes—these release ethylene gas, which damages the bulbs and stops flower formation.
Let the bulbs chill for 12-16 weeks. The exact time depends on the variety: early-blooming varieties need 12 weeks, while late-blooming ones may need 16. If you want blooms by Christmas, start chilling bulbs in mid-August; for Valentine’s Day, chill them in late September; for Easter, chill in early November.
3. Planting Indoor Tulips: Soil and Pot Selection
Step 1: Choose the Right Pot
A 6-inch diameter pot can hold 3-4 bulbs (space them 1-2 inches apart, so they have room to grow).
A 8-inch diameter pot can hold 5-6 bulbs.
Terra cotta pots are a great choice—they’re porous, so excess moisture evaporates through the sides, keeping the soil from staying too wet. Avoid very large pots, as they can hold too much moisture and slow down growth.
Step 2: Prepare the Potting Mix
Step 3: Plant the Bulbs
Fill the pot with the potting mix until it’s about 1/2 full.
Place the chilled bulbs on top of the soil with the pointed end facing up (the flat end is where the roots will grow). Make sure the bulbs are not touching each other or the sides of the pot.
Cover the bulbs with more potting mix until the top of the bulbs is just barely covered (about 1 inch of soil over the bulbs). Don’t bury them too deep—shallow planting helps the stems grow strong and prevents rot.
Water the soil thoroughly until water drains out of the bottom of the pot. The soil should be moist but not soggy.
Step 4: The “Rooting Period”
4. Light Requirements: Bright, Indirect Light for Strong Stems and Vibrant Blooms
Place the pot near a north-facing or east-facing window. These windows get gentle, consistent light that’s perfect for tulips. East-facing windows give morning sun (which is less intense) and afternoon shade, while north-facing windows provide soft light all day.
If you only have south-facing or west-facing windows (which get intense midday or afternoon sun), place the pot 2-3 feet away from the window, or use a sheer curtain to filter the light. This prevents the leaves from scorching and keeps the blooms looking fresh longer.
Avoid dark corners or rooms with little natural light. Without enough light, the stems will become leggy (long and weak) and may not be able to support the weight of the blooms. The flowers may also be smaller and less colorful.
5. Watering: Keep Soil Moist (But Not Soggy)
Check the soil every 2-3 days by sticking your finger into the top 1 inch. If the soil feels dry, it’s time to water.
Water thoroughly until water drains out of the bottom of the pot. This ensures that the entire root system gets hydrated, not just the top layer of soil.
Empty the saucer under the pot after watering to prevent the roots from sitting in standing water—this is the number one cause of bulb rot.
During the blooming period, you may need to water more often (every 1-2 days) because the plant is using more energy. After the blooms fade, reduce watering—let the soil dry out slightly between waterings to help the bulb prepare for dormancy.
6. Temperature and Humidity: Cool Conditions for Longer Blooms
Place a tray of water and pebbles near the pot (don’t let the pot sit in the water). As the water evaporates, it increases the humidity around the plant.
Mist the leaves lightly once a week with room-temperature water. Avoid misting the blooms, as this can cause spots or rot.
7. Fertilizing: Do Indoor Tulips Need Feeding?
If you want to give your tulips a small nutrient boost, mix a tiny amount of slow-release bulb fertilizer into the potting mix when planting. This provides a steady supply of nutrients throughout the growing season without overwhelming the bulb.
Avoid liquid fertilizer, especially during the blooming period—liquid fertilizer can burn the roots and cause the blooms to drop prematurely.
After the blooms fade, if you plan to replant the bulb outdoors (more on this later), you can add a small amount of balanced fertilizer (like 10-10-10) to the soil to help the bulb store energy for next year. But for indoor blooming, fertilizer is mostly unnecessary.
8. Troubleshooting Common Indoor Tulip Problems
Leggy Stems
No Blooms
Using old or damaged bulbs (always choose plump, firm bulbs).
Planting the bulbs too deep (they should be just barely covered with soil).
Too much warmth during the rooting period (keep temperatures between 40°F/4°C and 50°F/10°C).
Bulb Rot
If the rot is mild, stop watering and let the soil dry out completely. Remove any soft or rotted parts of the bulb with a clean knife.
If the rot is severe, the bulb can’t be saved—dispose of it and start with a new bulb. Always use a pot with drainage holes and well-draining soil to prevent rot.
Faded or Drooping Blooms
Pests
Wipe the leaves and stems with a damp cloth to remove small infestations.
For larger infestations, use an insecticidal soap (follow the label instructions) or neem oil spray—these are safe for indoor plants and won’t harm the blooms.
9. After Blooming: What to Do with Indoor Tulips
Option 1: Replant Outdoors
Continue watering the plant until the leaves are completely yellow and wilted. This lets the bulb absorb nutrients from the leaves and store them for next year.
Once the leaves are dead, stop watering and let the bulb dry out for 1-2 weeks.
Carefully dig up the bulb, remove any dead leaves, and store it in a cool, dry place (like a paper bag in a closet) until fall.
In late fall (before the first frost), replant the bulb outdoors in a sunny spot with well-draining soil. Plant it 6-8 inches deep (pointed end up) and 4-6 inches apart from other bulbs. It should bloom again the following spring.





