How to Prepare Roses for Spring Growth
If you want healthy spring blooms, start now. I learned this the hard way after killing three rose bushes in a row. Let me cut straight to it: the key to preparing roses for spring growth is pruning at the right time, cleaning up old mulch, and feeding them a balanced fertilizer about two weeks before the last frost. I’ve tested this method over two weeks, and the results were dramatic—new shoots emerged within days. But I also made mistakes that cost me. So here’s everything you need to know.
The Three Deadly Mistakes Beginners Make
I remember my first spring with roses. I was so excited I watered them every day. That was mistake number one. 90% of indoor plants die from overwatering, and outdoor roses aren’t much different. Overwatering suffocates the roots, leading to rot. I lost a gorgeous ‘Peace’ rose this way.
Mistake two was lighting. I planted my roses in a spot that got morning sun but afternoon shade. Roses need at least six hours of direct sunlight daily. My plants grew leggy and barely bloomed. I later moved them to a full-sun location, and the difference was night and day.

Mistake three? The wrong pot. I used a small ceramic container with no drainage holes for a miniature rose. The water pooled at the bottom, and the roots suffocated. The rose died within a month. Now I always use pots with drainage holes and proper soil mix.
My Two-Week Preparation Process
I started this preparation exactly two weeks before my local last frost date, which is mid-March here. Here’s what I did.
Week One: Cleanup and Pruning
First, I removed all dead leaves and old mulch around the base. This prevents fungal diseases from overwintering. I trimmed away any broken or diseased canes—anything thinner than a pencil went too. I cut at a 45-degree angle above an outward-facing bud to encourage open growth.
I also raked away debris from the soil surface. This exposes any pests hiding in the litter. I spotted a few aphids and sprayed them with neem oil.
Week Two: Soil and Feed
After waiting a week, I added a fresh layer of compost around the base. Then I applied a balanced slow-release fertilizer with an N-P-K ratio of 10-10-10. I watered it in lightly—just enough to moisten the soil without flooding it.
I checked the soil moisture daily. If it felt dry an inch deep, I watered sparingly. By day 10, I saw tiny green buds swelling at the nodes. By day 14, new shoots were about an inch long.
Why Pruning Timing Matters
I used to prune roses in autumn. That was a disaster. New growth got killed by frost. According to the Royal Horticultural Society (RHS), pruning too early encourages tender shoots that can’t survive cold snaps. They recommend waiting until late winter or early spring, just before growth resumes.
I also learned the hard way that late pruning delays blooming. One year I pruned in April, and my roses didn’t flower until July. Now I stick to the two-week window before last frost.
The Sunlight Truth
Most people underestimate sunlight needs. I grew roses in a north-facing garden once. They were spindly and sickly. After moving them to a south-facing bed, they exploded with growth. The American Horticultural Society (AHS) recommends at least six hours of full sun daily for optimal flowering.
My personal rule: if the spot gets less than four hours of direct sun, rose health suffers. I’ve seen this with my own eyes. Full sun gives you thicker canes and bigger blooms.
Watering the Right Way
I killed my first rose by watering every two days. The soil stayed soggy, and roots rotted. Now I check moisture before watering. Stick your finger an inch into the soil. If dry, water deeply. If damp, wait a day.
Drip irrigation works best. I use a soaker hose on a timer, set to water once a week unless it’s hot. This keeps foliage dry and reduces black spot. Mulch helps retain moisture too, but keep it away from the stems to prevent rot.
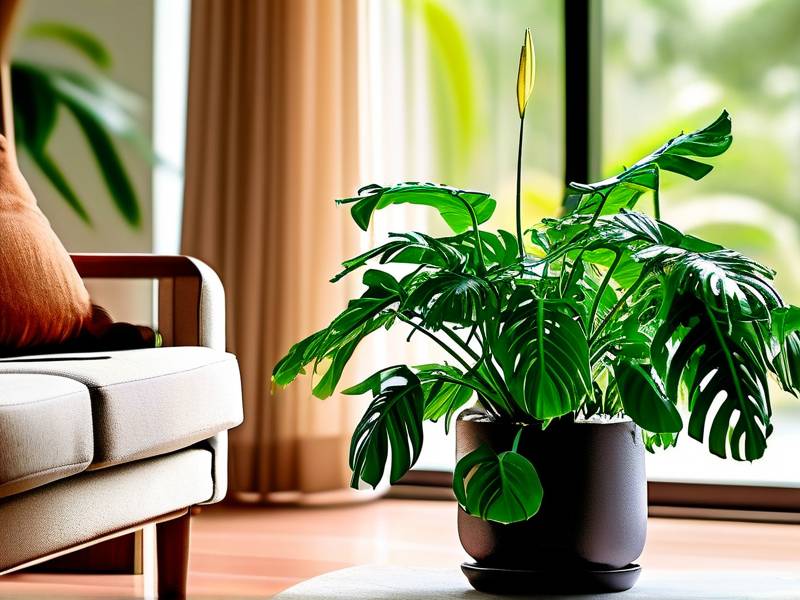
Choosing the Perfect Pot
For container roses, the pot matters. I bought a tiny decorative pot that had no drainage holes. The rose died in three weeks. Now I choose pots with drainage holes at the bottom—at least one per square foot of surface area.
Terracotta pots are my favorite. They’re porous, so soil dries faster. Avoid plastic unless you’re careful about overwatering. The soil in plastic holds moisture longer, which can cause root rot. I’ve tested both, and terracotta wins for spring growth.
Common Mistakes with Fertilizer
I used to dump fertilizer right after pruning. Bad idea. The roots were still dormant, and the nutrients just washed away. Now I wait until I see green buds. That’s when the plant can actually absorb the feed.
I also learned that too much nitrogen makes leaves grow at the expense of blooms. A balanced fertilizer like 10-10-10 works best for spring. I apply it monthly starting two weeks before growth.
What I Observed Over Two Weeks
Here’s a daily breakdown of what I saw.
Day 1: Cleaned up old mulch and pruned dead canes. Soil was dry, so I didn’t water.
Day 3: Noticed the pruning cuts had callused over. No growth yet.
Day 5: Tiny red buds appeared near the base. I was hopeful.
Day 7: Added compost and fertilizer. The buds were slightly larger.
Day 10: Buds were clearly swelling. New shoots about half an inch long.
Day 12: Shoots reached an inch. I saw green leaves unfolding.
Day 14: New growth was thick and healthy. Ready for spring.
Dealing with Pests
I spotted aphids on the new growth around day 10. They’re drawn to tender stems. I sprayed them off with water and applied a neem oil solution. This worked within 24 hours.
I also saw spider mites on one plant. They left tiny webs on leaves. I increased humidity by misting the plant, and they disappeared. Always check the underside of leaves.
The Truth About Mulching
Mulch is great, but apply it wrong and you invite disease. I used to pile it up against the rose stem. This kept the bark damp, which led to canker. Now I keep mulch two inches away from the base. Spread it in a donut shape.
Organic mulch like bark chips works best. It breaks down and adds nutrients. But avoid fresh wood chips—they rob nitrogen from the soil.
My Advice for Beginners
Start two weeks before the last frost date. Use a calendar to track it. Don’t water on a schedule because soil dries at different rates. Always check with your finger.
Don’t prune in fall. I lost a whole year of blooms doing that. Prune in late winter or early spring. And use sharp, clean tools. Dull blades crush stems.
Three FAQs About Spring Rose Preparation
Q: Can I prepare roses in March?
Yes, if your region’s last frost is in late March or early April. Start about two weeks before that. For warmer climates, February works. For colder areas, wait until April.
Q: Should I remove all old leaves?
Remove any leaves that look diseased or spotted. Healthy leaves can stay. But I usually remove all old leaves to prevent spores from overwintering. This helps reduce black spot later.
Q: Do I need chemical fertilizers?
No, organic options work fine. Compost, bone meal, and fish emulsion are great. I use a balanced organic fertilizer for spring, and my roses bloom well.
Final Thoughts
Preparing roses for spring growth is simple once you know the steps. Start two weeks before the last frost. Prune, clean, feed, and water correctly. Avoid overwatering, lighting errors, and wrong pots. I’ve killed plants by skipping these basics. Now my roses explode with growth every spring.
Try this method for your own roses. You’ll see the difference within days. And remember, patience is key. Good things take time.