How to Care for Aloe Vera: Master Division Propagation for Fast Pot Expansion
You’ve nurtured your aloe vera plant into a thriving, plump specimen. Now, it’s spilling over its pot, looking crowded with numerous offshoots, or “pups,” clustering at its base. You love its growth, but the crowded pot is stifling it, and you’re unsure how to safely multiply your succulent treasure. The solution is simpler than you think. Learning how to care for aloe vera through division propagation is the fastest, most reliable method to expand your collection, rejuvenate the mother plant, and fill your home with these healing, architectural beauties. This guide will walk you through every step, transforming a single overgrown plant into a lush, multi-pot display.
Understanding Aloe Vera and Its Growth Habit
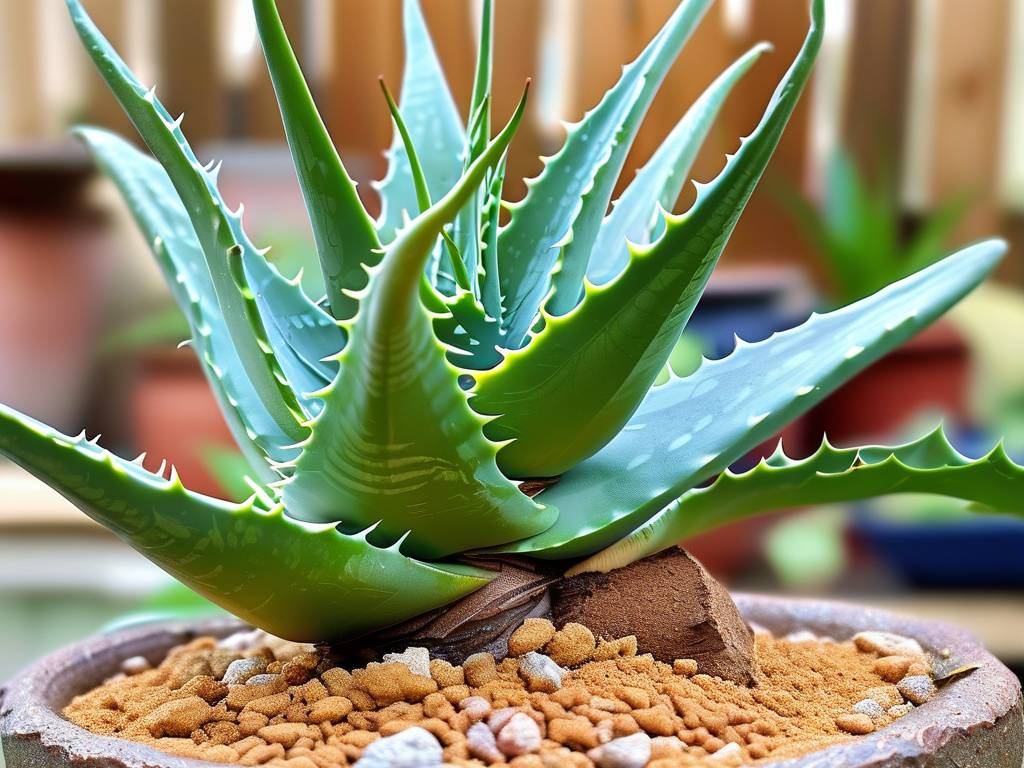
Aloe vera, or Aloe barbadensis miller, is a succulent prized for its gel-filled leaves and easy-going nature. It grows in a rosette pattern and naturally reproduces by sending out lateral shoots from its root system or stem. These baby plants are your key to fast pot expansion. Division, the process of separating these pups from the mother plant, works because each pup already has its own nascent root system. According to horticultural experts at the Royal Horticultural Society (RHS), this vegetative propagation method ensures the new plant is a true genetic clone of the parent, guaranteeing the same desirable traits, like leaf quality and gel potency.
Why Division is the Superior Method for Expansion
While aloe can be grown from leaf cuttings or seed, division stands out for speed and success rate. A pup separated today is already a small, established plant that will grow independently much faster than a leaf trying to root or a seed germinating. This method directly addresses the core goal of fast pot expansion, allowing you to go from one pot to three, four, or more in a single session. It also benefits the original plant. The American Horticultural Society (AHA) notes that removing crowded pups reduces competition for water, nutrients, and light, allowing the mother plant to channel energy into growing larger, healthier leaves.
Preparing for the Propagation Process
Gathering the right tools and materials sets the stage for success. You will need a clean, sharp knife or a pair of sterilized pruning shears. Sterilize your tool with rubbing alcohol to prevent transmitting disease. Prepare your new pots—terracotta or ceramic with excellent drainage holes are ideal. Have a fresh, well-draining succulent or cactus potting mix ready. A common mistake is using standard potting soil, which retains too much moisture and can lead to root rot. Optionally, keep some rooting hormone powder on hand to dust on cut roots, though aloe roots readily without it.
Step-by-Step Guide to Aloe Vera Division Propagation
Identify and Select the Right Pups
Not every offshoot is ready for independence. Look for pups that are at least one-fifth the size of the mother plant, typically 3-4 inches tall, and have developed their own set of leaves. Smaller pups may not have formed sufficient roots and will struggle to survive on their own. Gently brush away the soil at the base to better see where the pup connects to the mother.
Remove the Plant from Its Pot
Water the aloe vera lightly a day or two before the procedure. Slightly moist soil makes root extraction easier. Tilt the pot and gently coax the entire root ball out. Avoid pulling on the leaves. If the plant is stuck, tap the pot’s sides or run a knife around the interior edge to loosen it.
Separate the Pups from the Mother Plant
Shake off excess soil to expose the root system. Examine how the pup is attached. Some may be loosely connected by a small stem or rhizome, while others might share a dense root mass.
- For loosely connected pups: Often, you can gently wiggle and twist them apart with your hands.
- For tightly connected pups: Use your sterilized knife to make a clean cut, ensuring each pup retains as many of its own roots as possible. If roots are intertwined, carefully tease them apart. The goal is a clean separation with minimal damage.
Potting Your New Aloe Vera Plants
Before potting, let the separated pups and any cut areas on the mother plant dry in a shaded, airy spot for 24-48 hours. This allows the wounds to callous over, forming a protective barrier against soil-borne rot—a critical aloe vera care step often overlooked. Fill your new pots partway with potting mix. Place a pup in the center, spreading its roots gently. Add more soil around it, firming lightly to support the plant. The base of the leaves should sit just above the soil line. Do not water immediately.
Post-Propagation Care for Optimal Growth
The Initial Watering and Placement
Wait about one week after potting before giving the new plants their first thorough watering. This pause prevents rot in the freshly calloused roots. Place all pots in bright, indirect light. Avoid direct, harsh sunlight for the first few weeks as the plants establish. A north or east-facing window is perfect.
Establishing a Long-Term Care Routine
After the first month, your new aloes can transition to a standard aloe vera care routine.
- Light: Provide plenty of bright, direct light (4-6 hours daily). A south or west-facing window is ideal.
- Watering: This is the most crucial aspect. Water deeply only when the soil is completely dry—typically every 2-3 weeks, less in winter. The “soak and dry” method is best: water until it runs from the drainage holes, then let the soil dry out entirely.
- Soil and Fertilizer: Ensure they remain in well-draining soil. Feed sparingly with a balanced, diluted liquid fertilizer once at the beginning of the growing season (spring). Aloes are not heavy feeders.
Troubleshooting Common Issues
- Pups Wilting or Turning Brown: This is often due to overwatering or watering too soon after potting. Check soil moisture. If soggy, stop watering and ensure the pot drains. The plant may recover once the soil dries.
- Pups Not Growing: Be patient. After division, energy is directed to root establishment. Growth above the soil may pause for several weeks. Ensure it’s getting adequate light.
- Root Rot: Signs include mushy, brown leaves and a foul smell from the soil. If caught early, remove the plant, cut away all rotten parts, let it callous again, and repot in fresh, dry soil.
How long does it take for separated aloe pups to root and start growing? After a successful division and proper callousing, new roots typically begin to establish within 2-4 weeks. Visible new leaf growth often follows a month or two after that, signaling the plant is fully settled and growing independently.
Can I propagate aloe vera from just a leaf? While possible, leaf propagation has a very high failure rate. The cut leaf often rots before developing roots. Division using pups with existing roots is the recommended, most successful method for fast pot expansion and is supported by propagation best practices from authorities like the RHS.
What is the best time of year to divide my aloe vera plant? The ideal time is during the plant’s active growing season, in spring or early summer. The warmer temperatures and increased light support faster root development and recovery for both the mother plant and the new pups.
Mastering division propagation truly unlocks the potential of your aloe vera. It’s a rewarding process that solves the problem of an overgrown plant while providing you with multiple new, healthy specimens. By following these clear steps—selecting mature pups, ensuring clean separation, allowing for callousing, and practicing patient aftercare—you empower yourself to expand your collection rapidly and sustainably. Each new pot is a testament to your growing skill in plant care, bringing more of this versatile plant’s beauty and benefits into your living space.