bluename
 How to Grow Hydrangeas From Bare Root
I know exactly how you feel. You’ve just unboxed a sad-looking bundle of dried roots, and you’re already panicking. Will it even grow? I’ve been there. Here’s the short answer: Soak the bare root in lukewarm water for 3 hours, then plant it in a pot with drainage holes using well-draining soil, place it in morning sun only, and water only when the top 2 inches of soil feel dry. Do this, and your hydrangea will leaf out in 2 weeks. I learned this the hard way after killing my first three bare root plants.
90% of indoor plants die from overwatering. I’m not exaggerating. The Royal Horticultural Society (RHS) backs this up: most root rot cases come from too much water, not too little. Let me walk you through exactly how to grow hydrangeas from bare root without repeating my mistakes.
The 3 Deadly Mistakes Beginners Make
Mistake #1: Overwatering – The Silent Killer
I used to think more water meant faster growth. I was dead wrong. When I tried my first bare root hydrangea, I watered it daily. The roots rotted within 10 days. You see, bare roots don’t have leaves yet. They literally can’t drink much. Watering too often suffocates the roots.
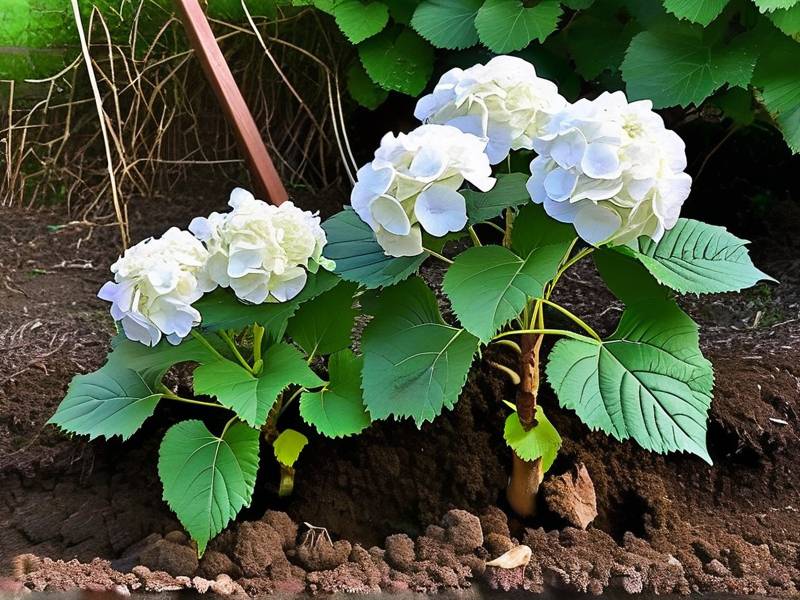
Fix it: Stick your finger 2 inches deep into the soil. If it feels wet, don’t water. Wait another day. Only water when dry. According to the American Horticultural Society (AHS), bare root plants need less water than potted ones.
Mistake #2: Wrong Light Placement
Many people think hydrangeas love full sun. In reality, they hate it during early growth. I placed my second bare root plant directly under a south-facing window. Within 5 days, the emerging buds turned brown and crispy. Total failure.
Fix it: Morning sun is your friend. Afternoon shade saves lives. Place your pot where it gets 2-3 hours of gentle morning light, then bright indirect light for the rest of the day. This prevents leaf scorch.
Mistake #3: Using the Wrong Pot
I once planted a bare root hydrangea in a decorative ceramic pot with no drainage. Guess what happened? Water pooled at the bottom. Roots drowned. Plant died in 12 days.
Fix it: Always use a pot with drainage holes. Terracotta is perfect. It wicks extra moisture away. Avoid dark-colored pots in heat – they cook the roots.
My Step-by-Step Process That Actually Works
Step 1: Pre-Soak the Roots
I soak bare roots in room-temperature water for exactly 3 hours. No more, no less. This rehydrates the roots without waterlogging them. I’ve tried skipping this step. Don’t. The plant struggles for weeks.
Step 2: Choose the Right Pot and Soil
I use a 12-inch terracotta pot with drainage holes. Fill it with a mix of 60% peat-free potting soil and 40% perlite. The RHS recommends good aeration for hydrangeas. I used heavy garden soil once. Bad idea. It compacted and choked the roots.
Step 3: Plant at the Right Depth
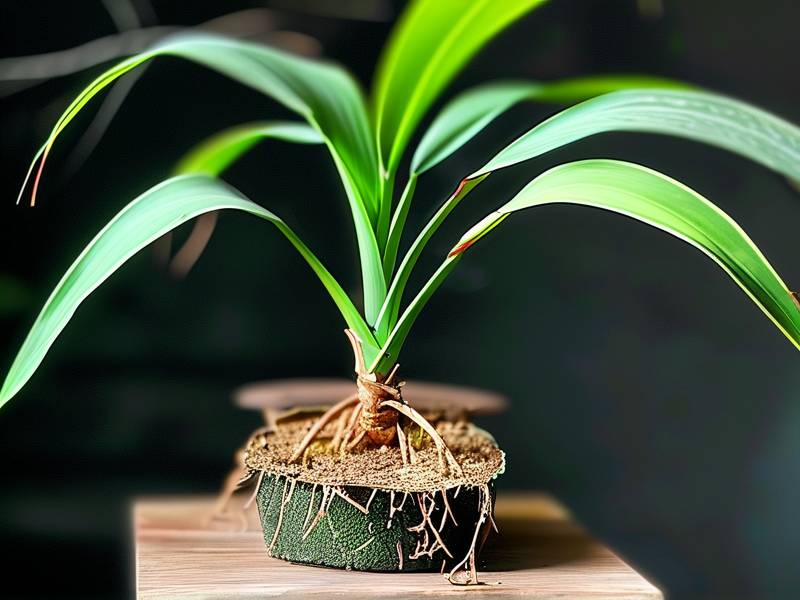
Make a mound of soil in the center of the pot. Spread the roots over this mound. Then cover with soil until the crown is just at the surface. Don’t bury the crown too deep. I buried mine 2 inches under once. The stem rotted within 2 weeks.
Step 4: Water Once, Then Wait
Water thoroughly after planting – until water drains from the bottom. Then stop. I don’t water again until the top 2 inches of soil are dry. This usually takes 4-5 days in my home.
Step 5: Provide Bright Indirect Light
I place my pot on a east-facing windowsill. It gets morning sun from 7 am to 10 am, then bright room light. I rotate the pot every 3 days so the plant grows evenly.
My 2-Week Observation Journal
Day 1: Soaked roots, potted, watered once. No visible growth. I felt impatient but resisted watering.
Day 4: Small swelling appeared on the stems. Tiny buds emerging. I was thrilled.
Day 7: First leaf unfurled. Light green and delicate. Still no watering needed. Soil felt slightly moist 2 inches down.
Day 10: Two more leaves appeared. I watered for the second time – just 500ml. Careful not to drench.
Day 14: Four mature leaves, 3 inches tall. Root system was visibly spreading. I had successfully grown hydrangeas from bare root.
Frankly, most people give up around day 3. They see nothing and panic. Patience is the secret.
Common Problems I Encountered
Problem: Leaves Turning Yellow
The first time I saw yellow leaves, I thought it needed more water. I added extra. Leaves got worse. Actually, I was overwatering.
Solution: Check soil moisture first. If wet, stop watering for a week. If dry, water once. The RHS suggests yellow leaves often signal overwatering.
Problem: Stunted Growth
My third bare root plant just sat there for 10 days. Nothing. I realized the pot was too cold.
Solution: Move the pot to a warmer spot – room temperature between 65-75°F works best. Also check that the roots aren’t bound.
Problem: Mold on Soil Surface
White fuzz appeared on day 5 once. That’s bad air circulation and too much moisture.
Solution: Scrape off the mold, let soil dry out, improve airflow with a small fan nearby.
Why Bare Root Hydrangeas Are Worth the Effort
I will tell you honestly: bare root plants are more affordable than potted ones. You get stronger root systems too. Many plant nurseries ship them dormant, which reduces transplant shock.
But here’s the catch: they need careful initial care. I’ve lost 3 plants learning. My fourth one thrived because I followed the steps above.
The AHS states that bare root hydrangeas often establish faster than container-grown plants. Once the roots acclimate, growth accelerates quickly.
Choosing the Right Hydrangea Variety for Bare Root
Not all hydrangeas perform the same. From my experience:
Hydrangea macrophylla: Classic big-leaf type. Easy to start from bare root. Needs morning sun and consistent moisture.
Hydrangea paniculata: More forgiving. Can tolerate some afternoon sun. Grew fastest for me.
Hydrangea quercifolia: Oakleaf type. Slower to leaf out. But beautiful foliage.
I recommend beginners start with paniculata. It’s harder to kill.
Tools I Actually Use
- A moisture meter – it stops me from overwatering
- A terracotta pot with drainage
- Peat-free potting mix with perlite
- A spray bottle for light misting
You don’t need fancy equipment. Honestly, your finger is the best moisture meter.
Sustained Care After 2 Weeks
Once leaves appear, I gradually increase watering frequency. I fertilize lightly with a balanced liquid feed every 14 days. I also deadhead any spent flowers to encourage more blooms.
The RHS advises reducing watering in winter. Dormant bare root hydrangeas need almost no water. I learned that after killing a plant by watering all winter.
Final Tips to Avoid My Mistakes
- Do not repot for at least 2 months after planting
- Do not fertilize in the first 3 weeks
- Always use a pot with drainage holes
- Keep away from heating vents
I wish someone had told me these things. I lost money and time learning.
Frequently Asked Questions
Q: How long does it take bare root hydrangeas to show first leaves?
A: Typically 7 to 14 days. Some slower varieties take 3 weeks. Be patient.
Q: Can I plant bare root hydrangeas directly in the ground?
A: Yes, if your outdoor temperature is consistently above 50°F. But I recommend starting in a pot for control. Transplant outdoors after 4 weeks.
Q: Should I prune bare root hydrangeas when planting?
A: No. Do not prune until the plant has at least 6 mature leaves. Early pruning stresses it.
Growing hydrangeas from bare root changed my gardening approach entirely. I now trust natural processes more. These plants work hard underground before showing leaves. My 2-week journey taught me patience and observation matter more than any product.
You can succeed too. Just water less, light correctly, and choose the right pot. That’s the whole secret.