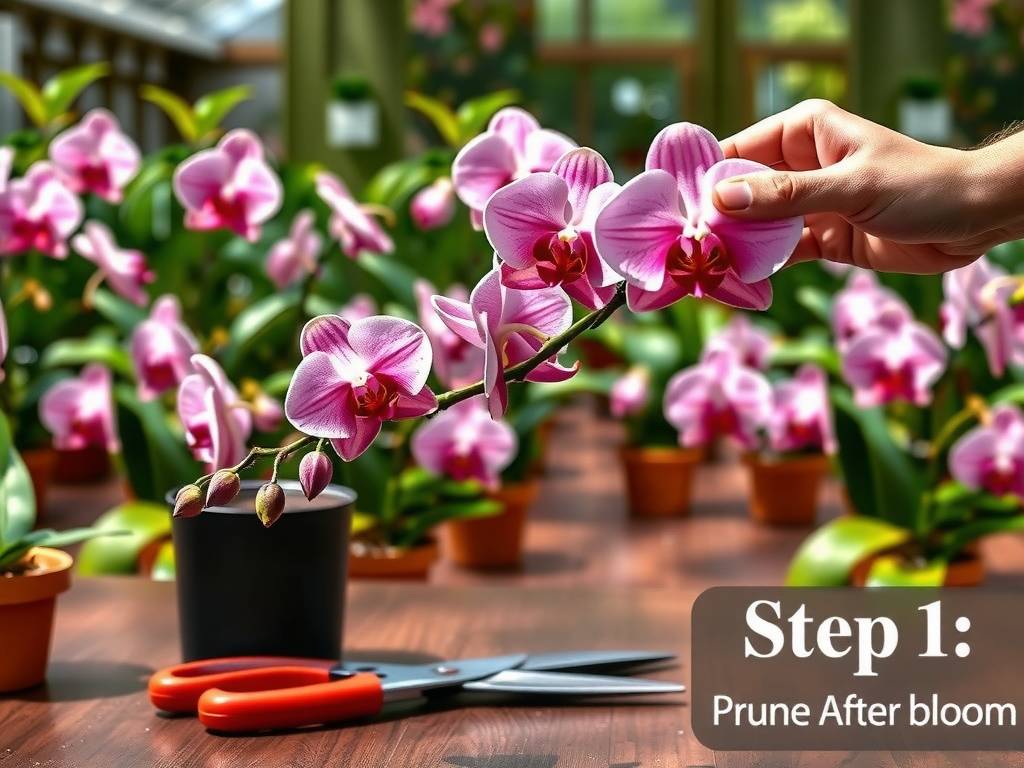
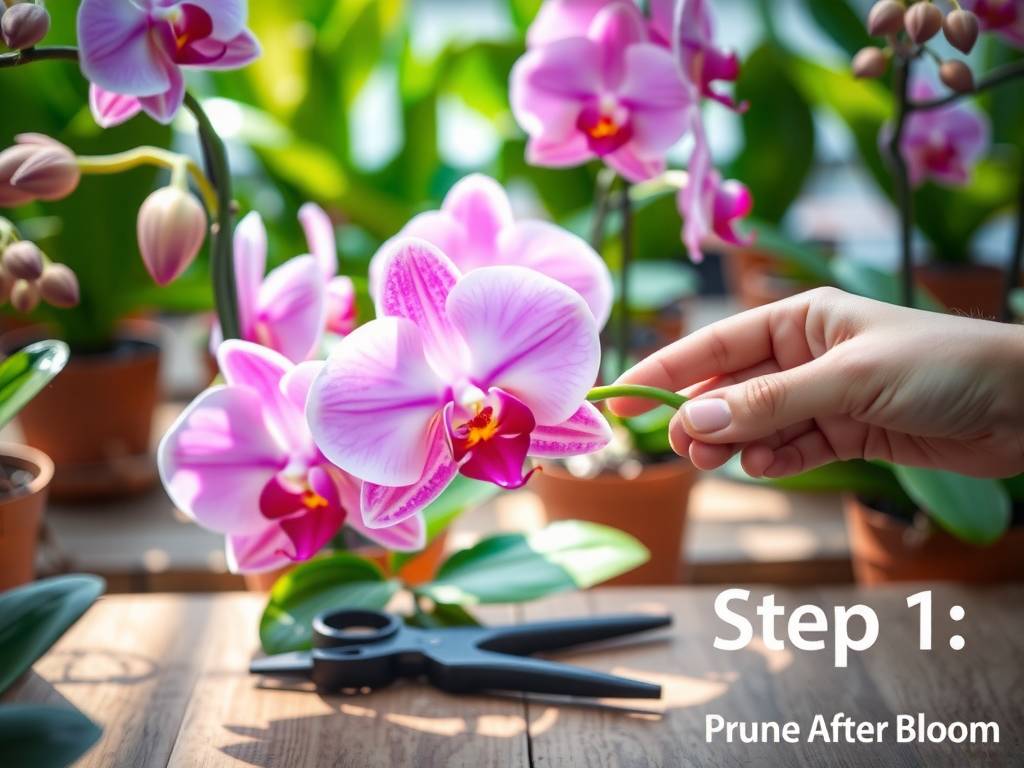
How to Care for Phalaenopsis - Post-Bloom Pruning for More Blooms Next Year
Watching the last magnificent flower on your Phalaenopsis orchid finally wilt can be a bittersweet moment. You’ve enjoyed weeks, perhaps months, of stunning blooms, but now you’re left with a bare flower spike and a nagging question: “What do I do now?” Many orchid owners make a critical mistake at this stage, either neglecting the plant entirely or pruning incorrectly, which can jeopardize future flowering. The secret to a spectacular repeat performance lies in understanding the art and science of post-bloom care. Proper pruning is not just about cutting; it’s a strategic decision that directs your orchid’s energy, setting the stage for a healthier plant and more abundant blooms next season. This guide will walk you through every step, transforming uncertainty into confidence.
Understanding Your Phalaenopsis After Flowering
When the final petal drops, your orchid enters a crucial recovery and growth phase. It has expended tremendous energy to produce and sustain those flowers. Now, its focus shifts. Resources are redirected towards root development, leaf growth, and storing energy for the next bloom cycle. The flower spike, now green and possibly bearing nodes, becomes the central point of your decision. How you handle this spike directly influences your orchid’s future. According to horticulturalists at the American Orchid Society, post-bloom management is one of the most impactful practices for long-term orchid health and reblooming success.
Gathering Your Tools: The Right Cut Matters
Before you touch your plant, assemble the right tools. This isn’t a job for household scissors. You need a sharp, sterile cutting tool. A pair of precision pruning snips or a razor blade is ideal. Sterilize the blade with rubbing alcohol or by passing it through a flame. This prevents the introduction of bacteria or viruses into the fresh cut, a simple step that prevents a host of potential problems. Have a small container of cinnamon powder (a natural antifungal) or a commercial orchid sealant on hand to dust the cut wound.
The Core Decision: To Cut or Not to Cut the Spike
This is the heart of post-bloom pruning. Your choice depends on the condition of the flower spike and your goals. There are three main paths.
Option 1: The Full Cut (Cutting Back to the Base)
This is often the recommended approach, especially for beginners or plants that need to recover strength.
- How: Examine the flower spike. Follow it down to where it emerges from between the leaves. Using your sterile tool, cut the spike off about half an inch to an inch above this base. Avoid cutting into the stem tissue of the plant itself.
- Why: This method allows the orchid to concentrate all its energy on developing a stronger root system and producing new, larger leaves. A robust plant will ultimately produce a new, sturdy spike and more impressive flowers in the future. The Royal Horticultural Society notes that this approach is best for ensuring the plant builds sufficient resources for a quality bloom cycle.
- Best For: Younger plants, orchids with smaller root systems, or any plant that looks slightly stressed after blooming.
Option 2: The Partial Cut (Encouraging a Secondary Spike)
If the existing flower spike is still thick, green, and healthy, you can try to encourage a secondary bloom from a node.
- How: Look closely at the spent spike. You will see several brown, papery triangular sheaths along its length. These are bracts. Underneath them are dormant buds called “nodes.” Count down from the top of the spike to the second or third node. About half an inch above this chosen node, make a clean, angled cut.
- What Happens: The orchid may produce a new branching spike from that node, leading to another round of flowers, often within 8-12 weeks. However, these blooms might be slightly smaller than the first set.
- Consideration: This process draws more energy from the plant. It’s a good option for a mature, very healthy orchid that you want to keep in bloom a little longer.
Option 3: Leaving the Spike Untouched
In some cases, if the spike remains perfectly green, you can simply leave it alone. Sometimes, a Phalaenopsis will decide on its own to initiate a new flower branch or even produce a “keiki” (a baby orchid plant) from a node. This is less predictable but can be a delightful surprise.
Step-by-Step Pruning and Aftercare for Reblooming
Once you’ve made your pruning decision, integrated care is essential.
- Make the Clean Cut: Execute your chosen cut with confidence. Immediately dust the open wound with cinnamon or sealant to prevent infection.
- Post-Prune Assessment: This is the perfect time to evaluate your orchid’s overall health. Gently remove it from its pot. Inspect the roots. Healthy roots are firm and silvery-green when dry, turning green when wet. Brown, mushy, or papery roots should be carefully trimmed away with your sterilized tool.
- Consider Repotting: If the potting mix has broken down (it looks like soil or mulch) or the roots are overcrowded, repotting is advisable. Use a fresh, chunky orchid mix (typically bark-based) and a pot with excellent drainage, only slightly larger than the previous one.
- Adjust Watering: After flowering and pruning, your orchid’s water needs may decrease slightly as it focuses on root growth. Maintain your usual routine of watering thoroughly when the roots turn silvery and the potting mix is nearly dry, but be extra mindful not to let water sit in the crown (center of the leaves).
- Resume Fertilizing: After a brief 2-3 week rest post-prune, resume a regular fertilizing schedule. Use a balanced, water-soluble orchid fertilizer (e.g., 20-20-20) at half-strength weekly or a specialized orchid formula as directed. This provides the nutrients needed for new leaf and root growth.
- Provide the Right Light & Temperature: Continue providing bright, indirect light. To trigger a new bloom spike, your orchid needs a slight temperature drop at night, ideally a 10-15°F difference from daytime temperatures for several weeks. A cooler windowsill in autumn often provides this natural cue.
Common Post-Pruning Pitfalls to Avoid
- Overwatering: The most common killer. Soggy roots lead to rot.
- Cutting Too Low: Cutting into the stem of the plant can cause severe damage or introduce disease.
- Using Dull or Dirty Tools: This crushes stem tissue and invites pathogens.
- Expecting Immediate Results: After a full cut, it may take 6-9 months for a new spike to emerge. Patience is key.
- Neglecting Seasonal Cues: Without the seasonal temperature drop, a healthy orchid may still hesitate to rebloom.
My orchid’s flower spike has turned completely brown and dry. What should I do? This makes your decision easy. A brown, desiccated spike is no longer viable. You should perform a full cut, removing it at the base as described. The plant has already abandoned this spike, and leaving it on serves no purpose.
I cut my spike above a node, but it just dried back further. Did I do something wrong? Not necessarily. Even when we cut above a node, the plant may still decide to abort that entire spike and conserve its energy. If the spike continues to turn brown, simply cut it back further, down to the base. The plant is telling you it prefers to focus on root and leaf growth at this time.
How long will it take to see a new flower spike after pruning? If you performed a full cut to the base, do not expect a new spike for several months. The plant needs time to regenerate. Typically, with proper care and a seasonal temperature drop, a new spike may emerge in 6-9 months. If you triggered a secondary spike from a node, you might see growth in 8-12 weeks.
Success with Phalaenopsis orchids is a rewarding journey that extends far beyond the blooming period. Your care during the post-bloom phase is the invisible work that lays the foundation for the next spectacular display. By making an informed pruning choice, providing attentive aftercare, and understanding the natural cycle of your plant, you transform from a passive observer to an active cultivator. Remember, that seemingly dormant period is a time of immense activity beneath the surface. With these practices, you can confidently look forward to the day a new, promising green spike emerges, curving gracefully toward the light, ready to set another round of breathtaking blooms.


