How to Care for Gardenia - Post-Bloom Pruning for More Blooms Next Year
There's nothing quite as disappointing as a gardenia bush that fails to bloom after a season of glorious flowers. You've nurtured it, enjoyed its intoxicating fragrance, and now you're left wondering what went wrong. Often, the secret to a spectacular floral display next year lies in the care you provide after the last bloom fades. Proper post-bloom pruning for gardenias is not just about tidying up; it's a strategic intervention that directs the plant's energy toward creating the buds for next year's show. This guide will walk you through the exact steps to master gardenia care after flowering, ensuring you get more of those coveted, fragrant white blooms season after season.
Understanding the unique growth cycle of the gardenia (Gardenia jasminoides) is the first step to successful pruning. Unlike some plants that bloom on new growth, gardenias set their flower buds on the growth produced in the current season. This means the actions you take in the weeks following the bloom period directly influence next year's potential. Pruning at the wrong time can inadvertently remove these developing buds, leading to a bloomless year. Our focus is on the right way to prune gardenias after blooming to maximize future flowers, promote plant health, and maintain an attractive shape.
Why Post-Bloom Pruning is Non-Negotiable for Gardenias
Pruning your gardenia after its flowers have faded serves several critical purposes that go beyond aesthetics. Primarily, it encourages the plant to channel its resources into vigorous new growth. This new growth is the very wood where next season's flower buds will form. The Royal Horticultural Society (RHS) emphasizes that for spring and early summer bloomers like gardenias, pruning immediately after flowering allows maximum time for new shoots to mature and harden before winter, which is essential for bud set.
Furthermore, strategic removal of spent blooms, a process known as deadheading, prevents the plant from wasting energy on seed production. The American Horticultural Society (AHS) notes that deadheading redirects a plant's energy back into root and foliage development, strengthening the overall plant. Post-bloom pruning also improves air circulation within the canopy, reducing the humidity that fosters fungal diseases like powdery mildew and sooty mold, to which gardenias are prone. It also allows you to remove any dead, damaged, or diseased wood, keeping the plant healthy and resilient.
The Optimal Timing: When to Prune Your Gardenia
Timing is everything. The universal rule for gardenia care after flowering is to prune as soon as the main flush of blooms is finished, typically in late summer or early fall. You should complete all major pruning before mid-fall. Pruning too late in the season risks cutting off the newly formed buds that are setting for next spring. It also encourages tender new growth that may not have time to harden off before the first frost, making it susceptible to cold damage.
For most climates, a good window is from late July through September. Observe your plant: once the majority of flowers have browned and dropped, your pruning shears should come out. If you only have a light, sporadic bloom later, you can still do a light tidy-up, but avoid heavy cutting. Adhering to this schedule is the cornerstone of ensuring more blooms next year.
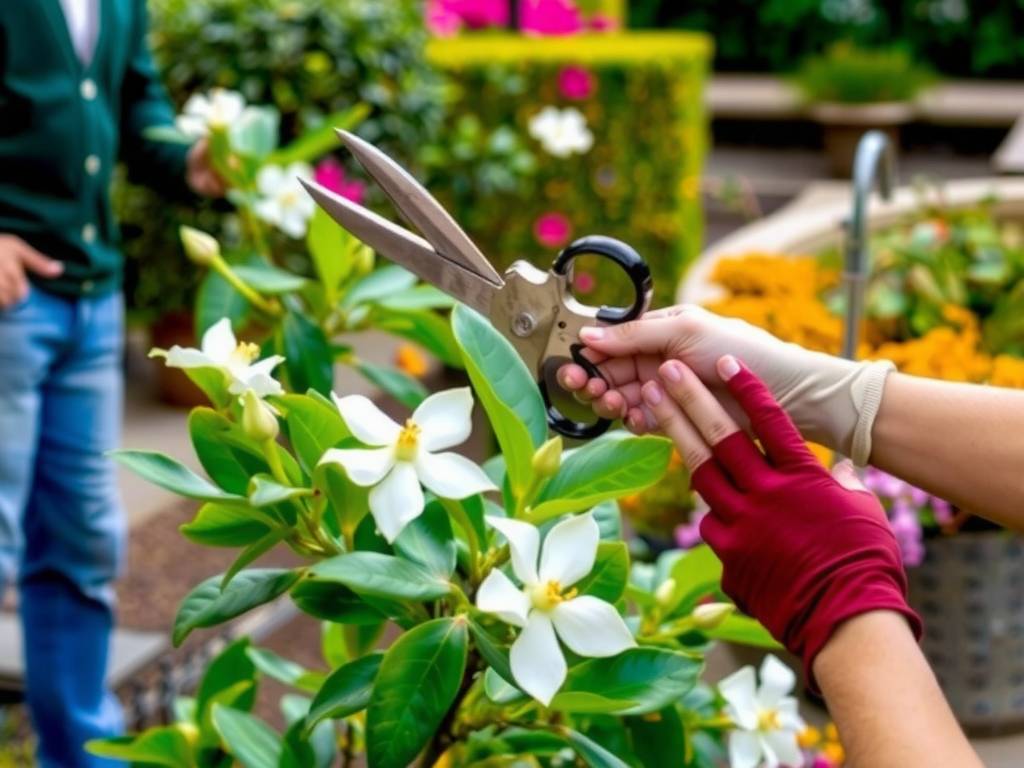
Essential Tools for the Job
Using the right tools makes the process cleaner, easier, and healthier for your plant. You will need:
- Bypass Pruners: For most cuts on stems up to 1/2 inch in diameter. They make clean, scissor-like cuts that heal quickly.
- Loppers: For thicker branches, up to about 1.5 inches.
- Pruning Saw: For any old, woody branches that are larger than what loppers can handle.
- Disinfectant: Isopropyl alcohol or a bleach solution (1 part bleach to 9 parts water). Disinfect your tools before you start and between plants (or when moving from diseased to healthy wood) to prevent spreading pathogens.
- Gloves: Gardenia sap can irritate skin for some people.
Ensure all blades are sharp. Dull tools crush stems, creating ragged wounds that are slow to heal and invite disease.
A Step-by-Step Guide to Post-Bloom Pruning
Follow this systematic approach to prune your gardenia effectively and safely.
Step 1: Evaluate and Clean Up
Start by taking a few steps back and observing the overall shape of your bush. Identify any obvious dead branches (they will be brittle and brown inside if you scratch the bark) or branches damaged by weather or pests. Remove these first, cutting back to healthy wood or to the main stem. Also, look for any branches that are crossing or rubbing against each other, as this friction creates wounds.
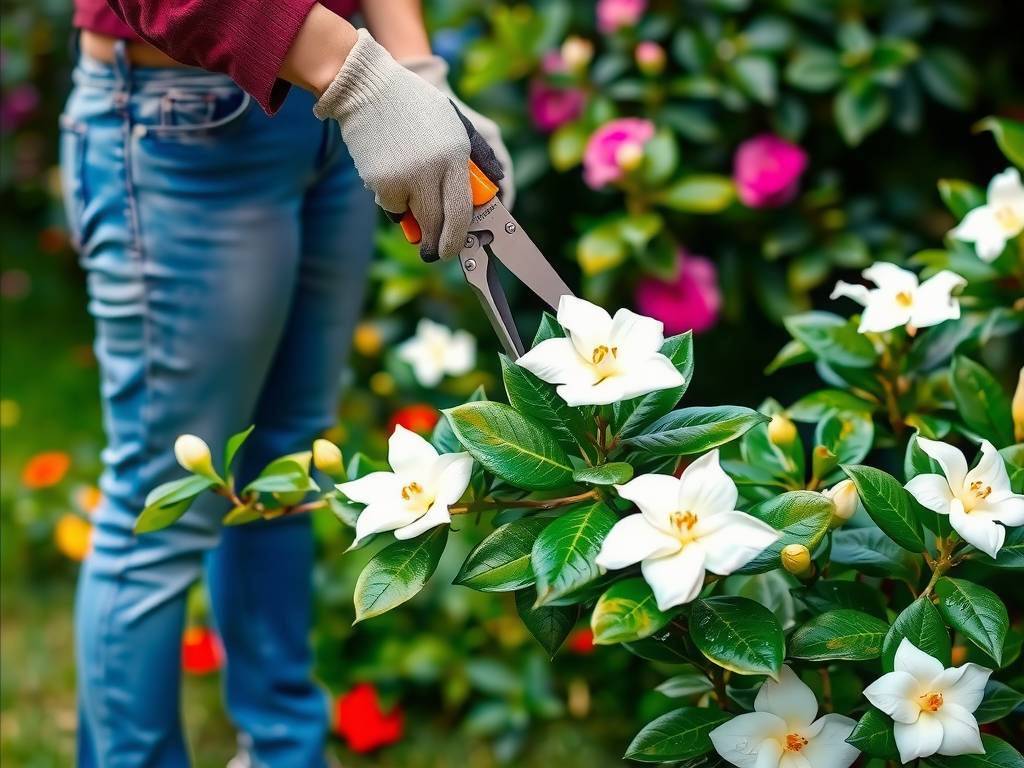
Step 2: Deadhead Spent Blooms
Locate the spent flowers. Follow the flower stem down to the first set of healthy leaves. Make your cut just above this leaf node, at a slight angle. This encourages new growth to emerge from that node. You don't need to remove the entire stem unless it is leggy or poorly placed.
Step 3: Shape and Thin for Growth
This is where you execute the right way to prune gardenias after blooming for future flowers. Your goal is to thin the interior of the plant to allow light and air to penetrate.
- Thinning Cuts: Select older, non-productive branches or those growing inward toward the center. Cut these branches off entirely at their point of origin, either at the ground for suckers or at the main trunk. This opens up the plant's structure.
- Heading Cuts: To encourage bushier growth, look for long, leggy stems. Choose a point about one-third back from the tip, just above a set of leaves that face the direction you want new growth to go (usually outward). Make your cut. This will stimulate the buds below the cut to grow, creating a fuller plant.
- Size Control: If your gardenia has outgrown its space, you can reduce its overall size now. Avoid shearing it like a hedge, as this creates a dense outer shell that blocks light. Instead, make selective cuts on longer branches, cutting them back to a side branch or leaf node within the desired boundary.
Step 4: The Final Check and Cleanup
Once you've finished pruning, do a final walk-around. Ensure the plant has a balanced, open shape. Remove all clippings from the base of the plant to discourage pests and disease. Consider applying a light layer of fresh mulch around the root zone (keeping it away from the main stem) to help retain moisture and regulate soil temperature as the plant recovers.
Post-Pruning Care: Nourishing for Next Year's Blooms
Pruning is a stressor, however beneficial. Supporting your gardenia afterward is crucial.
- Watering: Provide deep, consistent watering to help the plant recover. The soil should be kept moist but not soggy. Gardenias are notoriously thirsty, especially after pruning and during dry spells.
- Fertilizing: About 4-6 weeks after pruning, apply a fertilizer formulated for acid-loving plants. Look for one with a balanced ratio or one slightly higher in phosphorus (the middle number in N-P-K) to promote root development and bud formation. Avoid high-nitrogen fertilizers late in the season, as they can spur soft growth vulnerable to frost.
- Soil pH: Gardenias require acidic soil (pH 5.0 to 6.0). If your soil is alkaline, the plant cannot absorb iron, leading to yellow leaves (chlorosis). Test your soil and amend it with sulfur or use an acidifying fertilizer as needed.
Common Pruning Mistakes to Avoid
- Pruning in Late Winter/Spring: This is the most common error and guarantees you will cut off the developed flower buds, resulting in few or no blooms.
- Over-Pruning: Never remove more than one-third of the plant's total growth in a single season. Severe pruning shocks the plant.
- Using Dull or Dirty Tools: This leads to poor cuts and potential infection.
- Topping or Shearing: This destroys the plant's natural form and creates unhealthy, dense growth.
My gardenia's leaves are turning yellow after pruning. What did I do wrong? Yellowing leaves can have several causes unrelated to pruning. The most common is improper soil pH leading to iron deficiency. Over-watering or poor drainage can also cause yellowing. Ensure your plant is in well-draining, acidic soil. The stress of pruning can sometimes accelerate the visibility of an existing issue, but correct pruning itself does not cause yellowing.
Can I prune my gardenia if it didn't bloom much this year? Yes, you should still prune it. Follow the same post-bloom timing and principles. The lack of blooms could be due to previous incorrect pruning, insufficient light, or nutrient issues. Proper pruning now can help reset the plant's growth cycle. Also, evaluate its sunlight exposure; gardenias need at least 4-6 hours of morning sun with afternoon shade in hot climates.
How hard can I cut back an overgrown, leggy gardenia? For a severely overgrown plant, you can undertake a more aggressive renewal pruning. Immediately after the bloom period, you can cut the entire plant back by up to one-third of its height, making cuts into older wood just above a leaf node or side branch. It may sacrifice some blooms the following year, but it will rejuvenate the plant for healthier growth in the long term. Stagger this process over two to three years for very large specimens to avoid excessive stress.
Mastering the art of post-bloom pruning transforms gardenia care from a guessing game into a predictable science. By investing time in late summer to strategically shape, thin, and clean your plant, you are directly programming it for success. You are clearing away the old to make room for the new, channeling energy into the precise branches that will bear next season's fragrant bounty. Combined with attentive watering, proper feeding, and acid soil management, this practice ensures your gardenia remains a vibrant, blooming centerpiece in your garden for years to come. The reward for this timely effort is a breathtaking display of pristine white flowers and that unforgettable, sweet perfume heralding the arrival of spring.


