How to Care for Tulip - Post-Bloom Bulb Harvest & Storage Methods
You've enjoyed the spectacular spring show of your tulips. The vibrant blooms have faded, leaving behind green foliage and a gardener with a crucial question: "What now?" Many gardeners make the mistake of treating tulips like annuals, digging them up and discarding them after flowering, or simply leaving them in the ground to potentially weaken year after year. This leads to disappointment when those same tulips fail to return with their former vigor, resulting in sparse or non-existent blooms. The secret to perennial tulip success lies in the critical post-bloom period. Proper care after flowering, followed by correct bulb harvesting and storage, is what transforms a one-season wonder into a reliable spring performer. This comprehensive guide will walk you through every step, ensuring your tulip bulbs gather the strength needed for a brilliant encore next year.
Understanding the Tulip's Natural Cycle
To care for tulips effectively, you must think like a bulb. The visible bloom is just a brief, glorious moment in its yearly cycle. Once the petals fall, the plant enters its most important phase: energy replenishment. The remaining green leaves are solar panels, photosynthesizing sunlight to produce food. This energy is then transported down to the bulb, where it is stored to fuel next year's growth and flower production. Cutting down the foliage too early starves the bulb, essentially robbing its future potential. The Royal Horticultural Society (RHS) emphasizes that allowing the foliage to die back naturally is the single most important practice for ensuring reblooming in many bulb species, including tulips.
The Step-by-Step Post-Bloom Care Process
Immediate Action After Petals Drop
Your first task begins as soon as the tulip flowers begin to wilt and shed their petals. This is the time for "deadheading." Using clean, sharp secateurs, snip off the spent flower head just below the seed pod. Be careful to leave the main stem and all leaves intact. Why is this crucial? If left in place, the plant will divert precious energy into producing seeds, a resource-intensive process that diminishes the energy stores in the bulb. Deadheading signals to the plant to focus its efforts solely on bulb regeneration.
The Critical Foliage Phase
After deadheading, embrace the sometimes untidy look of the remaining foliage. Your job is to nurture these green leaves for the next 4 to 6 weeks. Continue to water the area if spring weather is particularly dry. Apply a balanced, liquid fertilizer low in nitrogen or a specialized bulb fertilizer. This provides the nutrients needed to support robust photosynthesis. As the weeks pass, the leaves will gradually turn yellow, then brown, and finally wither. This is a natural and necessary process. Only when the foliage has completely yellowed and can be easily pulled away from the bulb with a gentle tug is it safe to remove it. According to the American Horticultural Society's (AHS) principles of sustainable gardening, this practice aligns with working alongside a plant's natural biology for long-term health.
To Dig or Not to Dig?
This is a central question in tulip bulb care. In ideal conditions—excellent soil drainage and a dry summer dormancy period—some tulip varieties may perennialize for a few years. However, for most gardeners, especially those in areas with wet summers or heavy soil, lifting the bulbs is recommended for several reasons. It prevents bulbs from rotting in soggy ground, allows you to divide and propagate offsets, lets you inspect for disease or pest damage, and enables you to cure and store them in a controlled environment. For hybrid tulips, lifting annually often guarantees a better bloom display the following spring.
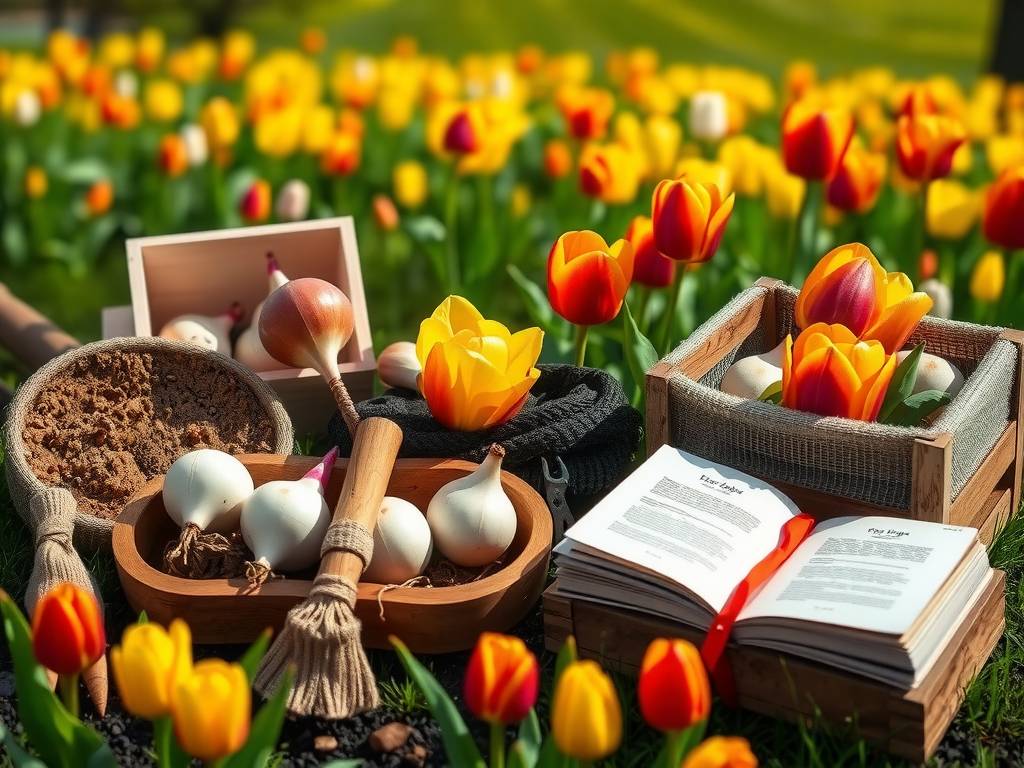
Mastering Bulb Harvesting and Storage Methods
When and How to Harvest Tulip Bulbs
Timing is everything. Plan to lift your tulip bulbs once the foliage has fully died back, usually in late summer or early fall. Use a garden fork, inserting it carefully into the soil well away from where you estimate the bulbs to be, to avoid spearing them. Gently loosen the soil and lift the clump. Shake off excess soil and brush away any loose debris. At this stage, the bulbs and any attached foliage will likely be dry and brittle.
Curing: The Essential Pre-Storage Step
Do not skip the curing process. This is not immediate long-term storage. Place the lifted bulbs in a single layer on a tray, screen, or in a flat cardboard box. Choose a location that is warm, dry, and has excellent air circulation—a garage, garden shed, or a shaded porch is perfect. Leave them to cure for 1 to 2 weeks. This period allows the outer layers (the tunic) to dry and paper over, the remaining stem to detach completely, and any minor wounds to callus over. This curing process significantly reduces the risk of fungal rot during storage.
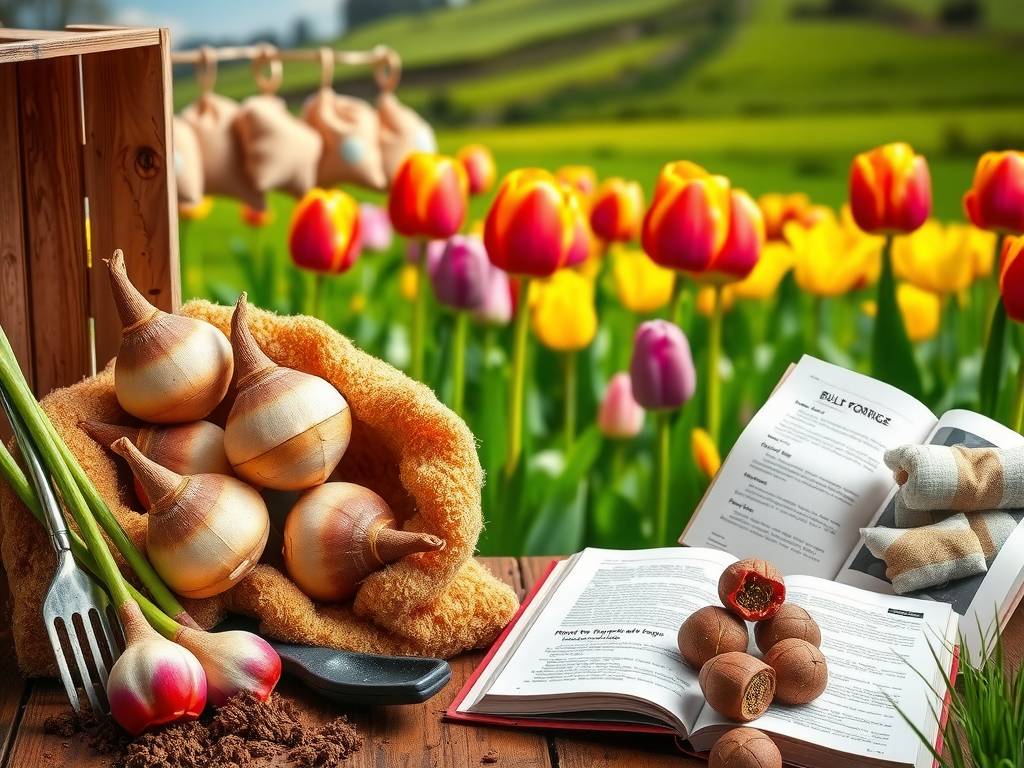
Preparing Bulbs for Long-Term Storage
After curing, it's time for final preparation. Gently remove any remaining dried foliage and roots. Carefully inspect each bulb. Discard any that are soft, mushy, show signs of blue or white mold, or have significant damage. Healthy bulbs should be firm and heavy for their size. You may notice smaller "offset" bulbs attached to the base of the mother bulb. These can be gently separated and stored; they will take a few seasons to reach flowering size. Lightly dusting bulbs with a fungicide powder (like sulfur) is an optional but recommended step to prevent disease, especially in humid climates.
Optimal Storage Conditions and Setup
The goal of storage is to mimic the bulb's natural summer dormancy: cool, dark, and dry. Ideal storage temperatures are between 60-65°F (15-18°C). Avoid places prone to freezing or excessive heat (like attics). Good air circulation is vital to prevent moisture buildup. The best storage containers are breathable. Options include mesh bags (like onion bags), paper bags with several holes punched in them, or cardboard boxes with the lids ajar. You can layer bulbs in these containers, but separate layers with newspaper or dry peat moss to improve air flow. Never store bulbs in sealed plastic bags, as this traps humidity and guarantees rot.
Periodic Storage Maintenance
Mark your calendar to check on your stored tulip bulbs once a month. This quick check allows you to remove any bulbs that have started to rot before the problem spreads to others. A soft, shriveled, or moldy bulb should be discarded immediately. If bulbs appear to be drying out excessively (becoming lightweight and wrinkled), the storage environment might be too dry. A very slight increase in ambient humidity can help, but avoid introducing direct moisture.
Replanting for Spring Success
When autumn arrives and soil temperatures have cooled, typically when night-time temperatures are consistently in the 40s°F (4-9°C), it's time to replant. Choose a sunny location with well-draining soil. Plant bulbs at a depth of three times their height, usually about 6-8 inches deep, and space them 4-6 inches apart. Adding bone meal or a bulb-specific fertilizer to the planting hole can give them an excellent start. Water them in after planting to settle the soil and encourage root growth before winter.
What if I live in a warm climate (USDA zones 8-10)? Can I still grow tulips? Yes, but it requires a technique called "pre-chilling." Tulip bulbs require a sustained period of winter cold (vernalization) to initiate flowering. In warm climates, you must simulate this. After purchasing bulbs in the fall, place them in a ventilated paper bag in your refrigerator's vegetable crisper (away from fruits, which emit ethylene gas) for 10-14 weeks. Then, plant them in pre-cooled soil in late December or January for a spring bloom. Treat them as annuals in these zones, as they rarely rebloom successfully.
My stored bulbs have started sprouting in the bag. What should I do? Early sprouting is usually caused by storage temperatures that are too warm or fluctuations in temperature. If it's within a few weeks of your normal fall planting time, go ahead and plant them. The sprouts are fragile, so handle them carefully. If it's too early for planting (e.g., midsummer), try to move the bulbs to a cooler, darker storage location immediately to slow further growth until the proper planting season arrives.
I forgot to lift my tulip bulbs last summer. Will they still bloom this spring? It depends on your soil conditions. If the ground is very well-drained, they may survive and bloom, though the flowers might be smaller. In heavy, wet soil, they are more likely to have rotted. There's no harm in waiting to see. Apply a balanced fertilizer as soon as shoots appear in spring to give them a boost. If the display is poor, plan to lift and refresh those bulbs after they finish their foliage cycle.
Caring for tulips after they bloom is an act of faith and patience, investing effort today for tomorrow's reward. By dedicating time to the post-bloom care, precise harvesting, and meticulous storage methods outlined here, you are not just saving bulbs—you are cultivating resilience and ensuring the continuity of beauty in your garden. This cycle of growth, rest, and renewal is the heart of gardening, turning a simple bulb into a yearly promise of spring.


