How to Care for Large-Flower Phalaenopsis: Potting Mix Change to Avoid Root Rot
There’s nothing quite as stunning as a healthy, blooming large-flower Phalaenopsis orchid. Yet, for many enthusiasts, the vibrant display is often cut short by a silent, underground killer: root rot. This common issue, frequently stemming from a degraded or inappropriate potting mix, can turn your prized orchid from a showpiece into a salvage project almost overnight. Understanding how to care for large-flower Phalaenopsis effectively hinges on one critical, preventative practice: timely and proper repotting. This guide will walk you through the entire process, from recognizing the warning signs to executing a perfect potting mix change, ensuring your orchid’s roots remain healthy, aerated, and free from rot.
Why Root Rot is the #1 Threat to Your Orchid

Root rot in Phalaenopsis orchids is almost always a cultural issue, not a disease. It occurs when the potting medium breaks down, becoming compacted and water-retentive. Orchid roots, which are designed to breathe, suffocate in soggy, airless conditions. This creates the perfect environment for opportunistic fungi and bacteria to attack, leading to the rapid decay of the root system. A plant with rotted roots cannot absorb water or nutrients, leading to drooping leaves, flower loss, and, if untreated, death.
The American Orchid Society (AOS) consistently cites improper watering and poor media condition as leading causes of orchid decline. A robust potting mix change to avoid root rot is not just routine maintenance; it’s a vital resuscitation procedure for the plant’s lifeline.
When to Change Your Phalaenopsis Potting Mix: The 3 Key Signs
Don’t wait for a calendar date. Your orchid will tell you when it’s time. Repotting is best done after flowering, when the plant is entering a growth phase.
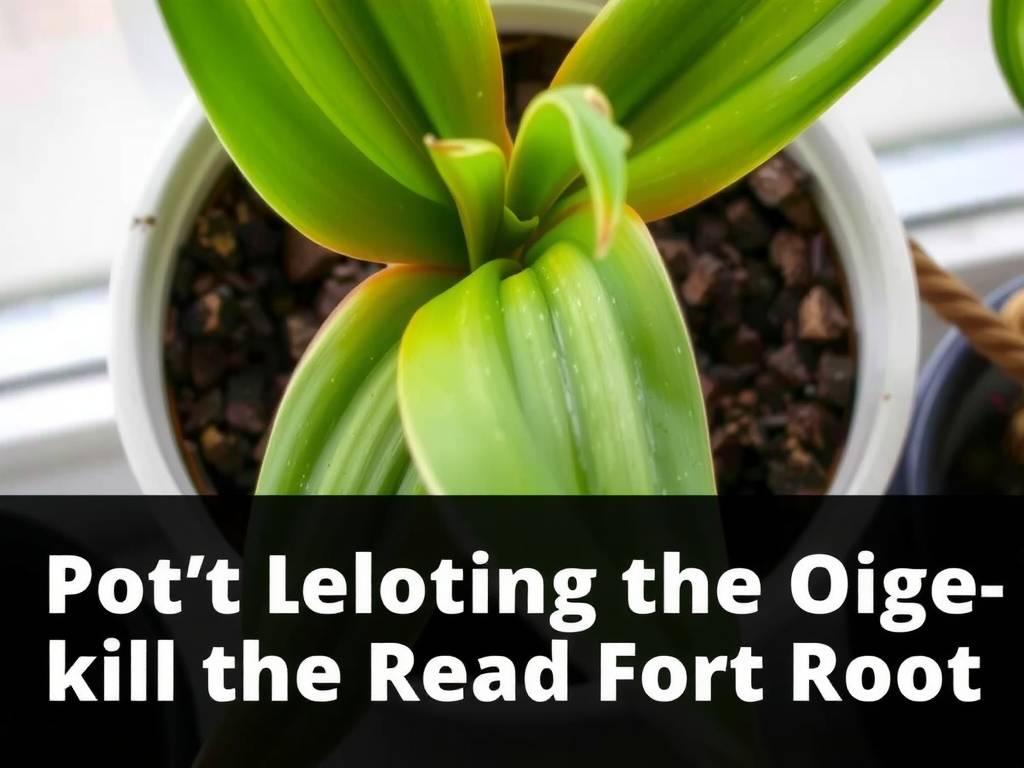
- The Medium Has Broken Down: This is the most common reason. Bark-based mixes naturally decompose over 1-2 years. If the mix looks more like soil than chunky bark, holds water for a week or more, or smells musty, it’s overdue for a change.
- The Pot is Overcrowded: Healthy Phalaenopsis roots are silver-green when dry and vibrant green when wet. If a mass of roots is pushing the plant up and out of the pot or circling densely inside a clear pot, it needs more space.
- You Suspect Root Problems: Yellowing, limp leaves can signal root issues. If you see brown, mushy, or papery roots through a clear pot, immediate action is required.
Essential Supplies for a Successful Repotting
Gathering the right tools before you start makes the process smooth and minimizes stress on the plant.
- New Potting Mix: Use a high-quality, coarse-grade orchid mix. A blend of fir bark, perlite, and horticultural charcoal is ideal for large-flower Phalaenopsis care. The chunkiness ensures excellent drainage and air flow.
- New Pot: Select a pot only 1-2 inches larger in diameter than the previous one. Clear plastic pots are excellent as they allow you to monitor root health and moisture levels. Ensure it has ample drainage holes.
- Sterilized Cutting Tools: Use sharp scissors or pruning shears sterilized with rubbing alcohol or a flame.
- Other Supplies: Hydrogen peroxide (3%), a clean workspace, gloves, and a stake for support if needed.
Step-by-Step: How to Repot Your Large-Flower Phalaenopsis
Follow this detailed process to give your orchid a fresh, healthy foundation.
Preparing Your Orchid and Workspace
Begin by watering your orchid a day before repotting. Hydrated roots are more flexible and less prone to breakage. Clear a large workspace and lay out all your supplies.
Removing the Old Potting Mix Safely
Gently squeeze the sides of the flexible pot to loosen the root ball. Tip the plant out, supporting the base. Do not pull on the plant. If roots are stuck, you may need to carefully cut the old pot away. Gently shake and pick out the old potting media from between the roots. Running tepid water over the root mass can help dislodge stubborn particles.
Inspecting and Treating the Root System
This is the most critical step. Lay the plant on a clean surface and examine every root.
- Healthy Roots: Firm, plump, and silver-green or green.
- Unhealthy Roots: Brown or black, mushy (rotten), or papery and hollow (desiccated). Using your sterilized tools, cut away all unhealthy roots back to healthy tissue. Make clean cuts. After pruning, some growers recommend swishing the root system in a solution of 1 part 3% hydrogen peroxide to 4 parts water to disinfect cuts and deter fungal spores. Let the roots air-dry for about an hour.
Choosing and Preparing the New Potting Medium
Select a mix specifically labeled for Phalaenopsis or orchids. Pre-soak the new bark-based mix in a bucket of water for 30-60 minutes. This allows the bark to become moisture-retentive, so it doesn’t wick water away from the roots immediately after repotting. Drain before use.
The Repotting Process: A Fresh Start
Place a small layer of the pre-moistened potting mix in the bottom of the new, clean pot. Position the orchid in the center, with its base just below the pot’s rim. Gently spread the healthy roots. While holding the plant steady, fill in around the roots with the new mix. Tap the pot on the table to settle the medium; do not pack it down tightly. The goal is to fill the spaces while leaving plenty of air pockets. If the plant is unstable, you can insert a stake and use a soft clip to secure the stem.
Aftercare: The Key to Recovery
Your job isn’t over once the pot is filled. Proper aftercare ensures a quick recovery.
- Watering: Wait 5-7 days before the first watering to allow any root cuts to callus over. Then, water thoroughly until water runs freely from the drainage holes.
- Location: Place the repotted orchid in a location with bright, indirect light and stable temperatures. Avoid direct sun.
- Fertilizing: Hold off on fertilizer for 3-4 weeks to avoid burning new root tips. Then, resume with a balanced, diluted orchid fertilizer.
Preventing Future Root Rot: Best Practices
A successful potting mix change to avoid root rot sets the stage, but ongoing care keeps the problem at bay.
- Master the "Soak and Dry" Method: Water only when the roots in the pot look silvery and the medium is nearly dry. Then, water thoroughly.
- Ensure Superior Drainage & Aeration: Always use pots with holes and a chunky, open mix. This is non-negotiable for healthy Phalaenopsis root maintenance.
- Monitor Environmental Factors: Provide good air circulation around the plant. Avoid cold drafts and excessive heat, which can stress the plant and make it susceptible to issues.
What is the best potting mix for a large Phalaenopsis orchid? A high-quality, coarse-grade mix based on fir bark is the gold standard. Look for blends that include perlite for aeration and horticultural charcoal to keep the mix sweet and deter bacteria. Avoid fine, soil-like mixes or sphagnum moss used alone unless you are very experienced with moisture management.
How often should I change the potting mix on my large-flower Phalaenopsis? As a general rule, plan to repot every 1 to 2 years. However, always let the condition of the medium be your guide. If it breaks down and becomes compacted before a year is up, repot sooner. Fresh mix is the best insurance policy for root health.
My orchid has root rot but still has a flower spike. Should I repot now? This is a common dilemma. While the ideal time is after blooming, root rot is an emergency. It is generally advisable to sacrifice the flowers to save the plant. Cut the spike to redirect the plant's energy toward root recovery, and proceed with repotting immediately. A healthy plant will produce more blooms in the future.
By viewing repotting not as a chore but as a fundamental component of expert large-flower Phalaenopsis care, you empower yourself to prevent the most common cause of orchid loss. A timely change to a fresh, airy potting mix directly addresses the primary cause of root rot, giving your plant the resilient foundation it needs to thrive and rebloom for years to come. Remember, the secret to a spectacular orchid lies not just in what you see above the pot, but in the health of the world you create for it below the surface.


