How to Care for Succulent Cuttings - Propagation Care for High Survival Rate
You’ve carefully taken cuttings from your favorite succulent, full of hope for new plants. But then, the dreaded happens: they turn mushy, shrivel up, or simply refuse to root. This frustration is all too common. The good news? Achieving a high survival rate for succulent cuttings is entirely possible with the right knowledge. This guide will walk you through every critical step, transforming your propagation efforts from guesswork into a reliable, rewarding process.
Understanding the “Callus” – Your First Critical Step
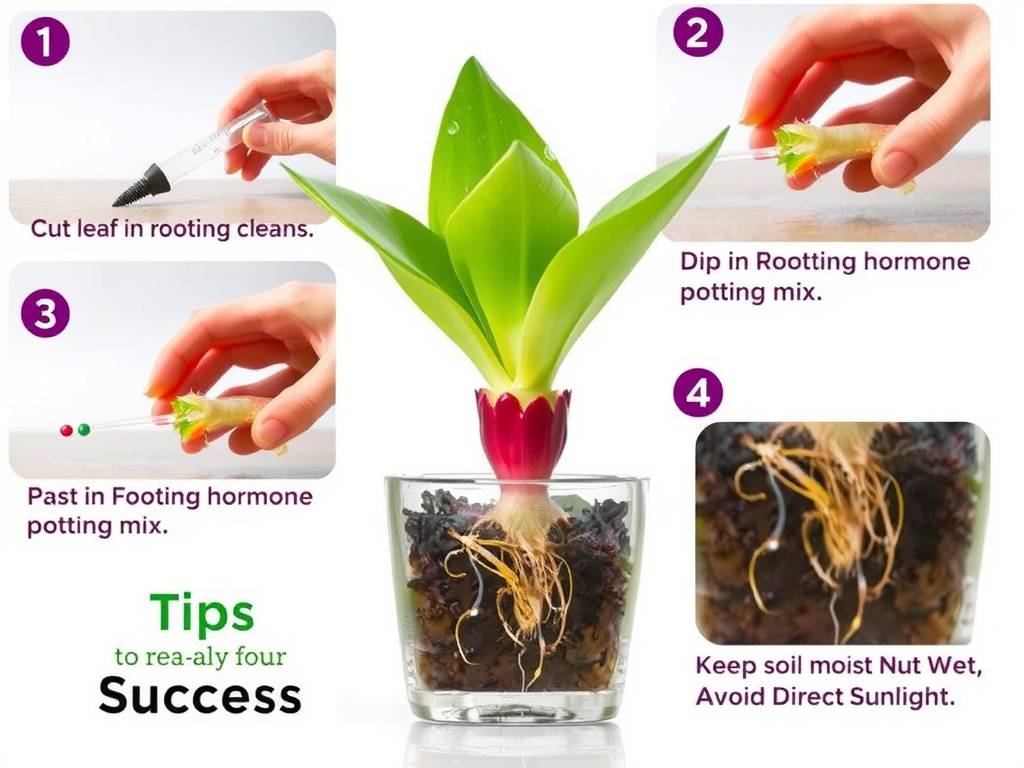
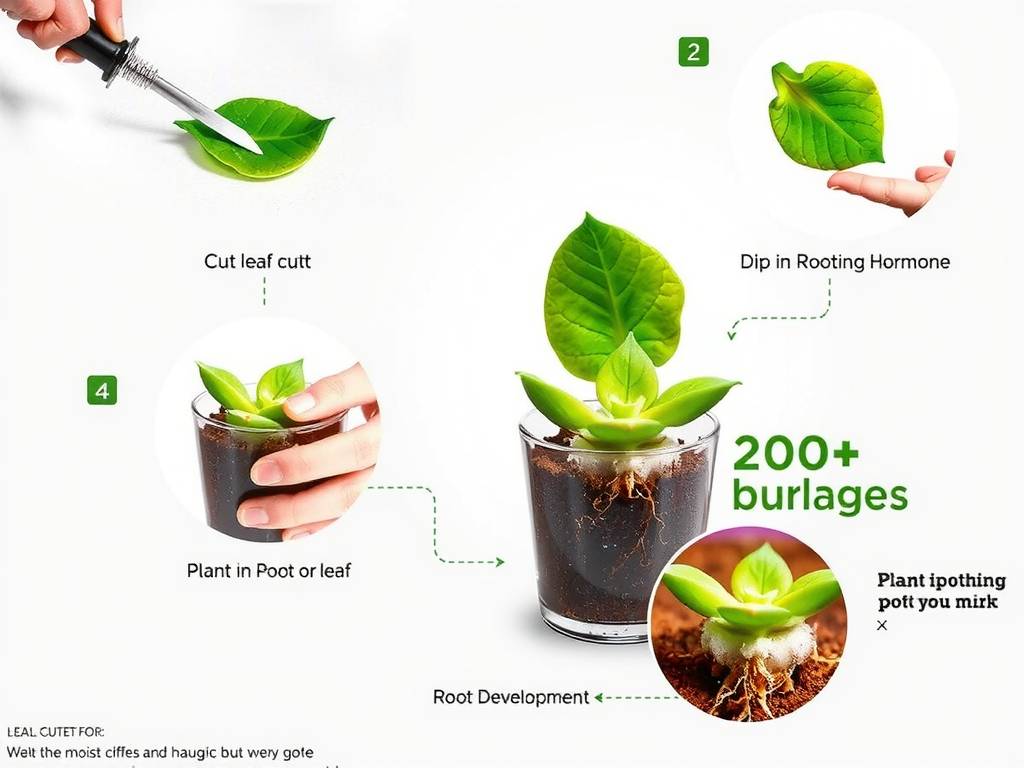
Immediately after taking a cutting, the most important thing you can do is… nothing. Place the cut end in a dry, shaded spot with good air circulation. This allows the wound to form a dry, hardened layer called a callus. This process, which typically takes 2-4 days, is non-negotiable for succulent propagation care. Planting a fresh, wet cutting directly into soil is an open invitation for rot-causing bacteria and fungi. A properly formed callus acts as a natural bandage, sealing the wound and dramatically increasing your cutting’s chance of survival.
Choosing and Preparing the Perfect Medium
Forget regular potting soil. Succulent cuttings need a fast-draining, gritty medium that provides support without holding excess moisture. A commercial “cactus and succulent mix” is a good start, but for even better results, amend it with 50% perlite or pumice. This creates an airy environment that encourages root growth while preventing water from pooling around the stem.
Your container is equally important. Ensure it has ample drainage holes. A shallow tray or small pot is ideal, as it prevents the soil from staying wet for too long in areas the young roots haven’t yet reached. Before placing your callused cuttings, lightly moisten the medium. It should be barely damp to the touch, not wet.
The Delicate Art of Watering Unrooted Cuttings
This is where many well-intentioned gardeners fail. An unrooted cutting has no way to absorb water from the soil. Overwatering is the fastest path to failure. Your strategy should shift from “watering the plant” to “encouraging the roots.”
After placing your cuttings on the soil, do not water them. Wait. Look for the first signs of tiny new roots, which may appear as pink or white filaments. This can take anywhere from one to several weeks. Once you see these roots, begin a careful watering regimen. Use a spray bottle or small spout to lightly moisten the soil around the roots, not the cutting itself. The goal is to provide slight moisture to signal the roots to grow deeper in search of water. Let the soil dry out completely between these light waterings.
Optimal Light and Environmental Conditions
Provide bright, indirect light. A south or east-facing windowsill is perfect. Avoid direct, harsh sunlight, which can scorch the vulnerable cutting and dehydrate it before it has roots to recover. The ideal temperature range for rooting is between 65°F and 75°F (18°C - 24°C). Good air flow is also crucial to discourage mold and fungal growth.
Transitioning to Established Plant Care
Once your cutting has developed a robust root system and shows significant new growth from the center, it has graduated to a young plant. You can now begin to treat it more like a mature succulent. Gradually introduce it to more direct sunlight if desired, and adopt the “soak and dry” watering method: water thoroughly until it runs from the drainage holes, then allow the soil to dry out completely before watering again. This deep watering encourages a strong, extensive root system.
Expert Tips for Troubleshooting Common Issues
- Cutting is Shriveled and Wrinkled: This usually indicates underwatering after roots have formed. Give the soil a thorough, gentle soak.
- Cutting is Mushy or Discolored: This is rot, almost always caused by overwatering or planting before callusing. You may need to cut above the rot, re-callus, and start over.
- No Roots After Weeks: Be patient. Some species are slower than others. Ensure the cutting is getting enough indirect light and warmth. You can try a rooting hormone on the callus, though it’s not strictly necessary for succulents.
- Leggy, Stretched Growth: The cutting is not getting enough light and is reaching for it. Move it to a brighter location with indirect light.
Why did my succulent cutting rot even though I didn’t water it? The most likely culprit is humidity. If the air is very humid or the cutting was placed in an enclosed space, moisture in the air can prevent proper callusing and encourage rot. Always allow cuttings to callus in a dry, airy spot. Another possibility is that the soil itself was too moisture-retentive.
Can I propagate succulent cuttings in water? While some gardeners have success with water propagation for succulents, it carries a higher risk of rot and produces roots that are adapted to water, not soil. These “water roots” often die off when transplanted to soil, causing additional stress. For a consistently high survival rate, the soil method outlined above is generally more reliable and recommended by most horticulturists.
How long does it take for succulent cuttings to root? There’s no single answer, as it varies by species, season, and environment. Fast-growing varieties like many Sedums may root in 1-2 weeks. Slower types like Echeverias or Haworthias can take 4-8 weeks. The key is to provide consistent conditions and practice patience, resisting the urge to overwater or constantly check the roots.
Mastering the care of succulent cuttings transforms propagation from a hopeful experiment into a predictable science. Success hinges on a few simple but strict principles: a perfect callus, a gritty and dry-starting medium, restrained watering until roots appear, and plenty of bright, indirect light. By understanding what your cutting needs at each stage—from a vulnerable wound to an independent plant—you can confidently multiply your collection and enjoy the deep satisfaction of growing new life from a single leaf or stem.


