How to Care for English Ivy in Water: A Complete Hydroponic Guide
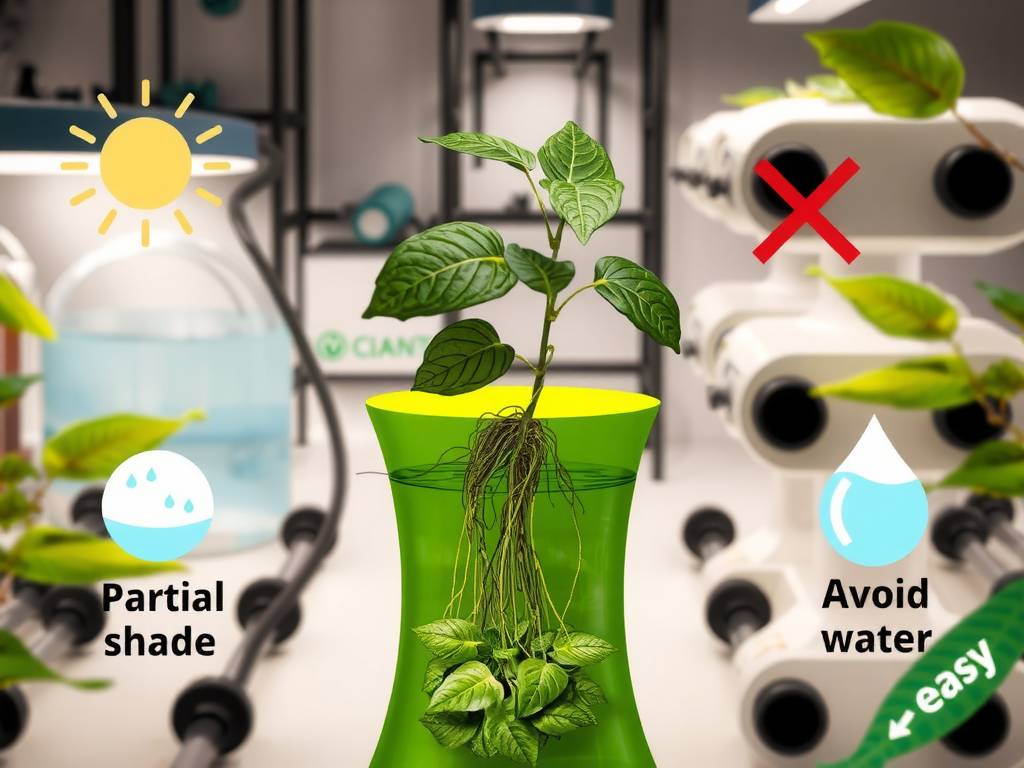
You love the elegant, trailing vines of English Ivy but are tired of the mess and guesswork of soil? Perhaps you've struggled with overwatering, pests, or simply want a cleaner, modern way to display this classic plant. The good news is that how to care for English Ivy hydroponically is remarkably straightforward. This method eliminates soil-borne issues and allows you to watch the roots grow, making it a fascinating and low-maintenance project. With a focus on providing partial shade and ensuring you avoid dirty water, your ivy can not only survive but thrive in a simple water setup. Its reputation for easy hydroponic survival makes it a perfect choice for beginners and seasoned plant enthusiasts alike.
This guide will walk you through every step, transforming you from uncertain to confident in your water-based ivy care.
Why Choose Hydroponic English Ivy?
Growing English Ivy in water offers several compelling advantages over traditional potting. First, it's incredibly clean. There's no soil to spill, reducing mess and potential mold in your home. Second, it simplifies watering routines—you're not guessing about moisture levels. You can clearly see the root health and water level at a glance.
Most importantly, English Ivy (Hedera helix) is a naturally adaptable plant. It often develops aerial roots along its stems, which are pre-adapted to absorb moisture and nutrients directly from the air or water. This biological trait is why it has such easy hydroponic survival rates. A study on plant propagation often cites ivy as a top candidate for water rooting due to its vigorous stem cells.
Getting Started: Your Hydroponic Setup
You don't need expensive equipment to begin. The transition from soil to water, or starting a new cutting, is simple.
Selecting the Right Cuttings Choose healthy, pest-free vines with several leaves. Using clean, sharp scissors, cut a 4-6 inch section just below a leaf node (the small bump on the stem where leaves and roots grow). Remove the leaves from the bottom 2-3 nodes to prevent them from rotting underwater.
Choosing a Vessel A clear glass jar, vase, or bottle is ideal. Transparency allows you to monitor root growth and water clarity. Ensure the mouth is narrow enough to support the stem, keeping the leaves above the waterline. A wide-mouth container can be adapted by using a mesh or perforated lid.
The Initial Water Use room-temperature, filtered water or let tap water sit out for 24 hours. This allows chlorine to evaporate, creating a gentler environment for new roots. Place your prepared cuttings in the water, ensuring only the bare stem nodes are submerged.
The Core Principles of Hydroponic Ivy Care
Successful growth hinges on mastering three key elements: light, water quality, and minimal nutrition.
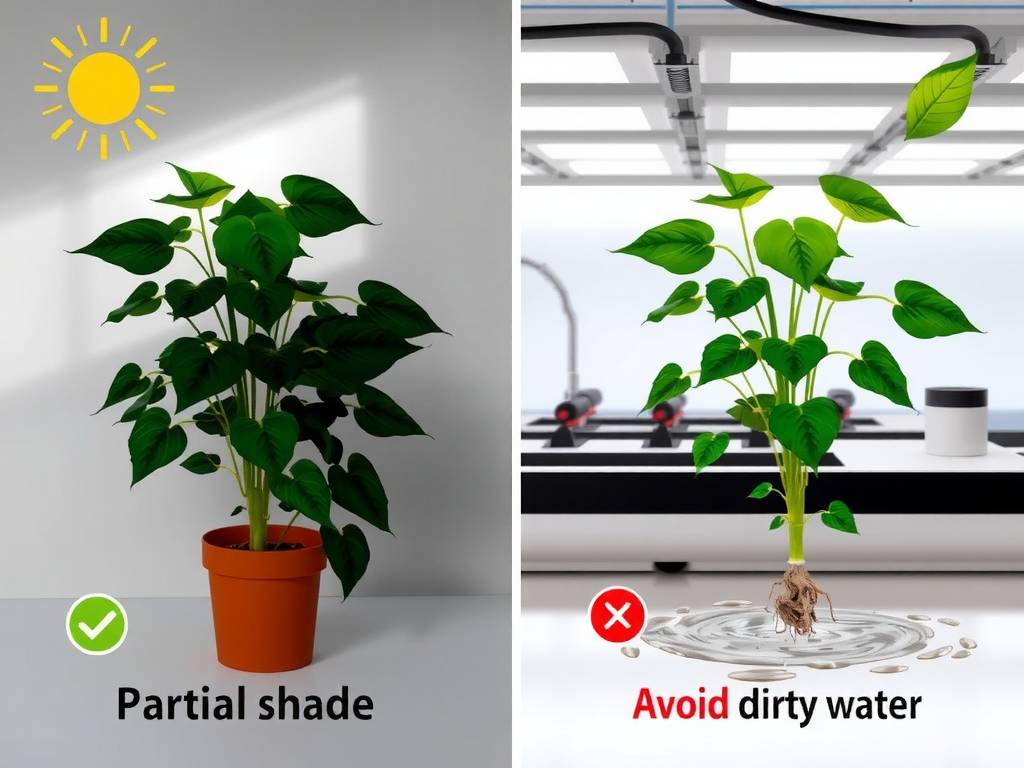
Providing the Ideal Light: Partial Shade English Ivy's light requirements for healthy growth are often misunderstood. While it tolerates low light, it thrives in bright, indirect light—what we call partial shade. Direct, harsh sunlight, especially through a window, can scorch the leaves, causing them to turn brown and crispy.
Place your hydroponic ivy near an east or north-facing window where it receives gentle morning light or consistent ambient light. A spot a few feet back from a south or west window is also perfect. This optimal lighting for water-grown ivy encourages full, lush foliage without the risk of sun damage.
The Critical Rule: Avoid Dirty Water This is the most important rule in hydroponic system maintenance for ivy. Stagnant, murky water is the primary cause of failure. It leads to slimy stems, rotting roots, and bacterial growth.
Change the water completely every 7-14 days. When you change it:
- Gently rinse the roots and the container under lukewarm water.
- Scrub the vase to remove any algal film.
- Refill with fresh, room-temperature, filtered water. This routine of preventing rot in water propagation is non-negotiable for long-term health.
Minimal Feeding for Balanced Growth Pure water lacks nutrients. After your ivy has developed a robust root system (typically after 4-6 weeks), you can introduce mild feeding. Use a balanced, water-soluble liquid fertilizer diluted to 1/4 or 1/2 the strength recommended on the label. Add this to the fresh water during a monthly water change. Over-fertilizing is a common mistake; it can burn the delicate water roots and promote algal growth.
Troubleshooting Common Issues
Even with easy-care plants, small problems can arise. Here’s how to address them.
Yellowing Leaves If leaves turn yellow, it's often a sign of too much direct light or, occasionally, a need for nutrients. First, reassess its placement and move it to a shadier spot. If you haven't fed it in several months, a weak fertilizer solution at the next water change may help.
Slow or No Root Growth Patience is key. Roots can take 3-6 weeks to appear. Ensure the cutting has a node submerged and that it's in a warm enough location (65-75°F or 18-24°C is ideal). Using a cutting from a mature, healthy vine also increases success rates.
Brown, Mushy Roots or Slimy Stems This is a clear sign of rot from poor water quality. Immediately remove the plant, cut away all affected roots and stem parts with sterile scissors, clean the container thoroughly, and provide fresh water. Increase your water change frequency.
Advanced Tips for Lush Growth
Once you've mastered the basics, these tips will help your ivy become truly spectacular.
Promoting Fuller Vines If your vine is growing long but sparse, don't hesitate to prune it. Pinching off the tips of growing vines encourages branching, resulting in a bushier plant. You can use these cuttings to start new plants!
Managing Algae Growth Algae in the jar isn't typically harmful but is unsightly. It thrives on light and nutrients. You can control it by using an opaque container, wrapping clear glass in decorative paper, or simply by being diligent with cleaning during weekly water changes.
Can I transition my soil ivy to water? Yes, but it requires care. Gently remove all soil from the roots, rinsing them completely. You may lose some older soil roots, but the plant will regrow water-adapted roots. Be extra vigilant about water changes during this transition period.
How often should I change the water for my hydroponic ivy? Aim to change the water every 7 to 14 days. If you notice it becoming cloudy or any film on the glass, change it immediately. Consistent freshness is the key to preventing root rot.
Why are the leaves on my water-grown ivy turning brown? Brown, crispy leaves usually indicate too much direct sunlight or scorching. Brown, soft spots might suggest the leaves are constantly wet. Ensure your plant is in partial shade and that no leaves are submerged in the water.
Do I need to use a special fertilizer for hydroponic English Ivy? No special fertilizer is required. Any balanced liquid houseplant fertilizer (with equal N-P-K numbers like 10-10-10) works perfectly. The crucial step is to dilute it much more heavily than for soil plants—quarter strength is a safe starting point.
Growing English Ivy in water is a rewarding and visually striking way to enjoy this versatile plant. By providing the right balance of gentle light, meticulously clean water, and occasional diluted nutrients, you unlock its potential for easy hydroponic survival. This soil-free method not only simplifies care but also turns the plant into a living piece of decor, with its intricate root system on display. Start with a single cutting, be patient with the process, and you'll soon have a thriving, elegant vine that brings a touch of timeless greenery to any space.


