How to Care for Philodendron Selloum: Division Propagation for Lush Growth
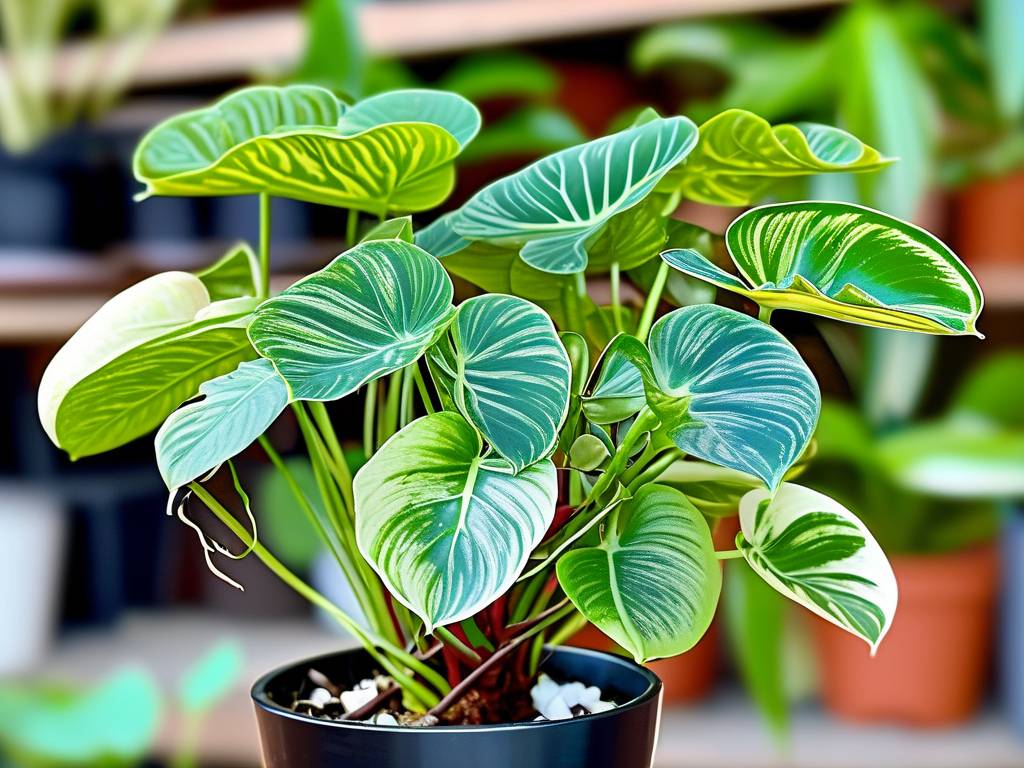
Your Philodendron Selloum, also known as Philodendron bipinnatifidum or tree philodendron, has become the undeniable centerpiece of your indoor jungle. Its dramatic, deeply lobed leaves create a stunning architectural statement. But now, it’s almost too successful. It’s outgrowing its corner, becoming leggy, or the pot is straining at the seams. Repotting the entire massive plant seems like a daunting task. There’s a better, smarter way to manage this growth and multiply your botanical treasure: division propagation. Mastering how to care for Philodendron Selloum through division is the key to rejuvenating your original plant and creating lush new ones to fill your home or share with friends.
This guide will walk you through the entire process, transforming a potentially stressful situation into a rewarding gardening project. We’ll cover not just the division steps, but the crucial before-and-after care that ensures both the parent plant and its offspring thrive, leading to that coveted lush growth.
Understanding Your Philodendron Selloum
Before you make the first cut, it’s essential to understand what you’re working with. The Philodendron Selloum is a tropical aroid native to South America. Unlike vining philodendrons, it’s a self-heading type, meaning it grows upright from a central base, eventually developing a thick, trunk-like stem. As it matures, it naturally produces offshoots or “pups” from its base or along its stem. These offshoots are your key to successful division. According to the American Horticultural Society (AHS), vegetative propagation methods like division are highly reliable for plants that naturally form clumps, as they preserve the exact genetic characteristics of the parent plant.
Why Choose Division for Propagation?
Division is the most effective propagation method for a mature Philodendron Selloum. It offers several advantages over other techniques like stem cuttings:
- Faster Results: You instantly get a sizable, established plant rather than a small cutting that needs to root.
- Higher Success Rate: Since the division already has its own root system, it’s less prone to failure compared to rooting a cutting in water or soil.
- Rejuvenates the Parent Plant: Dividing an overgrown plant reduces competition for resources in the pot, allowing the original Selloum to focus energy on producing new, healthy foliage.
- Manages Size: It’s the perfect solution for controlling a plant that has simply gotten too large for its space.
When is the Right Time to Divide?
Timing is critical. The ideal period is during the active growing season, in late spring or early summer. Warmer temperatures and longer daylight hours provide the energy boost both plants need to recover from the stress of division and establish new roots. Avoid dividing in the dormant winter months when growth has slowed.
Pre-Division Preparation: Gathering Your Tools
Being prepared makes the process smooth. You will need:
- A sharp, clean knife or pruning saw: Sterilize the blade with rubbing alcohol or a bleach solution to prevent introducing disease. A clean cut is healthier for the plant than a ragged tear.
- Fresh, well-draining potting mix: Aroid mix or a blend of regular potting soil, orchid bark, and perlite is perfect.
- New pots with drainage holes: Have these ready, sized appropriately for the new divisions.
- Gloves: Philodendron sap contains calcium oxalate crystals, which can irritate skin.
- Newspaper or a tarp: To contain the mess.
Step-by-Step Guide to Dividing Your Philodendron Selloum
Step 1: The Gentle Extraction Water your Philodendron Selloum thoroughly a day before the operation. A well-hydrated plant handles stress better. On the day, gently tip the pot on its side. Support the base of the stems and carefully work the root ball out. You may need to tap the pot’s sides or run a knife around the interior edge if it’s root-bound.
Step 2: Root Ball Inspection and Cleaning Place the root ball on your tarp. Gently loosen and remove the old soil from the roots with your fingers. This allows you to clearly see the root structure and identify natural separation points. Rinsing the roots with lukewarm water can help. Look for distinct clumps of stems with their own attached root systems. These are your natural divisions.
Step 3: The Division Process Using your sterilized tool, carefully separate the plant into sections. Always aim to make cuts through the connecting roots or rhizomes, not directly through a main stem. Each division should have at least 2-3 healthy stems and a robust, healthy portion of roots. The Royal Horticultural Society (RHS) advises ensuring each new section has sufficient roots to support its foliage; if necessary, prune back some of the larger leaves to reduce water loss while the roots recover.
Step 4: Potting Up the Divisions Fill the bottom of your new pots with fresh potting mix. Place a division in the center, ensuring it sits at the same soil depth as before. Fill in around the roots with more mix, gently firming it to eliminate large air pockets. Leave about an inch of space at the top for watering.
Step 5: Immediate Aftercare Water the newly potted divisions thoroughly until water runs freely from the drainage holes. This settles the soil around the roots. Place the plants in a location with bright, indirect light. Avoid direct sun, which can scorch the leaves while the plant is vulnerable.
Post-Division Care for Optimal Lush Growth
The care you provide in the weeks following division determines your success.
Watering and Humidity: Keep the soil consistently moist but never soggy. The goal is to encourage new root growth without causing rot. High humidity (above 60%) is tremendously beneficial. Use a humidifier, a pebble tray, or group plants together to create a microclimate. This mimics their native tropical environment and prevents leaf tip browning.
Light and Temperature: Provide bright, filtered light. An east-facing window is ideal. Maintain temperatures between 65-80°F (18-27°C). Avoid cold drafts and sudden temperature fluctuations.
Feeding for Success: Do not fertilize for at least 4-6 weeks after division. The fresh potting mix contains nutrients, and fertilizer can burn the sensitive new roots. After this period, begin feeding with a balanced, water-soluble fertilizer (e.g., 20-20-20) diluted to half-strength monthly during the growing season.
Troubleshooting Common Issues:
- Wilting Leaves: This is normal initial shock. Maintain high humidity and ensure soil is moist (not wet). Trim any severely wilted leaves.
- Yellowing Leaves: Could indicate overwatering. Check that the pot drains well and allow the top inch of soil to dry slightly between waterings.
- Slow Growth: Be patient. The plant is focusing its energy below the soil on root development. New leaf growth is the sign that it has successfully established.
My divided Philodendron Selloum has droopy leaves. Is it dying? Not necessarily. Some drooping or wilting is a standard stress response after division, known as transplant shock. The plant’s root system has been disturbed and needs time to recover and absorb water efficiently. Ensure it’s in a humid, warm spot with no direct sun, keep the soil consistently moist, and be patient. It should perk up within 1-2 weeks as new roots form.
Can I divide a young Philodendron Selloum? It’s not recommended. Division should be reserved for mature, healthy plants that have naturally formed multiple crowns or offshoots. A young plant likely hasn’t developed these separate clumps, and dividing it would involve damaging the main root system, severely setting it back or killing it. Wait until your Selloum is visibly crowded in its pot and has several distinct stems emerging from the soil.
How often can I divide my plant? Philodendron Selloum is a relatively slow grower. A mature plant may only need dividing every 3-5 years. The best indicator is the plant itself: when it becomes root-bound, overly large, or produces multiple obvious offshoots, it’s likely ready. Frequent, unnecessary division causes repeated stress and hinders lush, mature growth.
Propagating your Philodendron Selloum through division is more than just a gardening task; it’s a sustainable cycle of growth. By carefully separating the mature plant, you grant it a new lease on life, encouraging fuller, healthier foliage. Simultaneously, you create independent plants that carry the legacy of the original. With the right timing, proper technique, and attentive aftercare focused on humidity, light, and restrained watering, both the parent and its progeny will reward you with the vigorous, lush growth that makes this tropical giant so beloved. Embrace the process, and watch your indoor jungle expand.


