How to Care for Your Areca Palm: Repotting Tips to Avoid Root Rot & Boost Growth
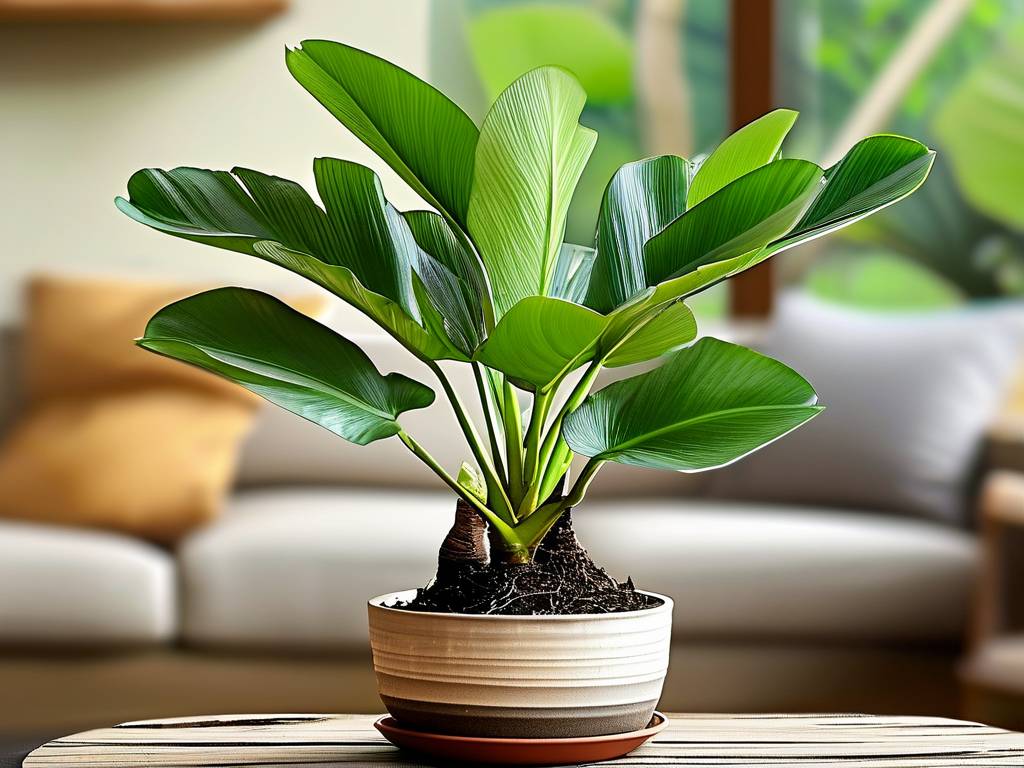
You’ve brought home a beautiful, feathery areca palm, dreaming of its lush, tropical fronds transforming your space. But now, you notice yellowing leaves, stunted growth, or water that seems to sit in the pot forever. The culprit? Often, it’s an issue lurking beneath the soil—a root system that’s either suffocating in old, compacted soil or drowning due to poor drainage. Learning how to care for your areca palm, especially mastering the repotting process, is the single most effective way to prevent root rot and unlock vigorous, healthy growth. Neglecting this critical aspect of palm care can quietly undermine all your other efforts, from watering to fertilizing. This guide will walk you through the precise steps to repot your areca palm correctly, turning a potentially stressful event into a powerful growth boost.
Understanding the Areca Palm’s Root System and Its Needs
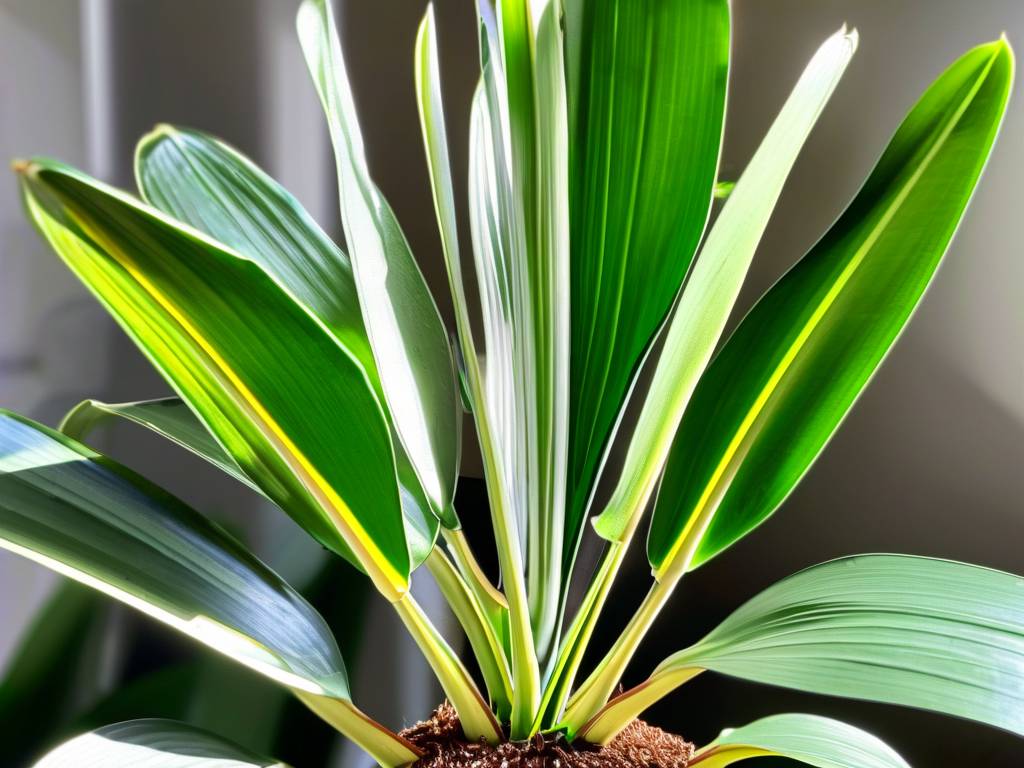
Areca palms (Dypsis lutescens), also known as butterfly palms, have relatively delicate, fibrous root systems. They are not aggressive rooters like some other houseplants, but they do require adequate space and, more importantly, exceptional aeration. Their roots need access to both moisture and oxygen. When confined in a pot for too long, the soil breaks down, becoming dense and water-retentive. This creates the perfect anaerobic environment for root rot pathogens to thrive. According to the American Horticultural Society (AHS), root rot is one of the leading causes of houseplant demise, almost always linked to poor drainage and soil compaction over time.
Recognizing the Signs It’s Time to Repot
Don’t wait for your palm to look severely distressed. Proactive repotting is key. Here are the clear signals:
- Roots Circling or Escaping: Visible roots growing out of the drainage holes or coiling tightly on the soil surface.
- Rapid Water Drainage or Poor Absorption: Water runs straight through the pot without being absorbed, indicating more roots than soil.
- Slowed Growth: Your palm hasn’t produced new fronds (spears) in a growing season despite proper light and feeding.
- Soil Depletion: The soil has become hard, compacted, or looks exhausted, often pulling away from the pot’s edges.
- Chronic Moisture Issues: The soil stays soggy for days, a precursor to root rot.
The Golden Rule: Always repot in the spring or early summer when the plant is entering its active growth phase. This gives it the energy to recover and establish itself in its new home.
Gathering Your Supplies: Setting the Stage for Success
Having everything ready before you start minimizes stress for you and the plant. You will need:
- The New Pot: Select a container only 1-2 inches larger in diameter than the current one. A pot that’s too large holds excess soil that stays wet, leading to root rot. Ensure it has multiple, ample drainage holes.
- Fresh, Well-Draining Potting Mix: This is non-negotiable. Use a high-quality, peat-based potting mix formulated for palms or cacti/succulents. For optimal areca palm growth, many experts, including those cited in Royal Horticultural Society (RHS) guidelines, recommend creating a custom blend: 2 parts standard potting soil, 1 part perlite, and 1 part coarse orchid bark or coconut coir. This ensures perfect aeration and drainage.
- Tools: Pruning shears (sterilized with rubbing alcohol), a trowel, newspaper or a tarp for easy cleanup, and gloves.
- Support: A small stake and soft ties if your palm is top-heavy.
The Step-by-Step Repotting Process to Prevent Root Rot
Step 1: Preparation Water your areca palm lightly a day before repotting. This helps the root ball hold together and reduces transplant shock. Lay out your newspaper and prepare your fresh potting mix.
Step 2: Removing the Palm Turn the pot on its side. Gently squeeze the sides or tap the rim on a table to loosen the root ball. Carefully slide the palm out. Never pull it by the stems.
Step 3: Root Inspection and Pruning This is the most critical step for avoiding root rot. Gently tease apart the outer roots with your fingers. Shake off and remove the old, compacted soil. Inspect the roots closely. Healthy roots are firm and light-colored (often yellowish). Rotten roots are mushy, dark brown or black, and may have a foul odor. Using your sterilized shears, prune away all rotten and dead roots. Don’t be afraid to cut back any excessively long, circling roots to encourage new outward growth. This pruning stimulates the root system.
Step 4: Potting Up Place a layer of fresh potting mix in the bottom of the new pot. The depth should allow the top of the palm’s root ball to sit about an inch below the pot’s rim. Position the areca palm in the center. The goal is to keep it at the same soil level it was previously—do not plant it deeper. Begin backfilling around the roots with your fresh, airy mix. Gently tamp the soil down to eliminate large air pockets, but avoid compacting it tightly.
Step 5: The First Water Water the palm thoroughly until water flows freely from the drainage holes. This settles the soil around the roots. You may need to add a bit more soil after this initial watering if it settles significantly. Place the palm in a location with bright, indirect light. Avoid direct sun for the first week or two while it recovers.
Post-Repotting Care for Optimal Recovery and Growth
Your job isn’t over after the repot. Proper aftercare ensures your palm rebounds stronger.
- Hold the Fertilizer: Do not fertilize for at least 4-6 weeks. The fresh soil has nutrients, and fertilizing can burn tender new roots. After this period, begin a regular feeding schedule with a balanced, water-soluble fertilizer diluted to half-strength during the growing season.
- Water Wisely: Let the top inch of soil dry out before watering again. Your new, well-draining mix will dry more evenly than the old soil, preventing areca palm root issues. The RHS emphasizes the "soak and dry" method as ideal for potted palms.
- Monitor for Stress: It’s normal for the palm to have a period of adjustment. Some older, lower fronds may yellow; you can trim these. New growth is the sign of success.
How often should I repot my areca palm? A healthy, mature areca palm typically needs repotting every 2-3 years. Younger, faster-growing palms may require it annually. Always let the plant’s condition, not the calendar, be your primary guide.
Can I use regular garden soil for my repotted palm? Absolutely not. Garden soil is too dense for containers, compacts easily, and often harbors pests and diseases. It is a guaranteed path to poor drainage and root rot. Always use a sterile, well-aerated potting mix designed for container use.
My palm looks wilted and sad after repotting. Did I kill it? Some transplant shock is common. Ensure it’s in a warm, humid spot with no drafts and bright, indirect light. Maintain consistent (but not excessive) moisture. Avoid the urge to overwater or move it around. Give it 2-4 weeks to show signs of recovery, such as firm new spears emerging from the center.
Mastering the repotting process transforms it from a daunting chore into a fundamental act of preventative care. By providing your areca palm with fresh, oxygen-rich soil and adequate space at the right time, you directly combat the primary threat to its longevity—root rot. This proactive approach sets the stage for a resilient root system, which is the unseen engine driving the vibrant, graceful fronds that make this palm so beloved. With these steps, you’re not just repotting a plant; you’re renewing its foundation for years of lush, tropical growth.