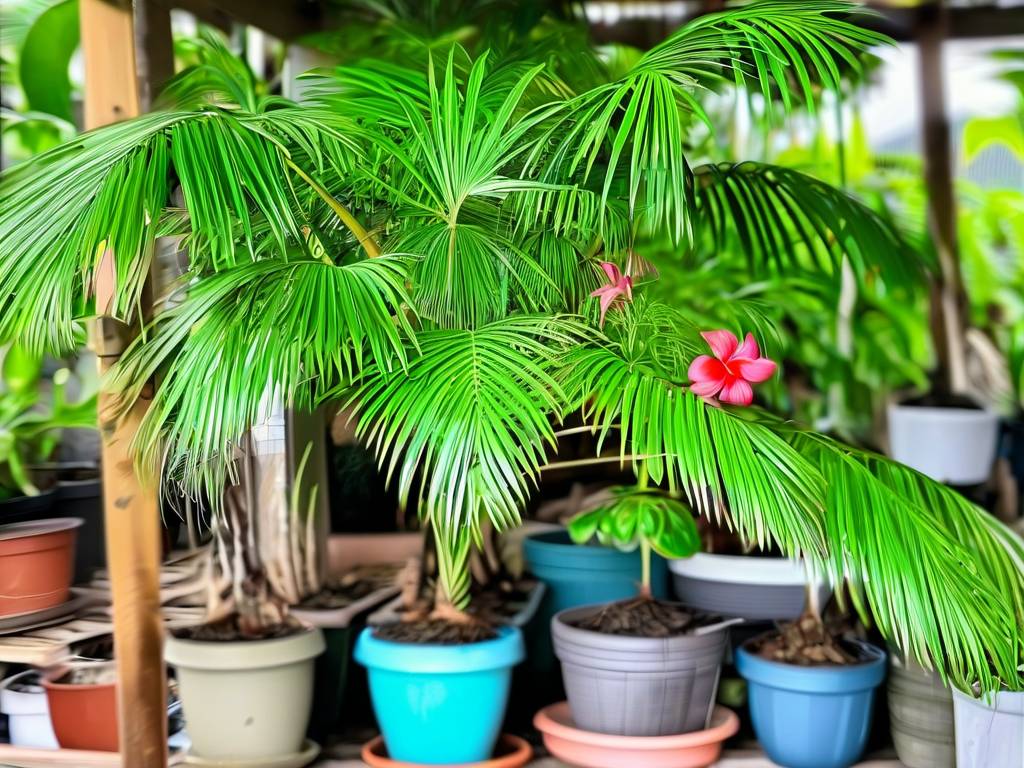
How to Care for Hawaii Palm - Best Repotting Time for High Survival Rate
You’ve brought home a stunning Hawaii Palm, captivated by its elegant, glossy leaves and tropical charm. But now, you’re noticing it’s looking a bit cramped in its nursery pot, or perhaps growth has stalled. The thought of repotting fills you with dread—what if you damage the roots or choose the wrong time, leading to a dramatic decline or even losing your beloved plant? This fear is common among indoor gardeners. Repotting is a critical intervention, and getting the timing right is the single most important factor for ensuring a smooth transition and a high survival rate for your Hawaii Palm. This guide will walk you through not only the optimal repotting window but also the complete, gentle process to guarantee your palm thrives in its new home.
Understanding Your Hawaii Palm’s Needs
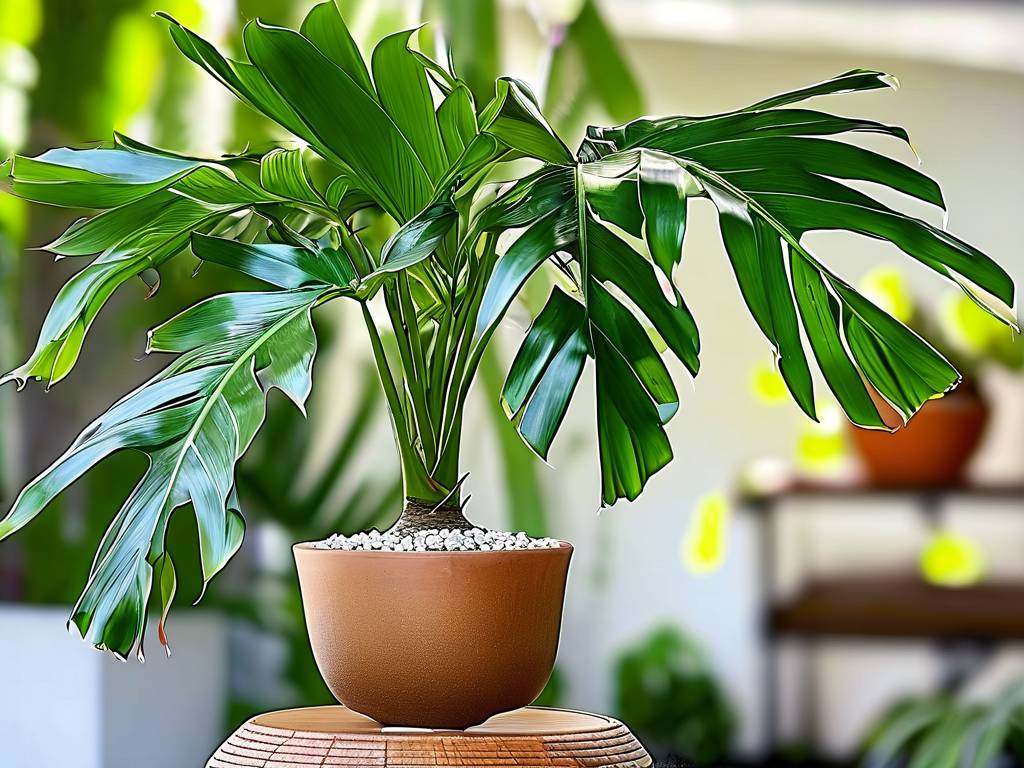
Contrary to its common name, the Hawaii Palm (Brighamia insignis) is not a true palm but a remarkable succulent endemic to the Hawaiian cliffs. This origin story is key to its care. It stores water in its thick, bulbous caudex (stem) and prefers conditions that mimic its native habitat: bright, indirect light and excellent drainage. Recognizing these needs is the first step in providing exceptional care and knowing when it truly requires repotting.
The Golden Rule: When to Repot Your Hawaii Palm
Timing is everything. Repotting at the wrong time, especially during dormancy or active flowering, can shock the plant and severely hinder recovery. The best repotting time for Hawaii Palm to ensure a high survival rate is during its active growing season. This period typically spans from late spring through early summer. Here’s why this window is ideal:
- Active Root Growth: Warmer temperatures and longer daylight hours signal the plant to grow. New roots establish themselves faster in fresh soil, minimizing stress and the risk of root rot.
- Ample Recovery Energy: The plant is photosynthesizing at its peak, producing the energy needed to heal any minor root damage and adapt to its new environment.
- Optimal Environmental Conditions: Stable, warm temperatures support recovery, avoiding the chill that can stunt growth in fall or winter.
According to horticultural best practices outlined by the American Horticultural Society (AHS), repotting most tropical and subtropical plants during their growth phase aligns with their natural cycle, significantly reducing transplant shock. A clear sign your Hawaii Palm is ready for a new pot is when roots begin to circle the bottom of the container or emerge from drainage holes. However, even if roots aren’t visible, repotting every 2-3 years is advisable to refresh the depleted, compacted soil.
A Step-by-Step Guide to Safely Repot Your Hawaii Palm
Once you’ve confirmed it’s the right time, follow this meticulous process. Gathering all materials beforehand—new pot, soil mix, tools—creates a calm, efficient workspace for you and your plant.
Choosing the Correct Pot and Soil Mix
Select a new pot only 1-2 inches larger in diameter than the current one. A pot that’s too large holds excess moisture, which is the primary enemy of the moisture-sensitive caudex. Terracotta pots are excellent for their breathability. Crucially, the pot must have ample drainage holes.
The soil mix is non-negotiable. Use a specialized, well-draining succulent or cactus potting mix. For enhanced drainage, many experts, including those referenced in Royal Horticultural Society (RHS) guidelines for succulent care, recommend amending this mix with additional perlite or pumice (a 2:1 ratio of potting mix to perlite is a safe target). This creates the sharp drainage your Hawaii Palm craves.
The Gentle Repotting Process
- Prepare the New Pot: Place a piece of breathable landscape fabric or a coffee filter over the drainage holes to prevent soil washout. Add a 1-2 inch layer of your prepared soil mix to the bottom.
- Remove the Plant: Water your Hawaii Palm lightly a day before repotting to make the root ball easier to handle. Tilt the pot and gently squeeze or tap the sides to loosen the root ball. Carefully ease the plant out, supporting the base of the caudex.
- Inspect and Loosen Roots: Examine the root ball. Gently tease apart any tightly circling roots with your fingers to encourage them to grow outward. If the roots are severely pot-bound, you may make a few vertical cuts along the sides of the root ball. Avoid aggressive pruning.
- Position and Fill: Place the plant in the center of the new pot. The top of the original root ball should sit about an inch below the pot’s rim. Backfill around the sides with your soil mix, gently tamping it down to eliminate large air pockets. Ensure the caudex is not buried deeper than it was previously.
- The Initial Watering: Do not water immediately. This is a critical step for Hawaii Palm care after repotting. Wait 5-7 days to allow any disturbed roots to callus over, which prevents rot. Then, give it a thorough watering until water flows freely from the drainage holes.
Post-Repotting Care for Optimal Recovery
Your care in the weeks following repotting is vital for high survival rate success.
- Light: Return your palm to its original bright, indirect light location. Avoid direct, harsh sunlight for the first 1-2 weeks as it adjusts.
- Watering: After the initial watering, revert to a deep-but-infrequent watering routine. Always allow the soil to dry out completely between waterings. When in doubt, wait another day.
- Monitoring: It’s normal for the plant to focus energy on root establishment, so above-ground growth may pause briefly. Watch for new leaf emergence as a sign of successful acclimation. Avoid fertilizing for at least 6-8 weeks after repotting.
What are the signs my Hawaii Palm is struggling after repotting? Yellowing or drooping leaves can indicate overwatering or shock. Ensure the soil is drying out and the plant is in stable conditions. Leaf drop is a common stress response; if the caudex remains firm, continue with careful care and it will often releaf.
Can I repot my Hawaii Palm if it’s flowering? It is strongly advised to avoid repotting during flowering. The process is energetically costly and can cause the plant to abort its blooms. Wait until the flowering cycle has completely finished before considering a repot.
How often should I repot a mature Hawaii Palm? Mature Hawaii Palms grow slowly. Once in an appropriately sized pot, they may only need repotting every 3-4 years. Focus on refreshing the top layer of soil annually to replenish nutrients.
Successfully repotting your Hawaii Palm hinges on patience and precision. By choosing the active growth period in late spring as your best repotting time, using a sharply draining soil mix, and allowing a careful recovery period, you provide the foundation for robust health. This process, aligned with expert horticultural principles, minimizes stress and maximizes your palm’s ability to adapt, ensuring it continues to be a resilient and captivating focal point in your home for years to come.


