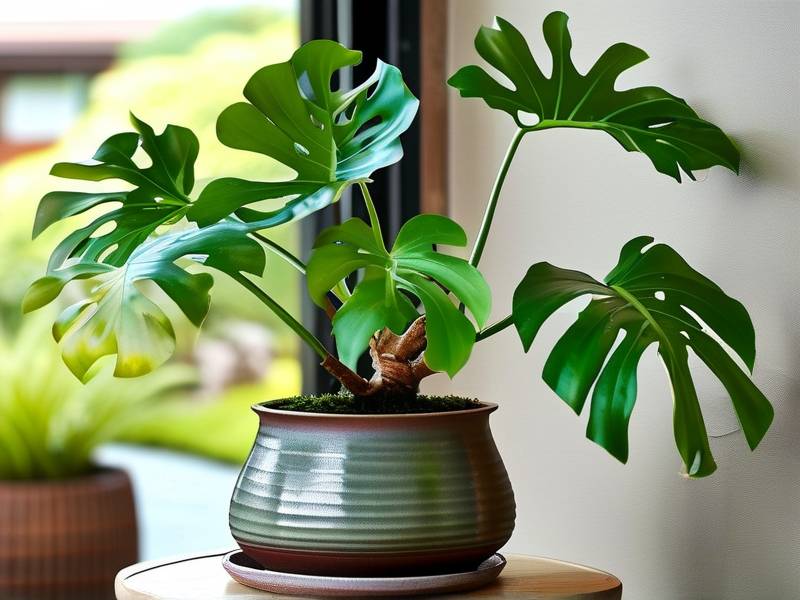
How to Care for Plants: The Ultimate Root Rot Rescue via Pruning & Disinfection
Discovering your beloved plant is wilting, its leaves turning yellow, and the soil emitting an unpleasant odor can be a heart-sinking moment for any plant enthusiast. Often, the culprit behind these distressing symptoms is a common yet formidable enemy: root rot. This guide is your definitive resource on how to care for plants suffering from this condition, focusing on the proven rescue method of root rot rescue via pruning and disinfection. We will walk you through a step-by-step process to diagnose, treat, and rehabilitate your plant, giving it a second chance at life.
Understanding Root Rot: The Silent Killer
Root rot is a disease caused by overwatering, which creates an anaerobic (oxygen-poor) environment in the soil. This suffocates the roots, weakening them and making them susceptible to attack by soil-borne fungi like Pythium, Phytophthora, and Rhizoctonia. These pathogens thrive in wet conditions and rapidly decay the root system. The American Horticultural Society (AHS) notes that overwatering is the single most common mistake in houseplant care, leading directly to root health crises. The key to successful plant care for root rot recovery is early detection and immediate, decisive action.
Diagnosis: Confirming Root Rot Before Treatment
Before you begin any rescue operation, accurate diagnosis is crucial. Not all wilting is due to root rot. Carefully remove the plant from its pot. Healthy roots are typically firm and white or light tan. Roots affected by rot will be mushy, dark brown or black, and may fall apart when touched. A foul, musty smell is a definitive indicator. If more than one-third to one-half of the root system is severely compromised, the plant’s chances of survival diminish, but rescue is still worth attempting with the following protocol.
Step-by-Step Guide: Root Rot Rescue via Pruning and Disinfection
This root rot treatment through pruning is a surgical process that requires clean tools and a methodical approach.
Gather Your Supplies You will need: clean, sharp scissors or pruning shears, a clean pot (with drainage holes), fresh, well-draining potting mix, rubbing alcohol (isopropyl alcohol) or a 10% bleach solution, paper towels, and optionally, a fungicide approved for houseplant use.
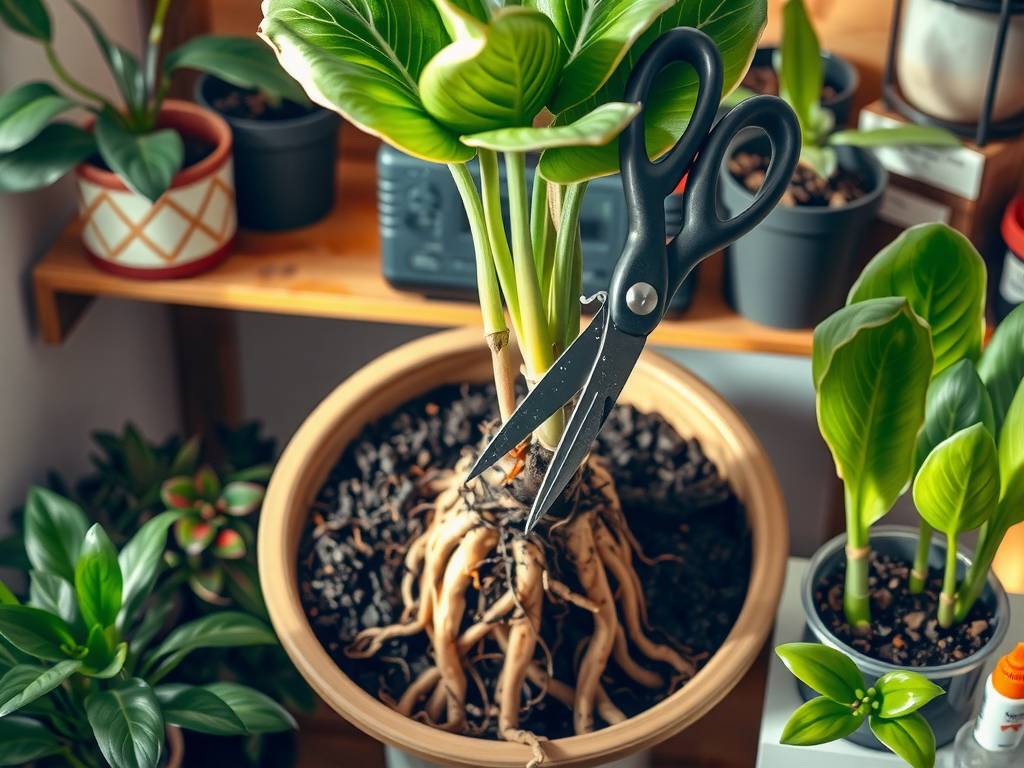
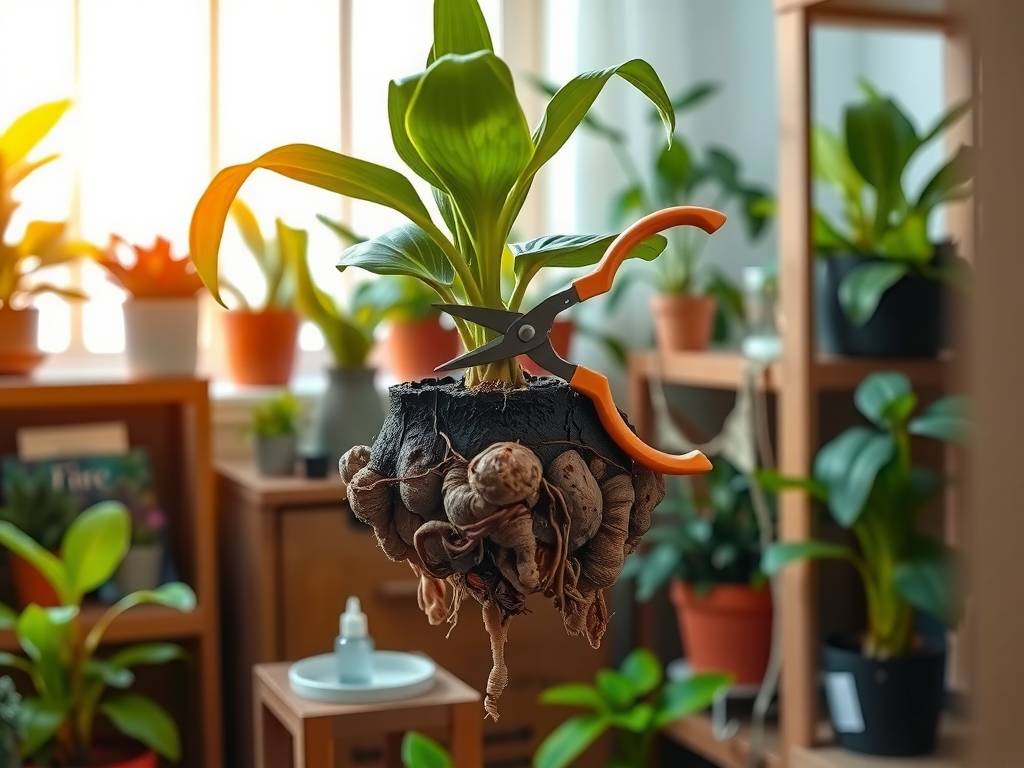
Step 1: Remove the Plant and Clean the Roots Gently tap the plant out of its pot. Carefully shake and rinse away all the old, contaminated soil from the root ball under lukewarm running water. This allows you to see the full extent of the damage.
Step 2: Prune the Rotten Roots This is the core of the rescue via pruning and disinfection. Sterilize your cutting tools with rubbing alcohol. Meticulously cut away all soft, brown, or blackened roots. Cut back to healthy, firm, white tissue. Be ruthless; leaving any infected material behind will allow the rot to regrow. According to principles of plant pathology, it’s better to remove a bit of healthy tissue to ensure complete excision of the pathogen.
Step 3: Disinfect the Remaining Root System After pruning, disinfect the remaining healthy roots to kill any lingering fungal spores. You have two options:
- Mild Fungicide Soak: Prepare a solution as per the product label and soak the root system for the recommended time.
- Hydrogen Peroxide Bath: A 3% hydrogen peroxide solution (1 part peroxide to 2 parts water) can be used for a 5-10 minute soak. This oxygenates the roots and has antifungal properties. Rinse the roots with clean water after disinfection.
Step 4: Prune the Foliage To balance the plant’s system, prune back some of the top growth. With a significantly reduced root system, the plant cannot support the same amount of leaves. Remove yellowing or dying leaves and consider trimming back healthy stems by up to one-third to reduce water demand and stress.
Step 5: Repot in Fresh Soil Choose a clean pot—sterilize the old one with a bleach solution if reusing. Ensure it has adequate drainage holes. Fill it with a fresh, well-draining potting mix. Avoid heavy, moisture-retentive soils. Create a small mound of soil, place the plant’s roots over it, and gently fill in around them. Do not pack the soil tightly.
Step 6: The Critical Aftercare Do not water immediately! The roots are wounded and need time to callus. Place the plant in a warm, bright location with indirect light. Wait about 5-7 days before giving it a light watering. Continue to water sparingly, only when the top inch of soil is dry, encouraging new root growth. Resist fertilizing for at least 2-3 months.
Preventing Future Root Rot Episodes
The best plant care strategy is prevention. Always check soil moisture before watering—your finger is the best tool. Ensure pots have drainage holes and never let plants sit in standing water. Use pots appropriate to the plant’s size and choose a well-aerated potting mix. The Royal Horticultural Society (RHS) emphasizes that “watering to the needs of the plant, not to a calendar,” is the golden rule for maintaining healthy roots.
Can a plant fully recover from severe root rot? Yes, many plants can make a remarkable recovery if the root rot rescue via pruning and disinfection is performed thoroughly and followed by correct aftercare. Patience is essential, as recovery and new root growth can take several weeks to months. The plant’s overall vigor and the extent of the initial damage are key factors.
Is it necessary to use a chemical fungicide during disinfection? Not always. While commercial fungicides can be effective, a hydrogen peroxide bath is a widely accepted, less toxic alternative for home gardeners. The physical act of removing all infected tissue is more critical than the specific disinfectant used. For severe cases or with valuable plants, a fungicide may provide an extra layer of protection.
How often should I water after treating root rot? This is the most crucial part of aftercare. Water deeply but infrequently, allowing the soil to dry out significantly between waterings. The goal is to keep the soil lightly moist but never soggy, promoting the growth of new, healthy roots that are adapted to better conditions. Overwatering now will undo all your rescue work.
Successfully navigating a root rot rescue empowers you with advanced skills in how to care for plants. It transforms a moment of panic into a learning experience. By acting swiftly with precise pruning, thorough disinfection, and mindful aftercare, you don’t just save a plant—you become a more attentive and capable plant caretaker. Remember, the health of your plant always starts from the roots up.