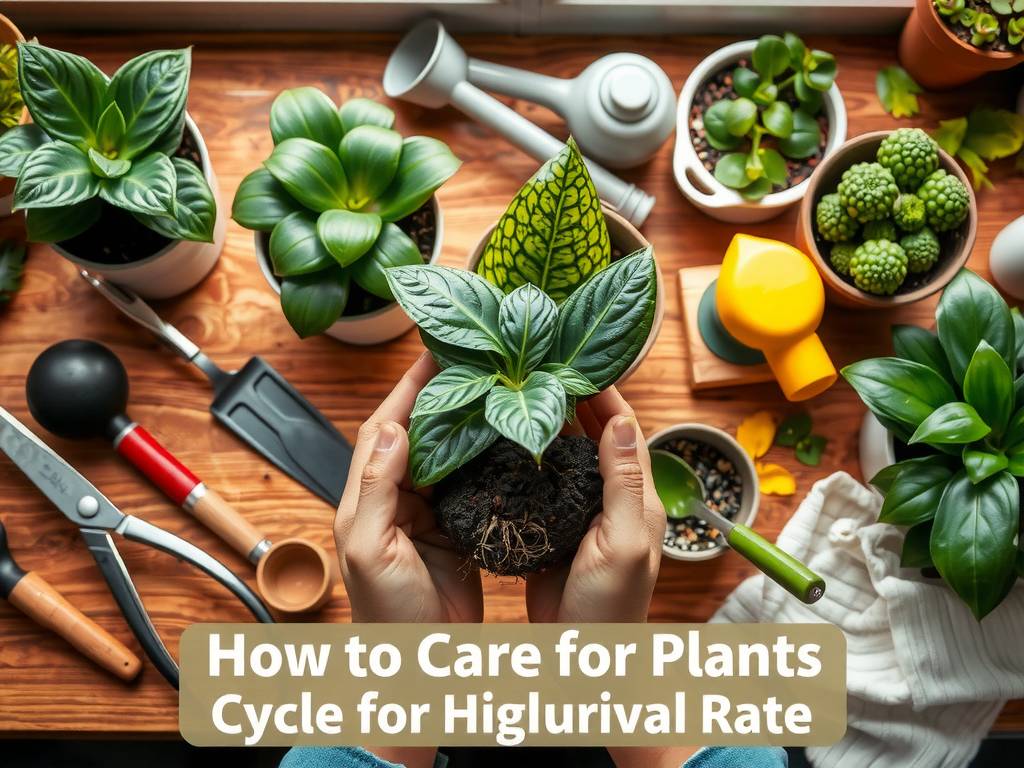
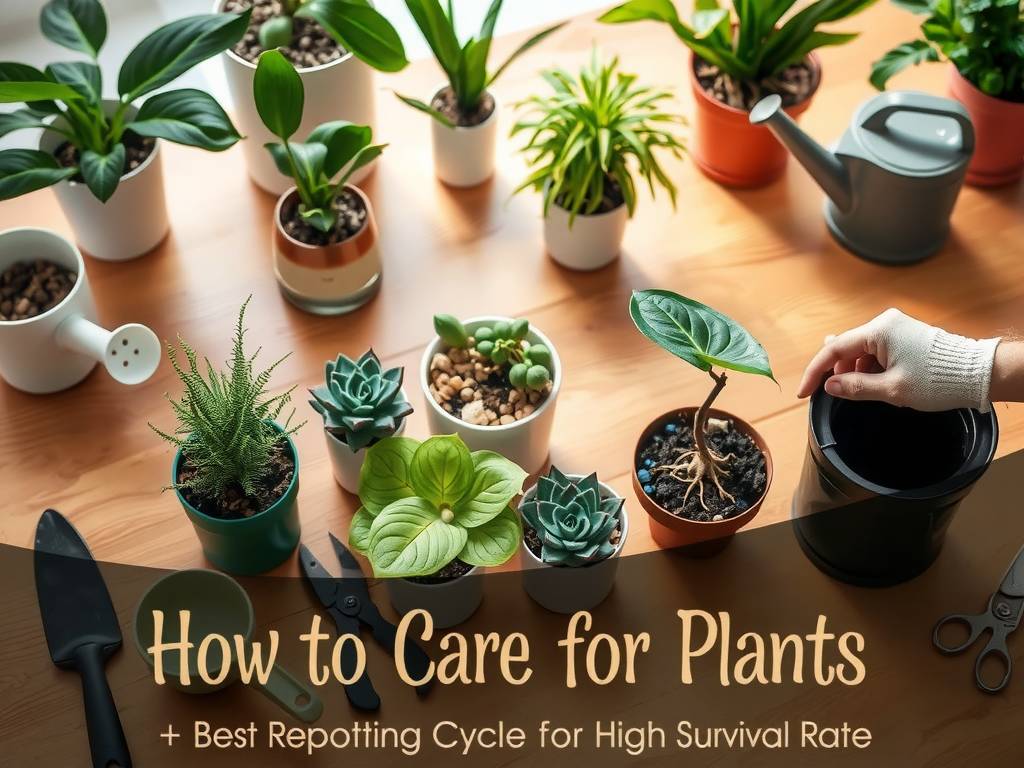
How to Care for Plants: The Best Repotting Cycle for a High Survival Rate
You’ve nurtured your plant, watched it grow, and now it seems unhappy. The leaves might be yellowing, growth has stalled, or water runs straight through the pot without soaking in. Often, the culprit isn’t your watering schedule or light levels—it’s the pot itself. Knowing how to care for plants effectively means understanding when and how to give them a new home. A proper repotting cycle is not just a chore; it’s a critical strategy for ensuring a high survival rate and vibrant, long-term health. Repotting at the wrong time or in the wrong way can send your plant into shock, but mastering this cycle is the key to unlocking its full potential.
This guide will walk you through the science and signs behind repotting, providing a clear, step-by-step framework to repot with confidence and maximize your plant’s chances of thriving.
Why Repotting is Non-Negotiable for Plant Health
Think of a plant’s pot as its universe. Over time, that universe can become hostile. Roots fill every available space, depleting the soil of nutrients and oxygen. The soil structure itself breaks down, becoming compacted and unable to hold water or air properly. This is root-bound stress, and it’s a primary reason indoor plants fail.
According to principles emphasized by horticultural authorities like the American Horticultural Society (AHS), repotting is a fundamental act of preventive care. It refreshes the growing medium, provides space for root expansion, and prevents the buildup of harmful mineral salts from fertilizers. A study on container plant health consistently shows that a timely repotting cycle can increase a plant’s resilience to pests, diseases, and environmental stress, directly contributing to a higher survival rate.
Decoding the Signals: When Your Plant is Begging for a New Pot
Plants communicate their distress clearly. Don’t wait for a strict calendar date; observe your plant. Here are the unmistakable signs it’s time to repot:
- Roots on Display: Roots are visibly growing out of the drainage holes or circling the top of the soil.
- The Quick-Dry Effect: Water pours through the pot almost instantly during watering. This happens because roots have displaced most of the soil.
- Stunted Growth: Your plant hasn’t produced new leaves or increased in size during its primary growing season (spring/summer).
- The Heft Test: The plant feels abnormally light for its size when dry, or conversely, too heavy and waterlogged due to decomposed soil.
- Visible Salt Buildup: A white, crusty layer forms on the soil surface or the pot’s rim, indicating mineral deposits.
Finding the Perfect Rhythm: What is the Best Repotting Cycle?
There is no universal timetable. The ideal repotting schedule depends on the plant’s growth rate, age, and species.
- Fast-Growing Plants (e.g., Pothos, Philodendron, Spider Plants): These vigorous growers typically need repotting every 12-18 months. Young plants may even require it annually.
- Moderate-Growing Plants (e.g., Monsteras, ZZ Plants, Snake Plants): A cycle of every 18-24 months is often sufficient. They tolerate being slightly root-bound.
- Slow-Growing Plants (e.g., Cacti, Succulents, some Hoyas): They can thrive in the same pot for 2-4 years or more. Repot only when clearly root-bound.
- Large, Mature Floor Plants: Instead of frequent repotting into larger pots (which becomes impractical), practice “top-dressing.” Gently scrape off the top few inches of old soil and replace it with fresh potting mix annually to replenish nutrients.
The Golden Rule: The best time to repot for a high success rate is during the plant’s active growing season—late spring through early summer. This gives the plant ample energy and time to recover from the transition and establish new roots before slower winter growth.
Your Step-by-Step Guide to Stress-Free Repotting
Follow this process to ensure a smooth transition and minimize transplant shock.
1. Assemble Your Tools & Materials Gather a new pot (only 1-2 inches larger in diameter than the old one), fresh, well-draining potting mix appropriate for your plant type, pruning shears (sterilized), a trowel, newspaper or a workspace cover, and gloves.
2. The Gentle Extraction Water your plant lightly a day before repotting to reduce stress. Tip the pot sideways, support the plant at its base, and gently ease it out. If stuck, tap the pot’s sides or run a knife around the interior edge.
3. Root Inspection and Care Gently loosen the root ball with your fingers. Look for healthy roots (firm and white or light-colored) and unhealthy ones (mushy, black, or foul-smelling). Prune away any dead or rotting roots with clean shears. If roots are densely matted, you can make a few vertical cuts to encourage outward growth.
4. The New Foundation Place a layer of fresh potting mix in the bottom of the new pot. The goal is for the plant to sit at the same soil level as before. Center the plant in the pot.
5. Filling and Settling Add new soil around the sides, gently tamping it down to eliminate large air pockets. Avoid packing it too tightly. Leave about an inch of space from the soil surface to the pot rim for watering.
6. The First Drink Water the plant thoroughly until water flows from the drainage holes. This helps settle the soil around the roots. Place the plant in a spot with bright, indirect light and allow it to recover for a week before resuming fertilization.
Critical Mistakes That Lower Your Repotting Success Rate
Avoid these common pitfalls to protect your plant:
- Potting Too Large: A pot that’s too big holds excess soil that stays wet, leading to root rot.
- Using Garden Soil: It’s too dense for containers, lacks proper drainage, and can introduce pests and diseases. Always use a quality potting mix.
- Damaging the Root Ball: Being too aggressive when loosening roots causes unnecessary trauma.
- Repotting a Stressed Plant: Never repot a plant that is already struggling from pests, drought, or disease. Address its primary issue first.
- Immediate Fertilization: Fresh potting mix often contains nutrients. Fertilizing too soon can burn new roots.
Post-Repotting Care: Ensuring a Strong Recovery
Your job isn’t over after the plant is in its new pot. For the first 2-4 weeks, provide consistent care:
- Hold the Fertilizer: Wait at least 4-6 weeks before resuming any feeding.
- Monitor Moisture: Keep the soil slightly moist but not soggy. The plant may drink less initially as it focuses on root growth.
- Provide Stable Conditions: Avoid moving the plant or exposing it to drafts, direct hot sun, or other environmental stresses.
Frequently Asked Questions
My plant dropped a few leaves after repotting. Is it dying? Some leaf loss is normal as the plant redirects energy to root establishment. This is often called transplant shock. Ensure you are not overwatering and that the plant has appropriate light. New growth is a sign of recovery.
Can I reuse old potting soil? It’s not recommended. Old soil loses its structure, becomes compacted, and may harbor pathogens or salt buildup. For the health of your plant and to maintain a high survival rate, always use fresh, sterile potting mix.
How do I know if I’ve chosen the right size pot? The new pot should allow for about 1-2 inches of new soil around the entire root ball. If the old pot was 6 inches in diameter, an 8-inch pot is ideal. The goal is to provide room for growth without creating a vast, water-retaining volume of soil.
Mastering the repotting cycle transforms you from a passive plant owner into an active plant caregiver. By learning to read your plant’s signals, timing the move correctly, and executing the process with care, you directly invest in its longevity and vitality. This proactive approach to root and soil health is the cornerstone of advanced plant care, turning the anxiety of repotting into the assurance of continued growth and beauty. Remember, a happy root system is the unseen engine for every lush leaf and vibrant bloom you enjoy.


