How to Care for Large Alocasia Macrorrhiza - Prune to Shape for Attractive Form
You've nurtured your Alocasia macrorrhiza, also known as the Giant Taro or Elephant Ear plant, into a stunning, large specimen. Its massive, heart-shaped leaves create a dramatic, tropical statement in your space. But now, it might look a bit wild, uneven, or perhaps it's growing taller than you'd like. You're wondering how to manage its size and encourage a more balanced, attractive shape without harming the plant. The key to achieving this lies in understanding strategic pruning. Properly learning how to care for large Alocasia macrorrhiza and specifically prune to shape for attractive form is essential for maintaining its health and visual appeal.
This guide will walk you through the why, when, and how of pruning your Giant Taro, transforming it from overgrown to outstanding.
Understanding Your Giant Taro's Growth Habits
Before you make a single cut, it's crucial to understand what you're working with. Alocasia macrorrhiza grows from a central rhizome (a thick underground stem). New leaves, or fronds, emerge from the center, unfurling from a protective sheath. Older leaves naturally yellow and die back over time as the plant directs energy to new growth.
Its natural form is upright and somewhat architectural, but indoors, with uneven light, it can become leggy (with long stems between leaves) or lopsided as it reaches for sunlight. Pruning is not about forcing an unnatural shape but about guiding this inherent growth pattern to look its best in your environment. According to principles often emphasized by horticultural societies like the American Horticultural Society (AHA), pruning should always work with a plant's biology, not against it.
Why Pruning is Essential for Large Alocasia Health and Form
Pruning is more than just cosmetic surgery for your plant. It serves several vital functions that contribute directly to effective Alocasia macrorrhiza maintenance.
First, it removes dead, damaged, or diseased foliage. These leaves are not only unsightly but can attract pests and drain the plant's resources. Removing them allows the plant to focus its energy on producing vibrant new growth.
Second, strategic pruning improves plant shape and structure. By cutting back overlong stems or removing leaves that throw the plant off balance, you encourage a fuller, more symmetrical appearance. This is the core of learning to prune to shape for attractive form.
Third, it can manage size. While you can't stop an Alocasia from being large, you can control its height and spread to better suit your space by removing the tallest or outermost leaves.
Finally, it improves air circulation. Dense foliage can trap moisture, creating a haven for fungal diseases. Thinning the canopy slightly allows air to flow freely around the remaining leaves, promoting overall plant health.
The Right Tools for the Job
Using the correct tools is the first step in responsible pruning. Blunt or dirty tools can crush stems and introduce pathogens.
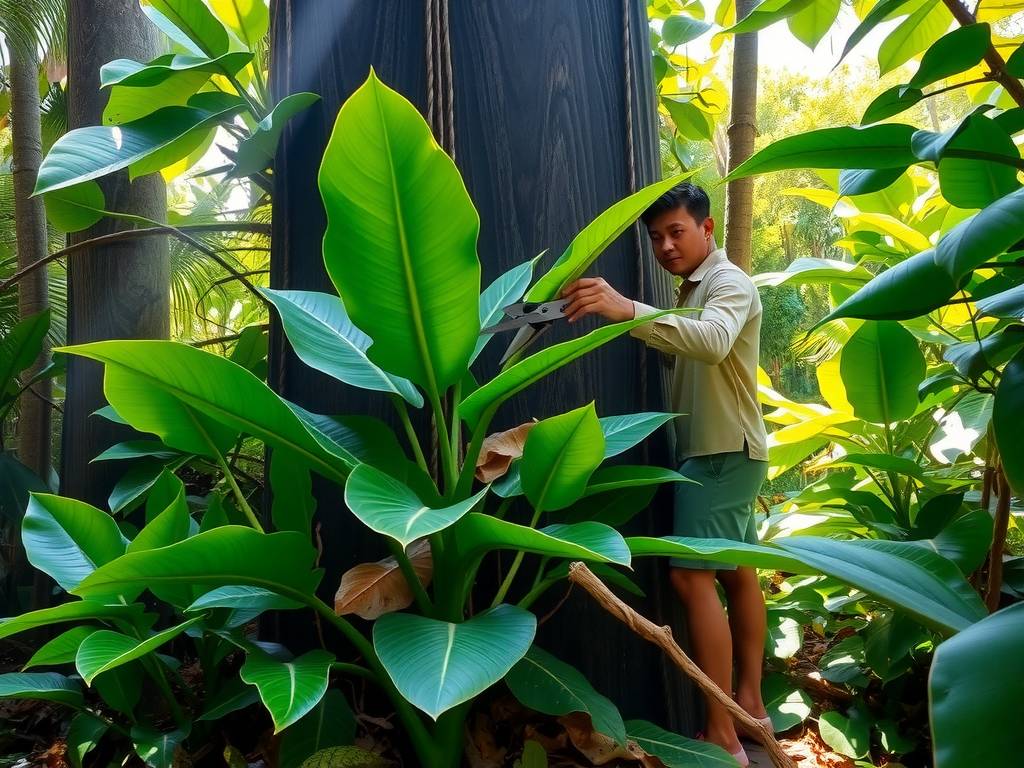
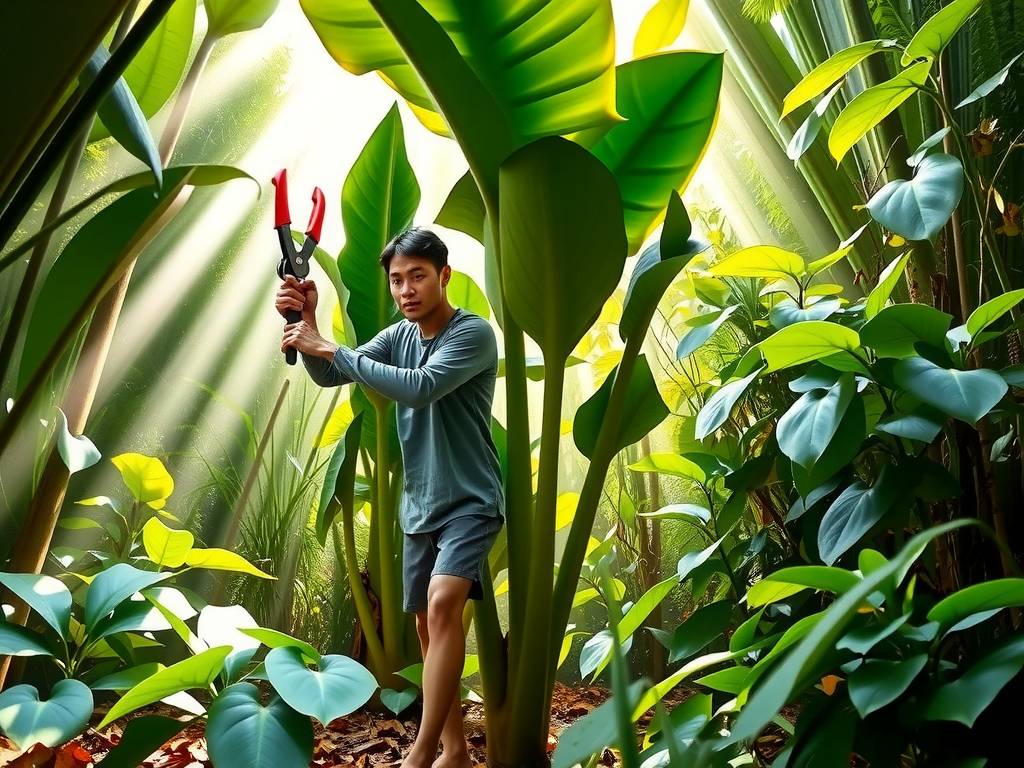
Always use clean, sharp pruning shears or scissors. Wipe the blades with isopropyl alcohol before and after use to prevent the spread of disease. For the thick, fibrous stems of a mature Alocasia, bypass pruners are ideal as they make a clean cut without crushing.
When is the Best Time to Prune Your Alocasia?
Timing is everything. The optimal period for major shaping is during the active growing season, typically from late spring through early summer. During this time, the plant has ample energy and sunlight to recover quickly and push out new growth to replace what was removed.
Avoid heavy pruning in late fall and winter when the plant is dormant or growing slowly. You can, however, remove clearly dead or yellowing leaves at any time of the year. As noted in many Royal Horticultural Society (RHS) guidelines, aligning pruning with a plant's growth cycle minimizes stress and maximizes recovery.
A Step-by-Step Guide to Pruning for Shape and Health
Now, let's get to the practical steps. Follow this process to confidently shape your plant.
Step 1: Assess and Plan Take a good look at your Alocasia from all angles. Identify your goals. Which leaves are damaged? Does it lean to one side? Are the stems excessively long? Visualize the more balanced form you want to achieve. Remember, never remove more than 20-25% of the total foliage at one time to avoid shocking the plant.
Step 2: Remove Unhealthy Growth First Start by removing any leaves that are more than 50% yellow, brown, or damaged. Trace the leaf stem (petiole) back to the main rhizome or base. Make your cut as close to the base as possible without damaging the main stem or neighboring healthy petioles. A clean cut here encourages the plant to seal the wound efficiently.
Step 3: Shape for Aesthetics and Balance This is where you shape your Giant Taro plant. To encourage a bushier form, look for the tallest or most outward-leaning stems. Cutting a stem back will not make it regrow from the same point; new growth comes from the center. Therefore, for shaping, you often need to remove entire stems.
If a stem is overly long making the plant top-heavy, follow it down to the base and cut it off there. To correct a lopsided plant, remove one or two of the leaves on the denser side to create visual balance. Always step back after one or two cuts to reassess.
Step 4: Encourage New Growth (Optional) After pruning, your plant will naturally redirect energy. You can support this by ensuring it has optimal care: bright, indirect light, consistent warmth, and proper watering (allowing the top inch of soil to dry out between waterings). A light application of a balanced, diluted liquid fertilizer a few weeks after pruning can provide a helpful boost for new leaf production.
Post-Pruning Care and What to Expect
Your plant may look a little sparse immediately after pruning. This is normal. Place it in its ideal spot with stable conditions and avoid moving it. Resist the urge to overwater; the plant has less foliage to transpire water, so its needs are temporarily reduced.
Within a few weeks, you should see a new sheath emerging from the center of the rhizome. This is the sign of success! The new growth will often be stronger and better positioned, contributing to the more attractive, controlled form you desired.
Common Mistakes to Avoid When Pruning Alocasia
- Over-pruning: Removing too much foliage at once can severely stress the plant, stunt growth, or even kill it.
- Making Ragged Cuts: Using dull tools damages plant tissues and opens the door to infection.
- Pruning at the Wrong Time: Major pruning during dormancy can lead to slow recovery and rot.
- Leaving Stubs: Long stubs left on the plant can die back and rot, potentially spreading to the healthy rhizome. Cut cleanly and close to the base.
- Ignoring Plant Health: Pruning a plant that is already stressed from pests, disease, or incorrect watering will only compound its problems. Address health issues first.
Integrating Pruning into Your Overall Care Routine
Pruning is one component of holistic large Alocasia macrorrhiza care. For a truly thriving plant, combine shaping with:
- Light: Provide bright, indirect light for strong, compact growth.
- Watering: Water thoroughly when the top soil is dry, and ensure excellent drainage to prevent rhizome rot.
- Humidity: High humidity (above 60%) supports those large, lush leaves.
- Feeding: Fertilize monthly during the growing season with a balanced formula.
By mastering the art of pruning, you move from simply keeping your Giant Taro alive to actively curating its beauty, ensuring it remains a magnificent and attractive focal point for years to come.
Frequently Asked Questions
How often should I prune my large Alocasia macrorrhiza? There's no set calendar schedule. Prune as needed for shape and to remove unhealthy leaves. A light shaping once or twice during the growing season is usually sufficient for most indoor plants. Constant, minor trimming is unnecessary and stressful.
My Alocasia stem oozes sap after I cut it. Is this normal? Yes, this is completely normal. Alocasia plants have a sap that may drip or ooze from the cut site for a short time. You can gently blot it with a paper towel. The flow will stop on its own as the plant seals the wound. The sap can be a mild irritant, so washing your hands after handling is advisable.
Can I propagate my Alocasia from the pieces I pruned off? Unfortunately, leaf cuttings alone will not root for Alocasia macrorrhiza. Propagation is typically done by dividing the rhizome (with at least one growth node or "eye") during repotting. The pruned leaves and stems are best composted. However, the process of pruning can stimulate the main plant to produce offsets or "pups" at its base, which can later be separated and potted independently.
With the right knowledge and a careful hand, pruning becomes a powerful tool. It allows you to collaborate with your Alocasia macrorrhiza, guiding its majestic growth into a form that is not only healthy but also perfectly suited to enhance your living space. Remember, patience and observation are your greatest allies in this rewarding aspect of plant care.