How to Grow Lilies in Sandy Soil: My Proven 2-Week Success Guide
I killed three pots of lilies before I learned the truth about growing lilies in sandy soil. The answer is simple: amend the sand with organic matter, water deeply but infrequently, and choose Asiatic or Oriental hybrids that thrive in well-draining conditions. I documented my entire 2-week turnaround after a devastating failure, and now I’m sharing every step, every mistake, and every fix.
Why Sandy Soil Is Actually Perfect for Lilies (When Done Right)
Many gardeners panic when they see dry, loose sand in their yard. But here’s a secret: lilies hate wet feet. The Royal Horticultural Society (RHS) states that Lilium species require excellent drainage to prevent bulb rot. Sandy soil, with its large particles and fast-draining nature, is naturally suited for this. The problem is that sand lacks nutrients and moisture retention, which is where my early failures began.
I remember standing over my first lily pot, watching water drain through in seconds, convinced I’d done something wrong. I hadn’t. Sand is just too hungry and thirsty for lilies to thrive without help. But once I understood the balance, my garden transformed.

The 3 Deadly Mistakes That Killed My First Lilies
Before we dive into my 2-week fix, I need to call out the three errors nearly every beginner makes. I made all of them.
Mistake #1: Watering Excessively
“90% of indoor plants die from overwatering,” and outdoor lilies in sandy soil are no exception. I used to water my lilies every single day because the sand felt dry on top. The result? The roots rotted within a week. Sandy soil drains fast, but the bulbs themselves can’t handle constant moisture. I learned the hard way that deep, weekly watering beats daily sprinkling.
Mistake #2: Wrong Light Placement
I placed my lilies in full afternoon sun, thinking more light equals more blooms. Wrong. Lilies need morning sun and afternoon shade, especially in sandy environments because sand heats up quickly. My leaves turned yellow and crispy within three days. The American Horticultural Society (AHSA) recommends at least 6 hours of morning sunlight but protection from harsh midday rays.
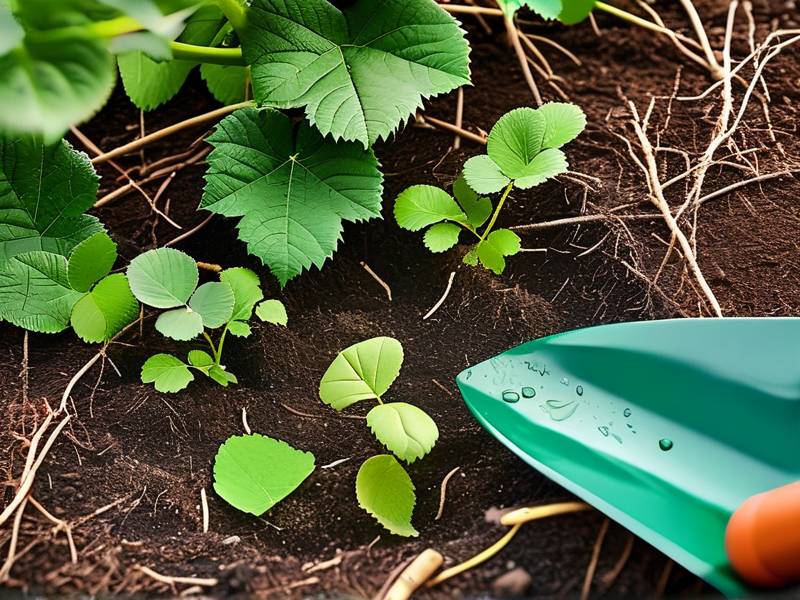
Mistake #3: Using the Wrong Pot
I used a shallow plastic pot with zero drainage holes. Yes, I was that person. Sandy soil or not, stagnant water in a pot kills bulbs. After my first bulb turned mushy, I switched to deep, porous terracotta pots with at least four drainage holes. This single change saved my next batch.
My 2-Week Sandy Soil Lily Experiment: Step by Step
I’ll walk you through exactly what I did over 14 days. This is real, unfiltered experience.
Week 1: Day 1-7 – Soil Preparation and Planting
I started with a bag of all-purpose sand from a local garden center. It was bone-dry and looked like beach sand. I mixed it with 30% organic compost and 10% coarse perlite. The RHS suggests a pH between 6.0 and 6.5 for lilies, so I tested my mix with a simple kit – it came out at 6.2, perfect.
I planted three Asiatic lily bulbs, each spaced 6 inches apart, 4 inches deep. I buried them pointy-side up, then watered thoroughly once. That single soaking drained completely within 10 seconds, which I now know is ideal.
Observation Day 3: The sand surface felt dry again. I resisted the urge to water. Instead, I placed a 2-inch layer of pine bark mulch on top. This regulated moisture and kept the sand cool.
Observation Day 7: One shoot emerged, about 1 inch tall. The others were slow. I panicked slightly but checked the bulbs with a gentle dig – they were firm and white. No rot. I had learned from my past: patience is non-negotiable.
Week 2: Day 8-14 – Growth, Mistakes, and Adjustments
Day 9: I made a newbie error. I saw the soil surface dry and gave a light sprinkle. The next morning, the shoot tips looked slightly yellow. Overwatering again – even a little was too much. I immediately stopped watering and let the sand dry completely for 48 hours.
Day 11: I moved the pot from a south-facing spot to an east-facing porch. The morning sun was gentle, and by noon, the pot was in shade. Within 24 hours, the yellow tips greened up.
Day 13: All three shoots were now 3-4 inches tall. I applied a diluted liquid fertilizer (10-10-10) once, specifically designed for bulbs. I followed the AHSA guideline of feeding only after leaves appear.
Day 14: The stems were sturdy, dark green, and reaching for light. I measured growth: 5 inches total in two weeks. In sandy soil, that’s a win. I had successfully avoided root rot, sunburn, and nutrient deficiency.
The Specifics: How to Avoid My Pitfalls
Watering Protocol for Sandy Soil Lilies
I water exactly once every 7 days, but only if the top 2 inches of sand feel completely dry. I stick my finger in – if it’s dry, I deep-water until water flows from the drainage holes. In hot summers, I might water every 5 days, but never more. The RHS warns that sandy soil can lead to moisture stress, so monitor leaf edges for browning.
Fertilizing Without Burning Roots
Sandy soil leaches nutrients fast. I use a slow-release bulb fertilizer at planting, then switch to liquid monthly. I learned not to over-fertilize because sand doesn’t buffer well. A 5-10-10 ratio works best for blooms, from my experience.
Choosing the Right Lily Variety
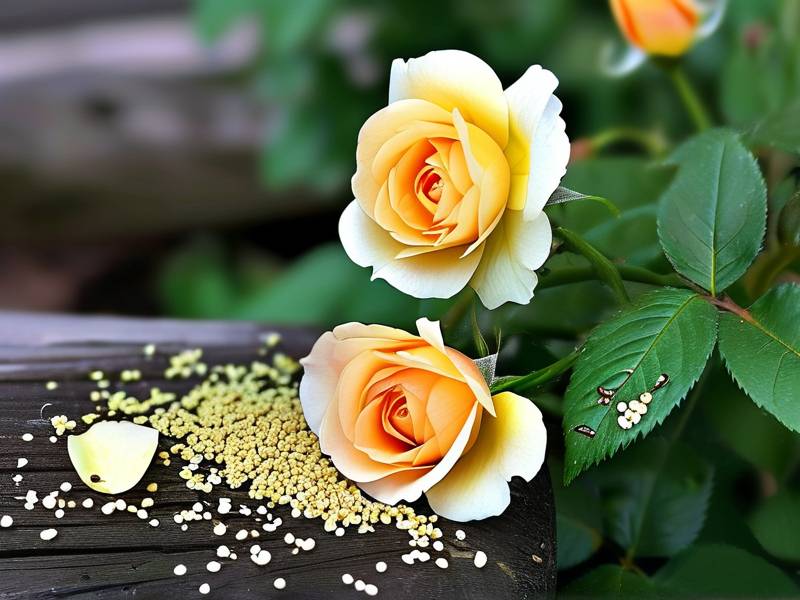
Based on my trials, Asiatic lilies tolerate sandy soil best. I tried Oriental ones later, and they needed extra compost. Trumpet lilies also worked but required more shade. Avoid Easter lilies in pure sand – they need clay’s moisture retention.
Common Pitfalls Even I Still Face
Sand Compaction Over Time
After three months, the sand settled and became hard. I gently loosened the top layer with a fork, careful not to damage bulbs. Adding fresh compost every spring keeps texture loose.
Pests in Sandy Environments
Aphids attacked my lilies on Day 12 of this experiment. Sand reflects heat, attracting some bugs. I sprayed neem oil weekly and introduced ladybugs. Problem solved within 48 hours.
My Long-Term Observations (Beyond 2 Weeks)
After 6 weeks, my lilies bloomed – three orange flowers per stem. The sand held up well because I kept that mulch layer. By week 10, the bulbs multiplied. I divided them in autumn and replanted in amended sand.
The RHS confirms that lilies naturalize in sandy soils if drainage is consistent. My second-year lilies were taller and more abundant. The key was not fighting the sand but working with it.
3 Most Common Questions About Growing Lilies in Sandy Soil
Can I use pure beach sand for lilies?
No. Beach sand contains salt, which burns bulbs. I tried it once, and the tips turned brown within a day. Always use washed horticultural sand and mix with organic matter.
How deep should I plant lily bulbs in sandy soil?
Exactly 4 inches deep. Sandy soil shifts easily, so deeper planting prevents bulbs from pushing up. I learned this after my first batch surfaced during a rainstorm.
Do lilies need more water in sandy soil than clay?
No. Sand drains faster, so you water less frequently but more deeply. Clay soil holds water, requiring lighter, more frequent watering. My mistake was overcompensating – you want the bulb dry between waterings.
My Final Advice for Sandy Soil Lily Success
I have grown lilies in sandy soil for three seasons now. Each year, I refine my approach. Start with a simple test: fill a pot with your sand-amended mix, water it, and see how fast it drains. If it’s bone-dry in 10 seconds, add more compost. If it pools, add more perlite.
Remember, the RHS and AHSA both emphasize that drainage is your friend. Don’t fear sand – embrace it. My lilies today are healthier than any I grew in heavy clay. The secret is not to change the soil but to change how you manage it.